Key Takeaways
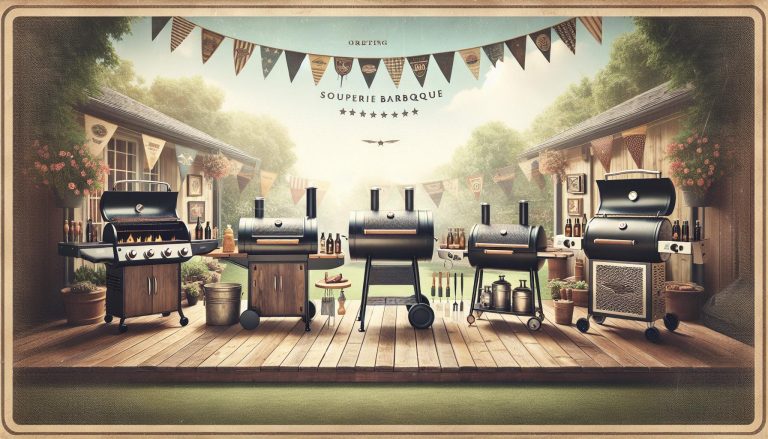
- Elevates Culinary Experience: A built-in smoker transforms your backyard into a gourmet haven, perfect for creating mouthwatering, slow-cooked masterpieces with enhanced flavor.
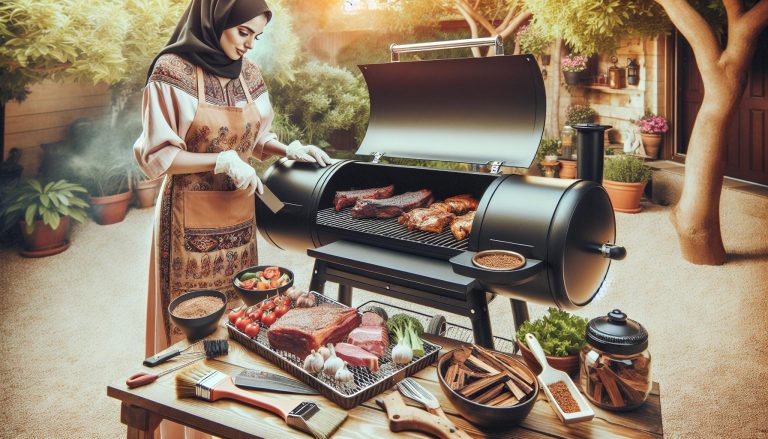
- Essential Ingredients and Tools: Key ingredients include various meats like brisket and pork ribs, along with a custom spice rub. Necessary tools include a smoker box, wood chips, long-handled tongs, and a digital meat thermometer.
- Pre-Smoking Preparation: Key steps involve marinating the meat, cleaning the smoker, adding wood chips, preheating the smoker, and arranging the meat properly for optimal smoke circulation.
- Smoking Process: Maintain consistent temperature and moisture by monitoring the smoker, adjusting dampers, rotating the meat, and basting regularly for moisture.
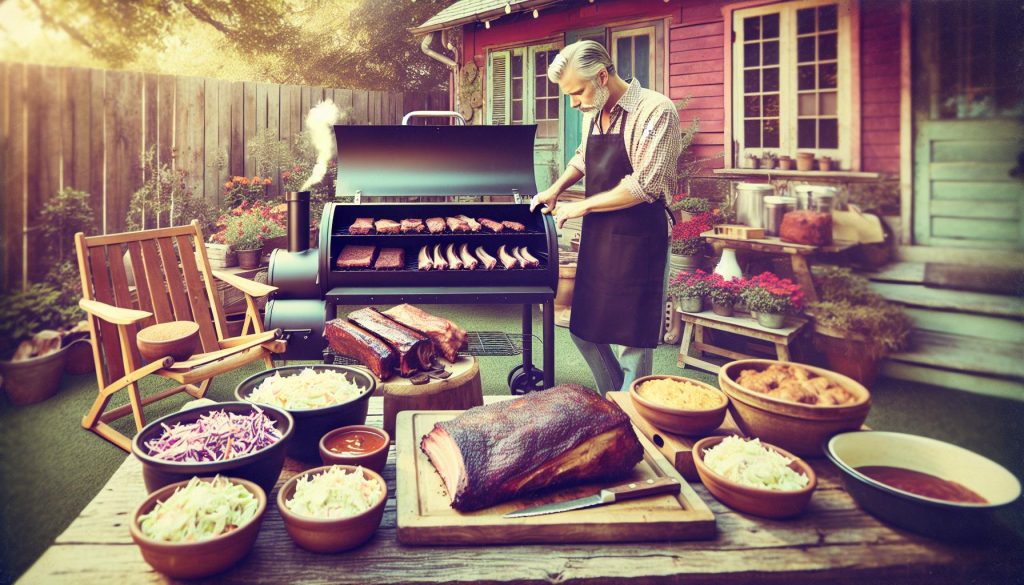
- Post-Smoking Steps: After smoking, rest the meat to redistribute juices, carve against the grain for tenderness, and serve with classic barbecue sides like coleslaw, baked beans, and mac and cheese to complete the feast.
Ingredients
Get ready to create mouth-watering barbecue right in your backyard using your built-in smoker. Below you’ll find all the ingredients you need to make an unforgettable smoked dish.
For the Meat
- Brisket (5-7 lbs): Trimmed of excess fat
- Pork Ribs (2 racks): Membrane removed
- Whole Chicken (4-5 lbs): Cleaned and patted dry
For the Rub
- Brown Sugar (1/2 cup)
- Paprika (1/4 cup)
- Black Pepper (2 tbsp)
- Salt (2 tbsp)
- Garlic Powder (1 tbsp)
- Onion Powder (1 tbsp)
- Cayenne Pepper (1 tsp)
- Mustard Powder (1 tsp)
- Cumin (1/2 tsp)
- Wood Chips (Hickory or Applewood)
- Olive Oil (2 tbsp)
- Spray Bottle (filled with apple juice)
- Aluminum Foil (for wrapping meat)
- Meat Thermometer
Tools and Equipment

To get the most out of your built-in smoker, you’ll need a few essential tools and equipment. Here’s a breakdown of what you’ll need:
Built-in Smoker Setup
For setting up your built-in smoker, you’ll need:
- Built-in Smoker: Ensure it’s installed correctly and ready for use.
- Smoker Box: Helps contain wood chips and produce smoke.
- Wood Chips: Opt for hickory, mesquite, applewood, or cherry based on your flavor preference.
- Charcoal or Gas Source: Depending on your smoker type.
- Thermometer: An essential tool for monitoring the internal temperature of your smoker.
- Long-handled Tongs: For handling hot meats and adjusting them as needed.
- Basting Brush: To apply marinades or sauces.
- Heat-resistant Gloves: Protect your hands when dealing with high temperatures.
- Spray Bottle: Filled with apple juice or another liquid to keep meat moist.
- Aluminum Foil: Useful for wrapping meats during the smoking process.
- Cutting Board: A dedicated board for meat preparation and resting.
- Meat Injector: For injecting marinades directly into the meat for better flavor.
- Digital Meat Thermometer: To ensure your meat is cooked to the perfect temperature.
Pre-smoking Preparation
Transform your backyard into a barbecue haven with some pre-smoking prep. These steps ensure your meats are flavorful and your smoker is ready for the task.
Marinating the Meat
- Select Your Rub: Choose your favorite spice rub or create a blend using salt, pepper, paprika, garlic powder, and brown sugar.
- Apply the Rub: Generously coat your meat with the rub. Ensure all sides are covered evenly.
- Rest the Meat: Wrap the meat in plastic wrap or place it in a resealable plastic bag. Refrigerate for at least 4 hours or preferably overnight.
- Optional Marinade: If using a liquid marinade, place the meat in a shallow dish, pour marinade over, and cover. Let it marinate in the refrigerator for several hours, turning occasionally.
- Clean the Smoker: Ensure your smoker is clean. Remove any ashes from previous use and wipe down all surfaces.
- Add Wood Chips: Fill the smoker’s wood chip container with your choice of wood chips (like hickory, apple, or mesquite). Soak the chips in water for 30 minutes before use.
- Preheat the Smoker: Set your smoker to the desired temperature (typically between 225°F and 250°F). Allow it to preheat for about 30 minutes.
- Check the Thermometer: Ensure the built-in thermometer is working correctly. Use a digital meat thermometer for accuracy.
- Apply Oil: Coat the grates with a light layer of olive oil to prevent sticking and enhance flavor.
- Load the Water Pan: If your smoker has a water pan, fill it with water, apple juice, or beer to maintain moisture during cooking.
- Arrange the Meat: Place the marinated meat on the grates, allowing space between pieces to ensure even smoke circulation.
Smoking Process
Now that your meat is prepped and your smoker is ready, it’s time to dive into the smoking process. Follow these steps to ensure your smoked dishes come out perfectly every time.
Starting the Smoker
- Light the Charcoal: Begin by lighting your charcoal using a chimney starter. Allow the coals to become white-hot, usually taking around 15-20 minutes.
- Add Wood Chips: Once the charcoal is ready, add your choice of wood chips. Hickory, mesquite, and applewood are popular options. Soak the chips in water for at least 30 minutes before adding them to ensure they smolder and produce consistent smoke.
- Preheat: Place the lit charcoal and wood chips inside the smoker’s firebox. Close the lid and allow the smoker to preheat to 225°F – 250°F. Use the built-in thermometer to maintain accuracy.
- Load the Water Pan: Fill the smoker’s water pan with hot water to help regulate temperature and add moisture.
- Monitor Temperature: Keep a close eye on the smoker’s temperature. Use the built-in thermometer or an additional digital probe for more precise readings.
- Adjust Dampers: Control the airflow by adjusting the intake and exhaust dampers. Open the intake damper to increase the temperature and close it to lower the heat. The exhaust damper should remain partially open to allow smoke to circulate.
- Add Fuel as Needed: Check the fuel supply every hour. Add more charcoal and wood chips as necessary to maintain a steady flow of smoke and temperature.
- Rotate the Meat: Turn the meat occasionally to ensure even cooking. This is especially important for larger cuts like brisket and pork shoulder.
- Baste for Moisture: Baste your meat with marinade or broth every 1-2 hours to keep it moist and enhance flavor. Use a heat-resistant brush or sprayer.
By following these steps, you’ll master the smoking process and create delicious, flavorful dishes using your built-in smoker.
Post-smoking Steps
Now that your meat has reached smoked perfection, it’s time to move on to the crucial post-smoking steps. These steps will ensure your meat remains juicy, tender, and full of flavor.
Resting the Meat
Once you have taken the meat out of the smoker, place it on a clean cutting board. Allow the meat to rest for at least 20-30 minutes. Resting helps the juices redistribute, making every bite succulent.
Carving and Serving
After the meat has rested, use a sharp knife to carve it against the grain. This ensures the meat remains tender. Serve immediately on a warm platter, and garnish with fresh herbs if desired. Enjoy your perfectly smoked meat with your favorite barbecue sides.
Side Dishes
No barbecue feast is complete without the perfect side dishes to complement those smoky meats. Here, we’re diving into recommendations and preparation tips to round out your meal effortlessly.
Recommendations
- Coleslaw: A classic barbecue side that adds a cool, crunchy contrast to rich smoked meats. Opt for a tangy vinegar-based slaw or a creamy mayonnaise version.
- Baked Beans: Slow-cooked with brown sugar and bacon, these beans bring a sweet and savory profile that pairs beautifully with smoky proteins.
- Mac and Cheese: Comfort food at its finest. Use a mix of sharp cheddar and smoked gouda to echo the flavors from your smoker.
- Cornbread: Slightly sweet and crumbly, cornbread is perfect for soaking up all those delicious juices from your smoked meats.
- Grilled Vegetables: Healthy and vibrant, grilled veggies like zucchini, bell peppers, and asparagus are excellent for adding color and nutrients to your plate.
- Coleslaw: Shred the cabbage finely and let it sit in the dressing for at least an hour before serving; this allows the flavors to meld together well.
- Baked Beans: Use a cast-iron pot inside your smoker for an extra layer of smokiness. Stir occasionally to prevent burning.
- Mac and Cheese: Parboil the pasta before mixing it with your cheese sauce. Finish it off in the smoker for a crispy, cheesy topping.
- Cornbread: Preheat your skillet in the smoker before pouring in the batter. This helps create a delectable crust.
- Grilled Vegetables: Toss the veggies in olive oil, salt, and pepper before grilling. Consider using a vegetable basket to prevent smaller pieces from falling through the grill grates.
Is a Used Smoker Trailer a Better Option Than a Built-In Smoker for Backyard Barbecues?
A used smoker trailer can be an excellent choice for backyard barbecues, offering mobility and versatility compared to built-in smokers. With ample cooking space and fewer installation requirements, it’s convenient for gatherings. For best results, follow used smoker trailer tips to ensure quality, performance, and durability while enhancing your outdoor cooking experience.
Conclusion
Embracing a built-in smoker in your backyard can elevate your culinary adventures and transform your space into a gourmet haven. Whether you’re a seasoned pitmaster or a barbecue novice, the right tools, techniques, and side dishes will help you create unforgettable meals. By mastering the smoking process and pairing your meats with delicious sides, you’ll impress your guests and enjoy a truly authentic barbecue experience. So fire up that smoker and get ready to savor the rich, smoky flavors of your next backyard feast! With the right setup, like a reliable Home Depot smoker grill, you can explore various wood chips and rubs to customize flavors to your liking. Experiment with different cuts of meat, vegetables, and even desserts to expand your menu and showcase your culinary creativity. A quality home smoker ensures consistent heat and smoke flow, making it easier than ever to achieve tender, flavorful results every time.
Frequently Asked Questions
How can I transform my backyard into a gourmet haven?
To transform your backyard into a gourmet haven, install a built-in smoker, gather essential barbecue tools, and stock up on quality ingredients. This setup will help you create flavorful dishes such as ribs and brisket, enhancing your culinary experience.
What ingredients are essential for backyard barbecue?
Essential ingredients for backyard barbecue include high-quality meats (like ribs and brisket), spices, marinades, and fresh herbs. Be sure to have a variety of sauces and seasonings to complement your smoked dishes.
What tools do I need for a successful barbecue?
Key tools for a successful barbecue include a smoker, meat thermometer, basting brush, tongs, a charcoal chimney, and a sturdy cutting board. These tools help ensure proper cooking and handling of your food.
How do I preheat a smoker?
Preheat your smoker by lighting the charcoal or fuel and allowing it to reach the desired temperature. This typically takes about 30-45 minutes. Use a thermometer to monitor the smoker’s temperature consistently.
Why is it important to monitor the temperature while smoking meat?
Monitoring the temperature ensures that the meat cooks evenly and reaches a safe internal temperature. Maintaining the right temperature helps achieve the desired tenderness and prevents overcooking or undercooking.
What is the purpose of basting during the smoking process?
Basting adds moisture to the meat and enhances flavor. It helps prevent the meat from drying out during the long smoking process, resulting in a juicier and more flavorful final product.
How should I rest the meat after smoking?
Allow the meat to rest for 15-30 minutes after smoking. This process helps the juices redistribute throughout the meat, making it more tender and flavorful when sliced.
Why carve meat against the grain?
Carving meat against the grain shortens the muscle fibers, making the meat easier to chew and enhancing its tenderness. This technique improves the overall texture of the smoked meat.
What are some ideal side dishes for smoked meats?
Ideal side dishes for smoked meats include coleslaw, baked beans, mac and cheese, cornbread, and grilled vegetables. These sides complement the rich flavors of smoked meats.
How should I prepare coleslaw for a barbecue?
Prepare coleslaw by mixing shredded cabbage and carrots with a tangy dressing, allowing it to marinate for several hours. This enhances the flavors and provides a refreshing contrast to smoked meats.
What is the best way to cook baked beans for a barbecue?
Cook baked beans in a cast-iron pot for a smoky flavor. Combine beans with ingredients like bacon, onions, and barbecue sauce, and let them simmer slowly to absorb all the flavors.
How can I ensure my mac and cheese is creamy and flavorful?
Parboil the pasta and make a rich cheese sauce with a blend of cheeses and heavy cream. Bake it until bubbly and golden on top for a creamy and flavorful mac and cheese.
What is a good method for making cornbread for a barbecue?
Preheat a cast-iron skillet before adding the cornbread batter. This creates a crispy outer layer while keeping the inside moist and tender, making it a perfect side dish for smoked meats.
How should I prepare grilled vegetables for a barbecue?
Toss vegetables in olive oil and seasonings before grilling. Grill them until tender and slightly charred. This method enhances their natural flavors and makes them a great accompaniment to smoked