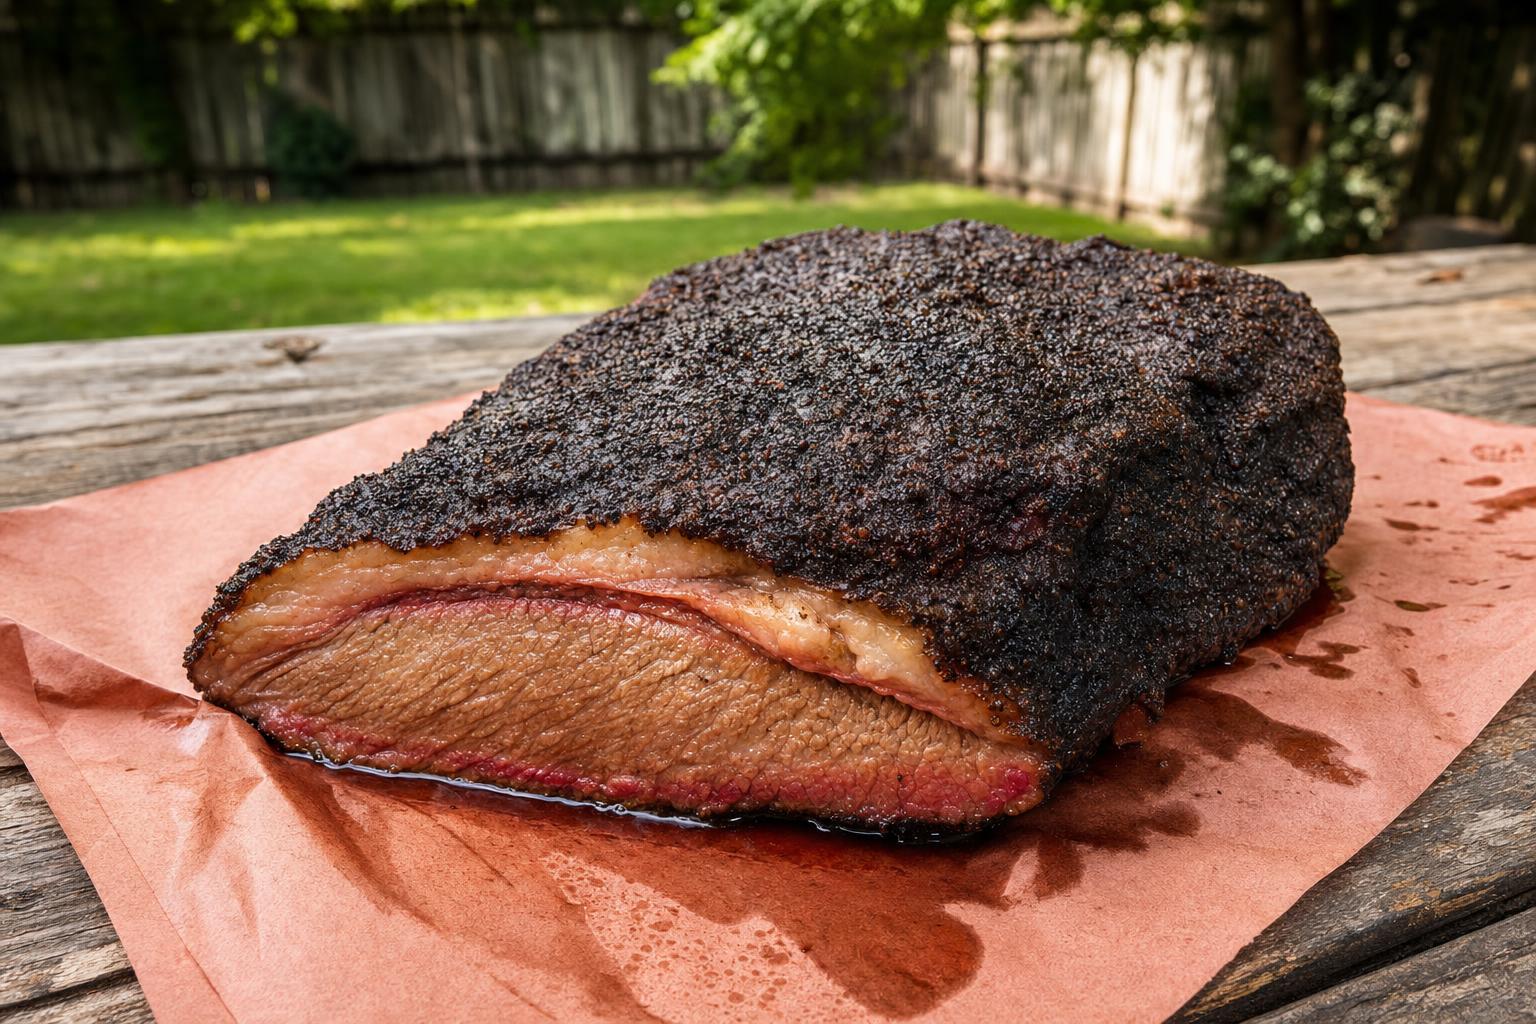
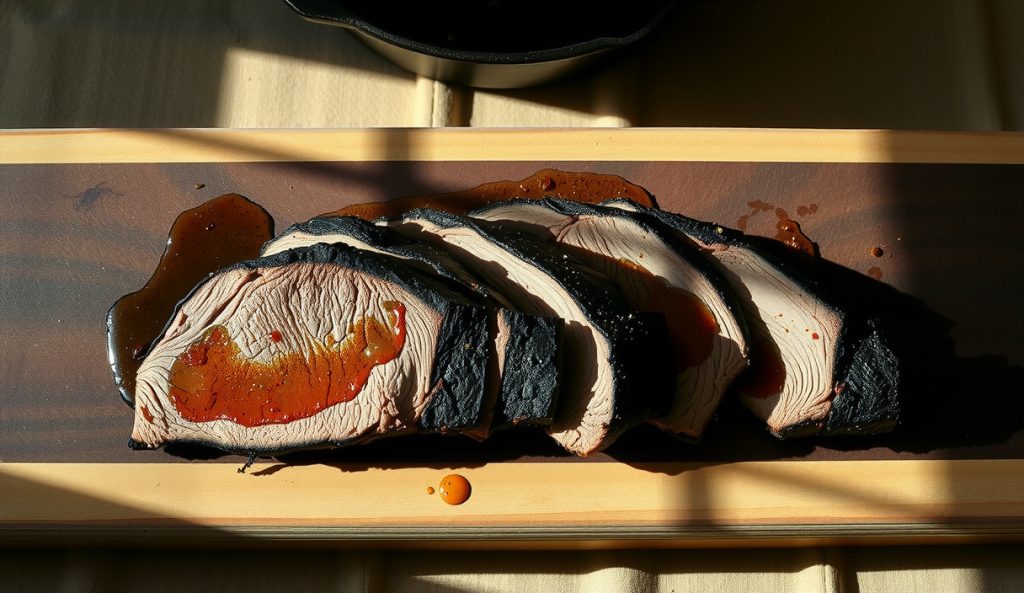
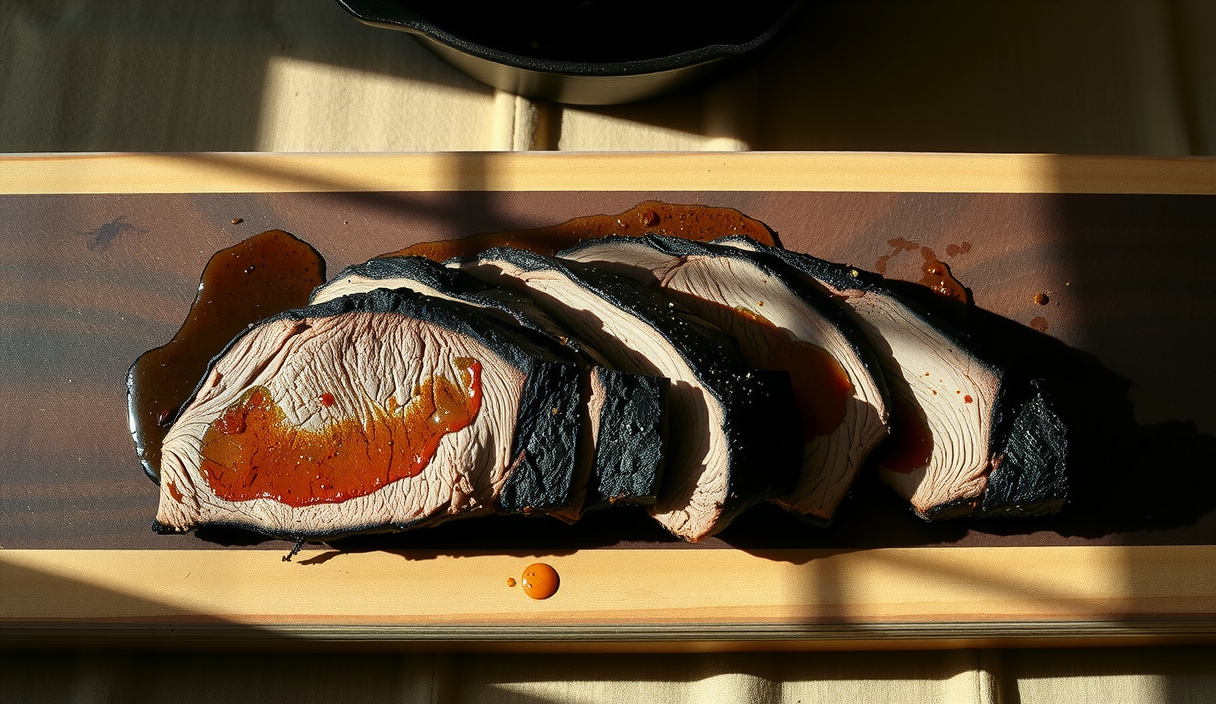
Sous Vide Then Seared Brisket Flat
Equipment
- 1 Immersion circulator Must hold ±0.2°F at 155°F; a PID-controlled unit is strongly preferred
- 1 Large sous vide container or stock pot Minimum 12-quart capacity to maintain stable water temperature over 30 hours
- 1 Vacuum sealer with heavy-duty bags Bags must be rated for extended high-temperature exposure; avoid zip-lock bags for 30-hour cooks
- 1 Cast-iron skillet or carbon-steel plancha Preheat in a 500°F oven for 30 minutes, then finish on a high-BTU burner; the goal is 600°F+ surface temperature
- 1 Instant-read thermometer To verify core temperature before searing and confirm the ice bath drops the bag below 41°F if cooking ahead
- 1 Wire rack set over a sheet pan For the pre-sear surface-drying step in a 170°F oven
Ingredients
Brisket
- 1 beef brisket flat 4 to 6 lb, USDA Choice or Prime, quarter-inch fat cap left intact on one side
Dry rub
- 2 tablespoons kosher salt Diamond Crystal; if using Morton reduce by 25% due to higher density
- 2 tablespoons coarse black pepper 16-mesh or freshly cracked — the larger grind holds its texture through the bath and contributes to bark structure
- 1 teaspoon granulated garlic Apply only immediately before the sear, not before the bath — decomposes poorly in a 30-hour hot anaerobic environment
- 1 teaspoon smoked paprika Apply only immediately before the sear, same reasoning as granulated garlic
For searing
- 1 tablespoon avocado oil or refined sunflower oil High smoke point (480°F+) essential; extra-virgin olive oil will smoke and burn before the surface reaches target browning temperature
Pan sauce (optional, from bag drippings)
- reserved bag liquid (all of it) Collagen-rich gelatin and rendered fat — reduce by 60% in a saucepan over medium-high heat; no additional thickener needed
- 1 teaspoon apple cider vinegar Optional — a small amount of acidity brightens the reduced gelatin pan sauce
- to taste kosher salt and black pepper Adjust the pan sauce seasoning after reduction since flavors concentrate significantly

Instructions
Dry brine (12–24 hours ahead, strongly recommended)
- Mix the kosher salt and coarse black pepper together in a small bowl. This is the bath rub — reserve the granulated garlic and smoked paprika for right before the sear. Coat all surfaces of the brisket flat generously, pressing the rub into the meat. Place the flat on a wire rack over a sheet pan, uncovered, in the refrigerator for a minimum of 12 hours and up to 24 hours. The salt draws surface moisture out via osmosis, then that brine is reabsorbed back into the muscle fibers, raising ionic strength and modestly increasing water-holding capacity before the cook begins.2 tablespoons coarse black pepper
Sous vide cook
- Set your immersion circulator to 155°F (68.3°C) and allow the water bath to reach temperature fully before proceeding. Do not rush this step — a bath that hasn’t stabilized will read target temperature at the probe while the bulk of the water lags behind.
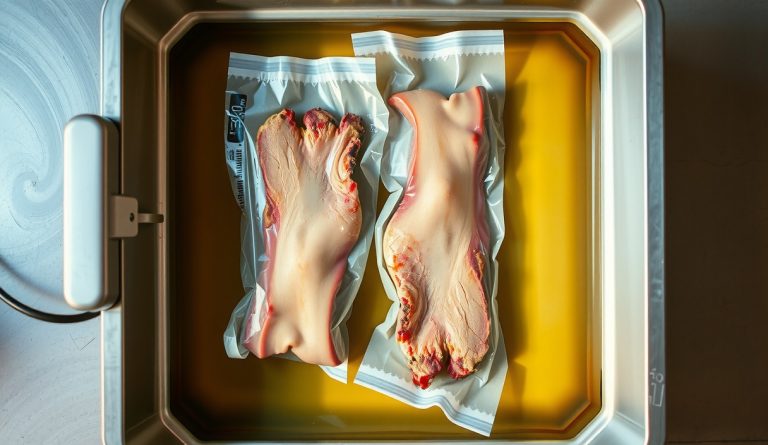
- Vacuum seal the dry-brined brisket flat in a heavy-duty bag. If using a chamber vacuum sealer, seal at maximum vacuum. If using a suction-style unit, seal until the bag is tightly conforming to the surface of the meat with no visible air pockets. The elimination of air ensures uniform heat transfer from the water to the meat surface.
- Submerge the sealed bag in the 155°F water bath. Use a rack, binder clips, or a sous vide weight to keep the bag fully submerged and not folded against the container walls, which can create insulated pockets that slow heat penetration. Cook for 30 hours. Check the water level every 8 to 10 hours and top off with hot water if evaporation has lowered it enough to expose any portion of the bag.
- If serving within 2 hours: Remove the bag from the bath and proceed directly to the surface-drying step. If cooking ahead: Transfer the bag immediately to an ice-water bath (50% ice, 50% cold water) large enough to fully submerge it. Stir the ice bath every 5 minutes. The bag must reach below 41°F within 2 hours — verify with a thermometer probe through the bag. Once chilled, refrigerate for up to 5 days. Reheat in a 140°F water bath for 45 minutes before proceeding to the sear.
Pre-sear surface drying
- Remove the brisket flat from the bag. Pour all bag liquid into a small saucepan and set aside — do not discard it. Pat the surface of the brisket aggressively dry with paper towels on all sides. Then place the flat on a wire rack set over a sheet pan and slide it into an oven set to 170°F (its lowest setting) for 15 minutes. This step drives off residual surface moisture, lowering the surface water activity below the evaporative-cooling lock point so the Maillard cascade can begin immediately when the flat hits the hot pan.reserved bag liquid (all of it)
- Remove the flat from the oven. Immediately dust all surfaces with the granulated garlic and smoked paprika. Apply evenly and press lightly so the spices adhere without clumping.1 teaspoon granulated garlic, 1 teaspoon smoked paprika
High-heat sear
- Place your cast-iron skillet or carbon-steel plancha in a 500°F oven for 30 minutes. Transfer it directly to your highest-BTU burner and preheat on high for an additional 3 to 5 minutes. The pan surface should be well above 500°F — a drop of water should vaporize in under one second with violent spattering. Good ventilation and a powerful exhaust fan are mandatory at this temperature.
- Add the avocado or refined sunflower oil to the ripping-hot pan — it should shimmer and smoke almost immediately. Place the brisket flat in the pan fat-cap side down first. Press it firmly into full contact with the surface using a heavy spatula or grill press. Sear without moving for 60 to 90 seconds until a deeply mahogany-brown bark has formed. Flip and repeat on all remaining surfaces: the two long sides, then each short end. Total sear time from first contact to last surface should be no more than 6 to 8 minutes. You are building bark, not cooking — the interior is already done.1 tablespoon avocado oil or refined sunflower oil
Rest, slice, and sauce
- Transfer the seared brisket to a clean cutting board and tent loosely with aluminum foil. Rest for 10 minutes. Do not skip this — even at 155°F a brief rest allows the gelatin phase to redistribute and the bark to set its texture fully.
- While the brisket rests, make the pan sauce. Pour the reserved bag liquid into the saucepan and bring to a vigorous simmer over medium-high heat. Reduce by 60% — approximately 10 to 12 minutes — until the sauce coats a spoon and has a glossy, slightly viscous consistency from the dissolved gelatin. Add the apple cider vinegar, taste, and adjust salt and pepper.reserved bag liquid (all of it), 1 teaspoon apple cider vinegar, to taste kosher salt and black pepper
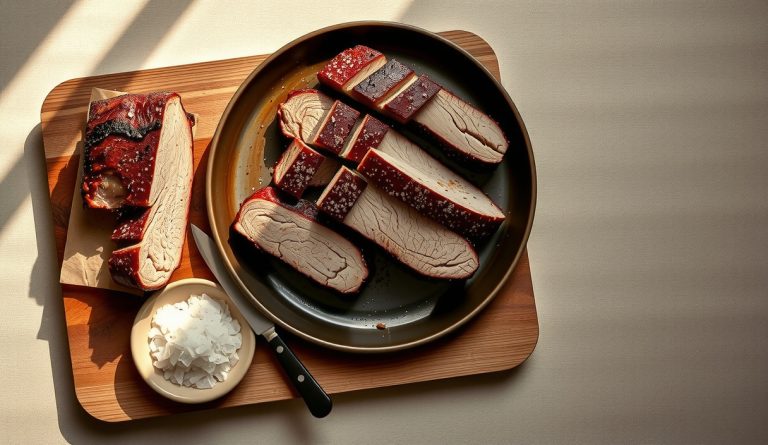
- Identify the grain direction of the brisket flat — the muscle fibers run longitudinally along the length of the cut. Slice perpendicular to the grain (crosswise) in slices approximately 3/8 inch thick. This shorten the muscle fibers in every bite and is the single most impactful mechanical step you can take for tenderness perception. Serve immediately with the pan sauce spooned over the top or served alongside for dipping.
Notes
Nutrition
Chasing the perfect brisket flat means accepting a hard truth: the flat is the leaner, more unforgiving half of the packer. The point has its fat cap to bail it out. The flat has nowhere to hide. Too much heat too fast and the result is a gray, fibrous slab that tastes like regret. Too little surface contact and the bark is sad and thin. The answer is not choosing between tenderness and bark — it is sequencing them.
Sous vide at 155°F for 30 hours, followed by a ripping-hot post-oak sear — this is the protocol that changes everything. The water bath locks in the collagen-conversion window without overshooting into actin-collapse territory. The sear builds the bark the bath can never give you. The result is brisket flat that slices clean, pulls apart with a gentle tug, and has a crust dark enough to fool a competition judge. Where Flavor Meets the Flame.
Why does sous vide brisket flat work? The science
Brisket flat is a composite biomaterial: myofibrillar proteins (myosin and actin) threaded through a dense connective-tissue scaffolding of type I collagen. Sequencing a precise low-temperature bath with a high-heat sear works because it targets each protein system at exactly the right temperature, in the right order, without sacrificing one for the other.
Myosin begins unfolding at roughly 104–116°F, giving the silky, just-cooked texture found in high-end steakhouses. The trouble starts when temperature pushes past 149°F — collagen contracts violently, expelling intracellular moisture. Then comes the real danger zone: actin denatures between 163–172°F, triggering a catastrophic collapse of the muscle’s water-holding capacity. Once actin goes, no amount of resting or fat restores the moisture lost. That is the science behind why badly smoked brisket flat comes out dry and stringy even when the bark looks perfect.
At 155°F — right in the collagen-shrinkage zone but comfortably below the actin-collapse threshold — first-order hydrolysis kinetics do the real work over time. Collagen’s triple-helical structure slowly unwinds into soluble gelatin. Thirty hours at 155°F pushes that reaction far enough along that the tough cross-linked collagen network softens into a rich, self-basting gelatin phase that lubricates every muscle fiber. The flat goes from a rope to a ribbon. Water activity inside the sealed bag stays high, which means moisture loss is prevented almost entirely while the bath delivers a perfectly uniform thermal field — something a smoker alone cannot achieve through the thick geometry of a flat’s cross-section.
The post-sear is pure Maillard engineering. The Maillard cascade — nucleophilic amino groups reacting with electrophilic carbonyls — requires the surface to escape the evaporative-cooling lock at 212°F and climb toward the 285°F+ browning onset. Water activity (aw) on the surface must drop below 0.7. Patting the brisket flat absolutely dry after the bath removes the free surface moisture that would otherwise anchor surface temperature to the boiling point, delaying browning and robbing the cook of bark. A cast-iron skillet or plancha preheated to 600°F+ then drives the surface through the Maillard cascade and into partial Strecker degradation within 90 seconds per side, building hundreds of volatile aroma compounds — pyrazines, furanones, sulfur-containing heterocyclics — without adding meaningful thermal load to the carefully engineered interior.
What equipment and ingredients do you need?
The flat itself: Look for a USDA Choice or Prime brisket flat, 4–6 lb, with at least a quarter-inch of fat cap intact on one side. Do not trim the fat cap before the bath — it acts as a lipid buffer against any hot spots and keeps the surface proteins from forming a rubbery pellicle against the bag. Prime grade has measurably higher intramuscular lipid content, which improves juiciness at the molecular level because the fat phase stays fluid at 155°F and physically lubricates the denatured protein strands.
Immersion circulator: Temperature precision matters here. A variance of ±2°F at 155°F is acceptable; a variance of ±5°F is not. At the lower end of the window, total collagen-hydrolysis time extends meaningfully; at the upper end, the thermal gradient risks cresting 160°F and accelerating actin denaturation. A quality circulator with a PID controller holds the bath to within ±0.1°F. That precision is the entire point of this technique.
Vacuum sealer vs. zipper bags: Use a vacuum sealer and food-safe bags rated for prolonged heat exposure. Zipper bags used via the water-displacement method work for short cooks, but at 30 hours there is meaningful risk of bag failure and water infiltration, which dilutes the accumulated gelatin and drippings used for the pan sauce.
The sear surface: Cast iron or carbon steel preheated in an oven at 500°F, then finished on a screaming gas burner, is the home setup. A plancha or flat-top griddle works even better because contact surface area is maximized. Avoid non-stick — the PTFE coating begins degrading at temperatures well below what is needed for legitimate bark formation. A thin film of high-smoke-point oil (avocado, refined sunflower) prevents sticking without insulating the surface.
The rub: A simple salt-forward rub performs best here because the sous vide environment equalizes internal seasoning over 30 hours through osmotic diffusion. There is no need for a thick bark-building paste — the geometry of the sear does that work. Equal parts kosher salt and coarse black pepper, with a small amount of granulated garlic and smoked paprika for depth, is the formula.
Sous Vide Then Seared Brisket Flat
Equipment
- 1 Immersion circulator Must hold ±0.2°F at 155°F; a PID-controlled unit is strongly preferred
- 1 Large sous vide container or stock pot Minimum 12-quart capacity to maintain stable water temperature over 30 hours
- 1 Vacuum sealer with heavy-duty bags Bags must be rated for extended high-temperature exposure; avoid zip-lock bags for 30-hour cooks
- 1 Cast-iron skillet or carbon-steel plancha Preheat in a 500°F oven for 30 minutes, then finish on a high-BTU burner; the goal is 600°F+ surface temperature
- 1 Instant-read thermometer To verify core temperature before searing and confirm the ice bath drops the bag below 41°F if cooking ahead
- 1 Wire rack set over a sheet pan For the pre-sear surface-drying step in a 170°F oven
Ingredients
Brisket
- 1 beef brisket flat 4 to 6 lb, USDA Choice or Prime, quarter-inch fat cap left intact on one side
Dry rub
- 2 tablespoons kosher salt Diamond Crystal; if using Morton reduce by 25% due to higher density
- 2 tablespoons coarse black pepper 16-mesh or freshly cracked — the larger grind holds its texture through the bath and contributes to bark structure
- 1 teaspoon granulated garlic Apply only immediately before the sear, not before the bath — decomposes poorly in a 30-hour hot anaerobic environment
- 1 teaspoon smoked paprika Apply only immediately before the sear, same reasoning as granulated garlic
For searing
- 1 tablespoon avocado oil or refined sunflower oil High smoke point (480°F+) essential; extra-virgin olive oil will smoke and burn before the surface reaches target browning temperature
Pan sauce (optional, from bag drippings)
- reserved bag liquid (all of it) Collagen-rich gelatin and rendered fat — reduce by 60% in a saucepan over medium-high heat; no additional thickener needed
- 1 teaspoon apple cider vinegar Optional — a small amount of acidity brightens the reduced gelatin pan sauce
- to taste kosher salt and black pepper Adjust the pan sauce seasoning after reduction since flavors concentrate significantly
Instructions
Dry brine (12–24 hours ahead, strongly recommended)
- Mix the kosher salt and coarse black pepper together in a small bowl. This is the bath rub — reserve the granulated garlic and smoked paprika for right before the sear. Coat all surfaces of the brisket flat generously, pressing the rub into the meat. Place the flat on a wire rack over a sheet pan, uncovered, in the refrigerator for a minimum of 12 hours and up to 24 hours. The salt draws surface moisture out via osmosis, then that brine is reabsorbed back into the muscle fibers, raising ionic strength and modestly increasing water-holding capacity before the cook begins.2 tablespoons coarse black pepper
Sous vide cook
- Set your immersion circulator to 155°F (68.3°C) and allow the water bath to reach temperature fully before proceeding. Do not rush this step — a bath that hasn’t stabilized will read target temperature at the probe while the bulk of the water lags behind.
- Vacuum seal the dry-brined brisket flat in a heavy-duty bag. If using a chamber vacuum sealer, seal at maximum vacuum. If using a suction-style unit, seal until the bag is tightly conforming to the surface of the meat with no visible air pockets. The elimination of air ensures uniform heat transfer from the water to the meat surface.
- Submerge the sealed bag in the 155°F water bath. Use a rack, binder clips, or a sous vide weight to keep the bag fully submerged and not folded against the container walls, which can create insulated pockets that slow heat penetration. Cook for 30 hours. Check the water level every 8 to 10 hours and top off with hot water if evaporation has lowered it enough to expose any portion of the bag.
- If serving within 2 hours: Remove the bag from the bath and proceed directly to the surface-drying step. If cooking ahead: Transfer the bag immediately to an ice-water bath (50% ice, 50% cold water) large enough to fully submerge it. Stir the ice bath every 5 minutes. The bag must reach below 41°F within 2 hours — verify with a thermometer probe through the bag. Once chilled, refrigerate for up to 5 days. Reheat in a 140°F water bath for 45 minutes before proceeding to the sear.
Pre-sear surface drying
- Remove the brisket flat from the bag. Pour all bag liquid into a small saucepan and set aside — do not discard it. Pat the surface of the brisket aggressively dry with paper towels on all sides. Then place the flat on a wire rack set over a sheet pan and slide it into an oven set to 170°F (its lowest setting) for 15 minutes. This step drives off residual surface moisture, lowering the surface water activity below the evaporative-cooling lock point so the Maillard cascade can begin immediately when the flat hits the hot pan.reserved bag liquid (all of it)
- Remove the flat from the oven. Immediately dust all surfaces with the granulated garlic and smoked paprika. Apply evenly and press lightly so the spices adhere without clumping.1 teaspoon granulated garlic, 1 teaspoon smoked paprika
High-heat sear
- Place your cast-iron skillet or carbon-steel plancha in a 500°F oven for 30 minutes. Transfer it directly to your highest-BTU burner and preheat on high for an additional 3 to 5 minutes. The pan surface should be well above 500°F — a drop of water should vaporize in under one second with violent spattering. Good ventilation and a powerful exhaust fan are mandatory at this temperature.
- Add the avocado or refined sunflower oil to the ripping-hot pan — it should shimmer and smoke almost immediately. Place the brisket flat in the pan fat-cap side down first. Press it firmly into full contact with the surface using a heavy spatula or grill press. Sear without moving for 60 to 90 seconds until a deeply mahogany-brown bark has formed. Flip and repeat on all remaining surfaces: the two long sides, then each short end. Total sear time from first contact to last surface should be no more than 6 to 8 minutes. You are building bark, not cooking — the interior is already done.1 tablespoon avocado oil or refined sunflower oil
Rest, slice, and sauce
- Transfer the seared brisket to a clean cutting board and tent loosely with aluminum foil. Rest for 10 minutes. Do not skip this — even at 155°F a brief rest allows the gelatin phase to redistribute and the bark to set its texture fully.
- While the brisket rests, make the pan sauce. Pour the reserved bag liquid into the saucepan and bring to a vigorous simmer over medium-high heat. Reduce by 60% — approximately 10 to 12 minutes — until the sauce coats a spoon and has a glossy, slightly viscous consistency from the dissolved gelatin. Add the apple cider vinegar, taste, and adjust salt and pepper.reserved bag liquid (all of it), 1 teaspoon apple cider vinegar, to taste kosher salt and black pepper
- Identify the grain direction of the brisket flat — the muscle fibers run longitudinally along the length of the cut. Slice perpendicular to the grain (crosswise) in slices approximately 3/8 inch thick. This shorten the muscle fibers in every bite and is the single most impactful mechanical step you can take for tenderness perception. Serve immediately with the pan sauce spooned over the top or served alongside for dipping.
Notes
Nutrition
How do you nail this brisket flat every time? Tips
- Pat completely dry before searing — this is non-negotiable. Surface moisture anchors the boundary layer at 212°F via evaporative phase change. Every second the surface of the brisket flat spends at 212°F is a second the Maillard cascade cannot start. Paper towels followed by a 15-minute uncovered rest on a rack in a 170°F oven drives off residual surface moisture, producing bark that forms in under 90 seconds per side.
- Do not skip the ice bath if cooking ahead. The USDA kill-step is satisfied at 155°F (pasteurized within approximately 50 minutes), but if not searing immediately, drop the sealed bag into a 50/50 ice-water bath for 30 minutes to bring the internal temperature below 41°F before refrigerating. Holding brisket flat between 57°F and 70°F for extended periods is a Clostridium risk in reduced-oxygen packaging.
- Retain every drop of the bag liquid. The fluid that collects in the bag over 30 hours is collagen-rich gelatin, rendered fat, and concentrated beefy fond. Reducing it in a saucepan by 60% produces a pan sauce that requires nothing else. Discarding it is the culinary equivalent of throwing away the best part of the cook.
- Temperature-probe the center before searing. The bath guarantees a uniform internal temperature, but brisket flat chilled after an ahead-of-time cook needs 30 minutes at room temperature before the sear. A cold center will absorb too much heat during searing and push the surface temperature lower than intended, slowing bark formation.
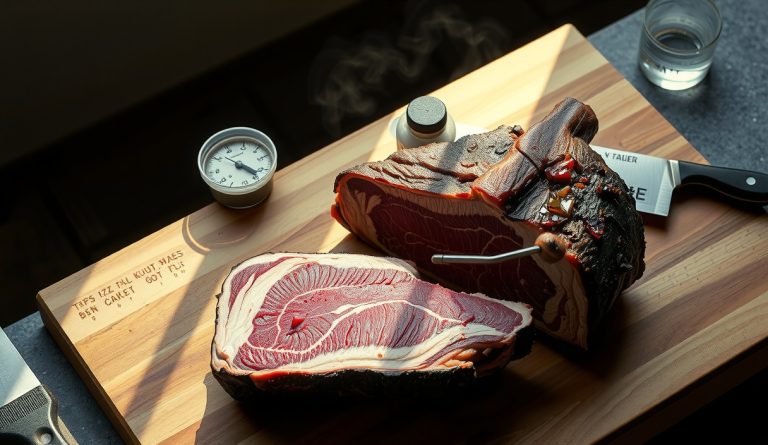
- Slice against the grain, always. The grain of the flat runs longitudinally. Cutting with the grain leaves long, intact muscle fibers that feel tough and stringy even when the connective tissue is perfectly gelatinized. Cutting perpendicular to the grain shortens those fibers, giving every bite a tender shear point.
- Rest 10 minutes tented loosely before slicing. Even at 155°F the thermal gradient inside the flat creates localized protein stress. A brief rest redistributes the gelatin phase and allows surface temperature to equalize, so the bark stays crisp while the interior relaxes.
What variations can you try with this technique?
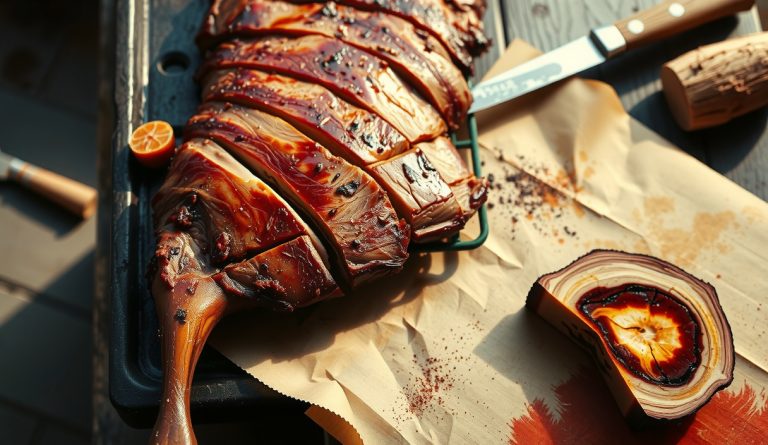
Texas-style smoked finish: Instead of a cast-iron sear, cold-smoke the brisket flat over post oak at 225°F for 2–3 hours after the bath. This delivers a traditional smoke ring (nitric oxide from incomplete combustion penetrating the myoglobin layer) and the aromatic phenols — guaiacol, syringol — that define the Central Texas profile, while the sous vide interior remains perfectly calibrated. The smoke ring is essentially decorative at this stage but psychologically and organoleptically it matters.
Wagyu or full packer: For a full packer brisket (flat plus point), sous vide at 155°F for 36 hours to account for the increased geometry. The point’s higher intramuscular fat content is more forgiving, but the additional time ensures the flat end reaches complete collagen hydrolysis uniformly across its thicker sections. Wagyu flats at 155°F produce an almost butter-textured interior that some cooks find too soft — dialing the temperature up to 158°F and reducing time to 24 hours delivers a firmer, more traditional bite.
Low-sodium adaptation: Replace half the kosher salt in the rub with smoked salt — the higher perceived saltiness per gram means total sodium drops meaningfully while the seasoning profile holds. Osmotic diffusion over 30 hours distributes sodium more evenly than a surface rub applied before a short cook, so even at reduced concentrations the interior of the flat is well-seasoned.
Scaling up: This technique scales linearly by piece count, not by total mass. Two 5 lb flats in the same bath require the same 30-hour window as one — bath temperature governs hydrolysis kinetics, not the number of bags. Ensure water circulation is not impeded; use a rack to keep bags separated so convective heat transfer reaches every surface of every bag uniformly.
Frequently asked questions about sous vide brisket flat
Is 155°F really safe for 30 hours of sous vide cooking? Yes, definitively. USDA pasteurization tables confirm that beef held at 155°F achieves a 6.5-log reduction in Salmonella within approximately 50 minutes of reaching that temperature. At 30 hours, the entire mass of the brisket flat has been pasteurized multiple times over. The reduced-oxygen environment requires proper rapid chilling (ice bath to below 41°F within 2 hours) if the flat is not being seared and served immediately.
Why not go lower and slower — say 145°F for 48 hours — for an even more tender result? At 145°F, hydrolysis kinetics are far slower. Forty-eight hours may not fully convert the dense type I collagen network of a brisket flat — a cut with substantially more cross-linked collagen than, say, a chuck roast. The result can be inconsistently tender: gelatinized near the bag walls and still tough in the center. At 155°F the kinetics are fast enough to fully convert the flat’s collagen load within the 30-hour window reliably.
Can the rub be applied before the bath rather than after? Yes, and applying salt 12–24 hours before sealing — a dry brine — is the preferred approach. Salt at concentrations of roughly 0.5–1% by weight of the meat draws surface moisture out initially via osmosis, then that brine is reabsorbed into the muscle fibers over several hours. Reabsorption raises ionic strength inside the muscle cells, altering electrostatic interactions between myosin filaments and modestly increasing water-holding capacity before the cook begins. Skip the granulated garlic and paprika in the pre-bath rub — those degrade unpleasantly over 30 hours in a hot, wet, anaerobic environment and should be applied fresh immediately before the sear.