Sous Vide Smoked Beef Cheeks
Equipment
- 1 Immersion circulator Must hold temperature within ±1°F. Verify with calibrated probe before loading.
- 1 Vacuum sealer and bags Channel-style minimum; chamber sealer preferred for a 36-hour cook. Avoid zipper-lock bags.
- 1 Large sous vide vessel or hotel pan Minimum 12-quart capacity. Cover with plastic wrap or a lid to minimize evaporation over 36 hours.
- 1 Offset smoker or kettle smoker Must hold a stable 250°F. A pellet grill set to 250°F with oak pellets is an acceptable substitute.
- 1 Calibrated probe thermometer For verifying bath temperature and smoker chamber temperature independently.
- 1 Boning knife For silver-skin removal. Must be sharp — dull knives tear fascia rather than cutting cleanly.
- 3 to 4 Oak wood chunks Post oak or white oak. Soak-free — dry chunks produce more consistent, less steamy smoke.
Ingredients
Beef Cheeks
- 2 whole beef cheeks (masseter muscle), 12–16 oz each trimmed weight Source from a butcher when possible. Look for the defined cheek muscle, not adjacent cheek meat.
- 1 tbsp Diamond Crystal kosher salt Use 2 tsp if substituting Morton kosher salt. Do not use iodized table salt.
- 1 tsp coarsely ground black pepper 16-mesh preferred. Coarse grind survives the long bath without going bitter.
- 1 tsp garlic powder Optional. Adds Maillard-reactive precursors to the bark layer.
- 1 tsp smoked paprika Optional. Adds pigment and a light phenolic backbone to the crust.
Bag Liquid Sauce (from reserved cook liquid)
- 1 cup reserved bag liquid from sous vide cook Strain through fine-mesh strainer. Will be deeply gelatinous when cold.
- 2 tbsp unsalted butter, cold and cubed For finishing. Add off-heat to prevent breaking the emulsion.
- 1 tsp red wine vinegar or fresh lemon juice Optional acid finish to balance the richness of the reduced gelatin sauce.

Instructions
Trim and Dry-Brine (12–24 hours before cook)
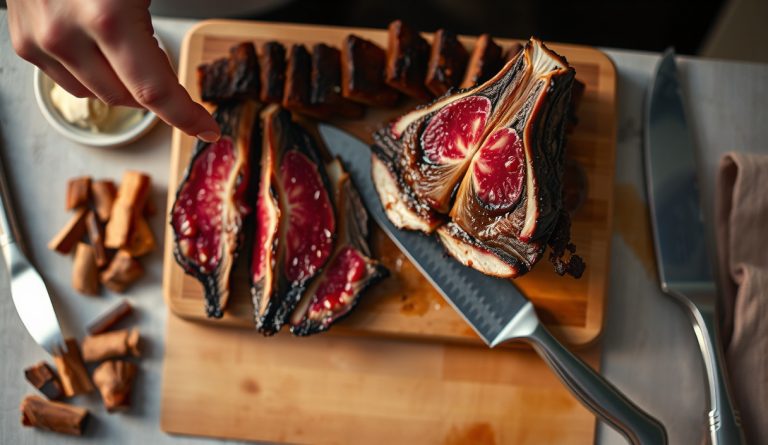
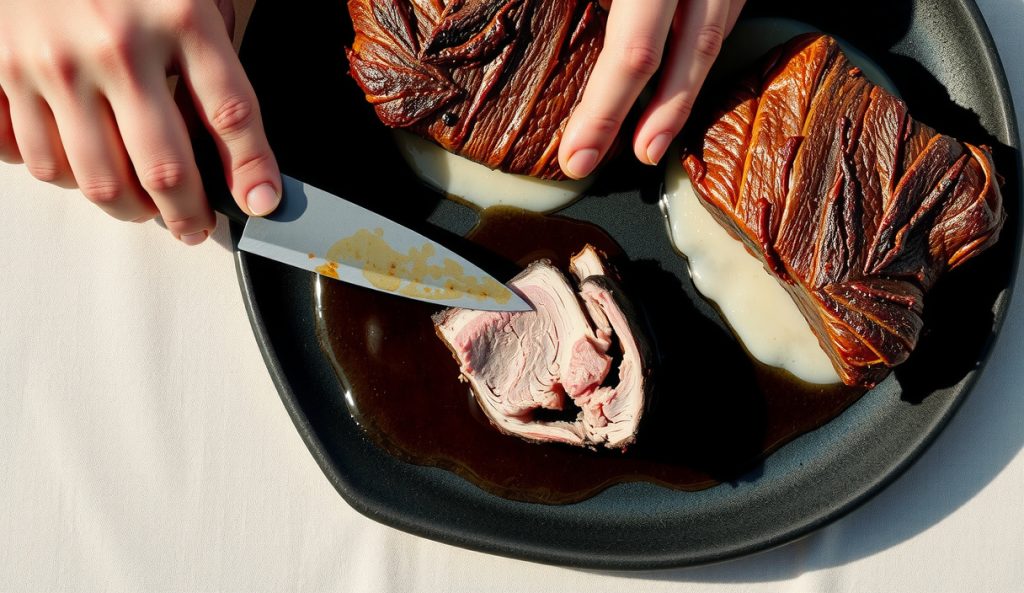
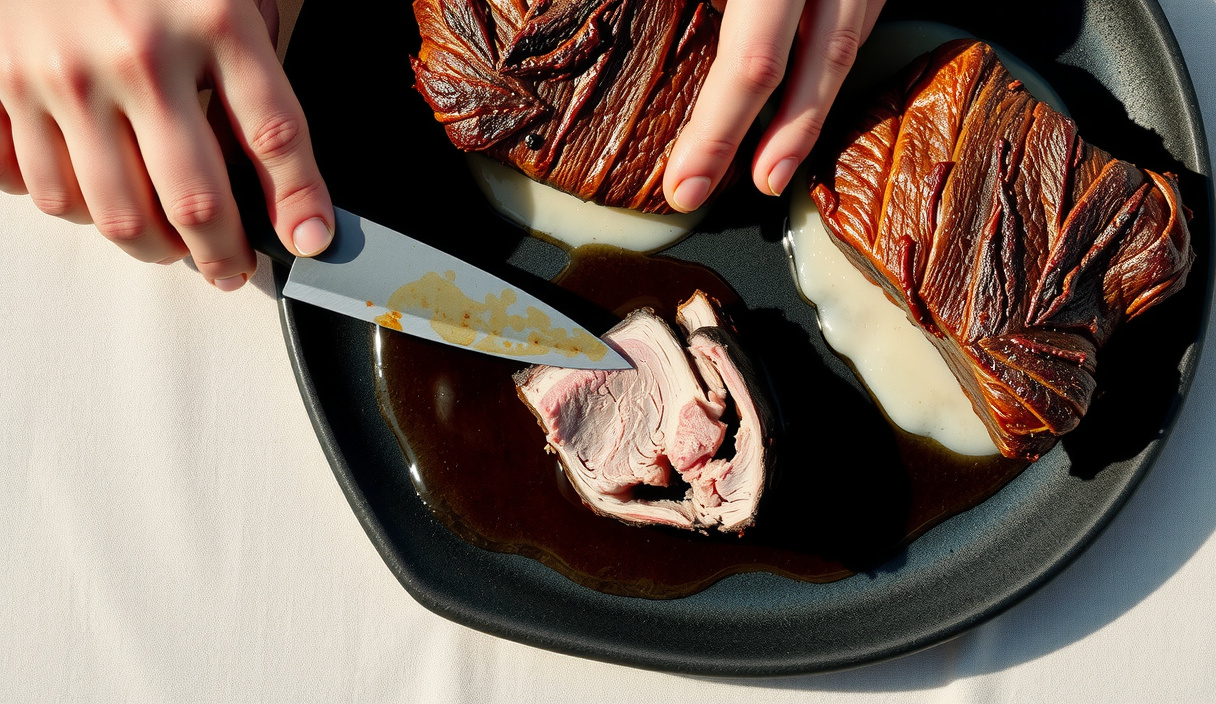
- Place each beef cheek on a cutting board. Locate all silver-skin — the pearlescent, opaque connective tissue fascia on the surface of the muscle. Using a sharp boning knife angled nearly flat against the meat, slide the blade under the membrane while pulling it taut with your off hand. Remove all silver-skin completely. This is not optional: fascia is a poor thermal conductor and its presence creates an uneven heat-transfer gradient through the cheek, compromising collagen conversion uniformity during the 36-hour bath.
- Combine the kosher salt, black pepper, garlic powder, and smoked paprika in a small bowl and mix to combine. Season each cheek liberally on all exposed surfaces. Place the seasoned cheeks on a wire rack set over a rimmed baking sheet and refrigerate, uncovered, for 12 to 24 hours. The dry-brine draws surface moisture out via osmosis, then allows it to be reabsorbed carrying dissolved salt deeper into the muscle fibers, increasing intracellular ionic strength and Water-Holding Capacity during the long bath.1 tbsp Diamond Crystal kosher salt, 1 tsp coarsely ground black pepper, 1 tsp garlic powder, 1 tsp smoked paprika
Sous Vide (36 hours at 165°F / 74°C)
- Set your immersion circulator to 165°F (74°C). Verify the temperature with a calibrated probe thermometer independently of the circulator’s display — do not proceed until the bath is confirmed at 165°F. Cover the vessel with plastic wrap or a lid to minimize evaporation over the long cook.
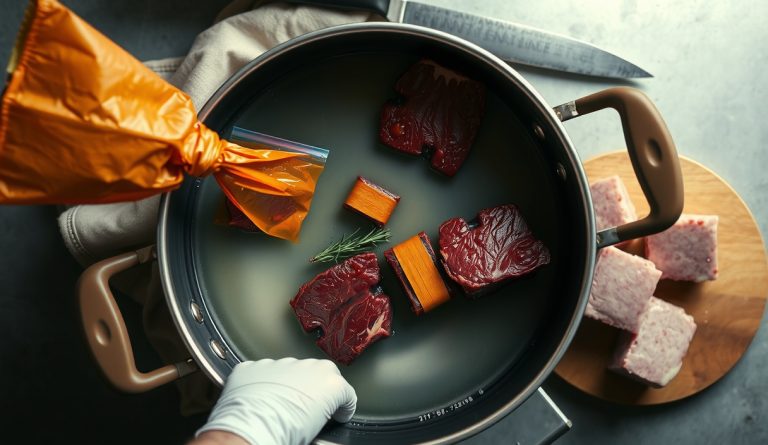
- Vacuum-seal each beef cheek in a separate bag, or place both in one large bag ensuring they are not stacked directly on top of each other — water must be able to circulate between them. If using a chamber sealer, seal at full vacuum. If using a channel-style sealer, seal at the highest available vacuum setting. Submerge the sealed bags in the preheated bath and clip or weight them so they remain fully submerged. Cook at 165°F for exactly 36 hours. Do not open the vessel repeatedly. At this temperature, full pasteurization is achieved within 90 minutes of the cheek core reaching bath temperature; the remaining 34-plus hours are dedicated to collagen hydrolysis.
- When the 36-hour cook is complete, remove the bags from the bath. If not smoking immediately, transfer the still-sealed bags to an ice bath (50% ice, 50% water) and chill for 45 minutes to bring the core temperature below 40°F (4°C) quickly, then refrigerate for up to 5 days. When ready to smoke, reheat the sealed bags in a 140°F (60°C) bath for 45 minutes before proceeding to the smoke finish.
Smoke Finish (90 minutes at 250°F / 121°C)
- Prepare your smoker and bring it to a stable 250°F (121°C). Add 3 to 4 dry oak wood chunks to the firebox or over coals. You are looking for thin blue smoke — not billowing white smoke, which indicates incomplete combustion and will deposit bitter creosote on the surface.
- Open each bag carefully over a bowl, reserving every drop of the bag liquid. This gelatinous liquid is your sauce base. Remove the cheeks and pat every surface completely dry with paper towels — work quickly and thoroughly. Residual bag liquid on the surface will suppress the surface temperature, delay Maillard onset, and produce a gray, steamed exterior instead of bark. Do not rinse the cheeks.1 cup reserved bag liquid from sous vide cook
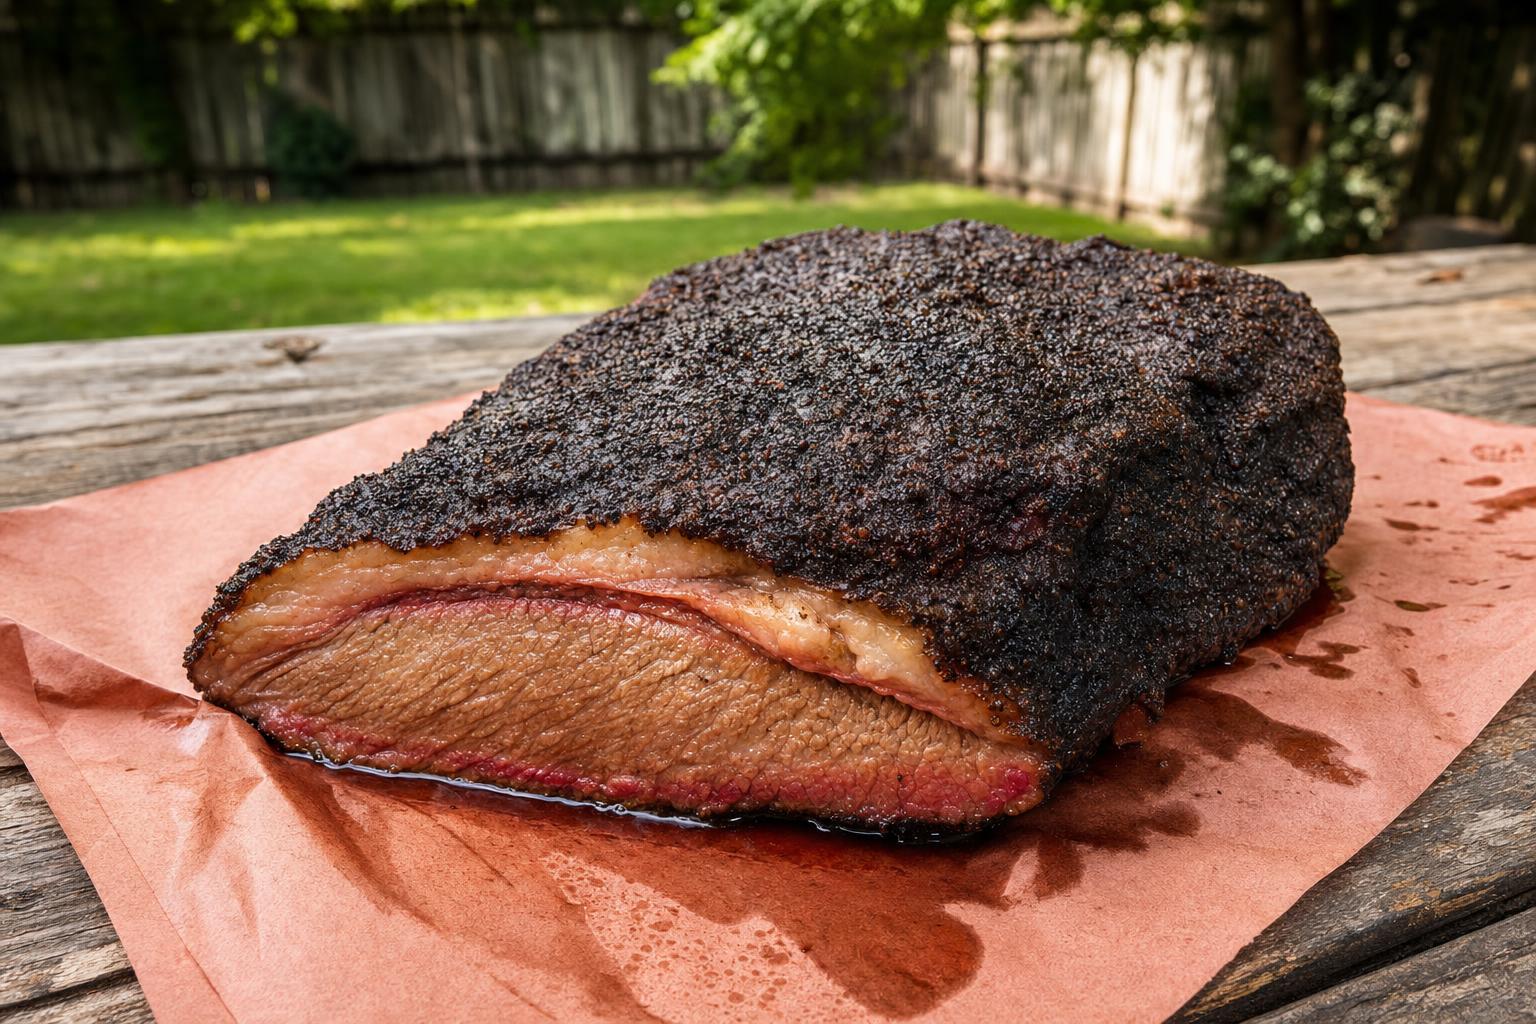
- Place the patted-dry cheeks directly on the smoker grate, leaving at least 2 inches between them for airflow. Smoke at 250°F for 90 minutes, resisting the urge to open the smoker more than once. The exterior will develop a deep mahogany to near-black bark as oak phenolics (primarily guaiacol and syringol) deposit and polymerize on the tacky, drying surface. Internal temperature is not the target here — bark formation is.
- Remove the cheeks from the smoker. Tent loosely with aluminum foil and rest for 15 minutes before slicing. This allows dissolved gelatin within the muscle to redistribute and partially re-set, giving you a sliceable rather than collapsing result. Slice against the grain for plated service, or shred for tacos.
Bag Liquid Sauce
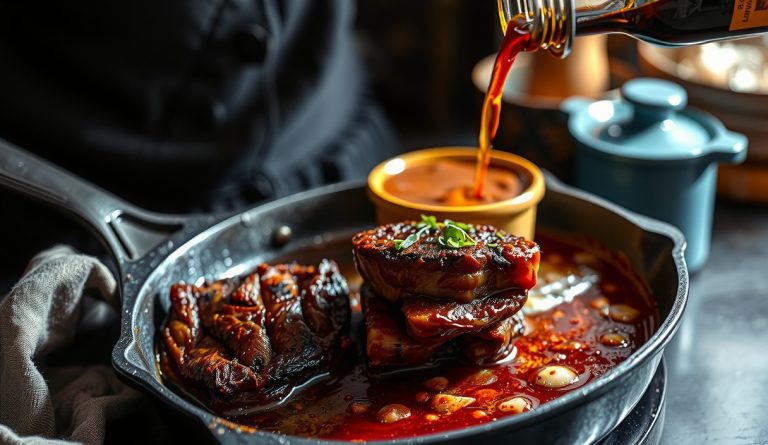
- Pour the reserved bag liquid through a fine-mesh strainer into a small saucepan. Skim any visible fat from the surface. Bring to a simmer over medium heat and reduce by half — the liquid will visibly thicken as water evaporates and gelatin concentration increases. Taste for seasoning; it will likely need very little salt.1 cup reserved bag liquid from sous vide cook
- Remove the pan from heat. Add the cold, cubed butter one piece at a time, swirling the pan to emulsify each cube before adding the next. Do not return to a boil after butter has been added — this will break the emulsion. Finish with a few drops of red wine vinegar or lemon juice to balance the richness. Serve the sauce alongside or spooned over the sliced cheeks.1 cup reserved bag liquid from sous vide cook, 2 tbsp unsalted butter, cold and cubed, 1 tsp red wine vinegar or fresh lemon juice
Notes
Nutrition
Beef cheeks are one of the most overlooked cuts in the butcher case, and that obscurity is your gain. The beef cheek is the masseter muscle of the steer — the muscle that spends a lifetime chewing cud. All that mechanical work builds a muscle with roughly 30% collagen by lean weight, more than brisket, more than short rib, and far more than chuck roast. That collagen density is simultaneously the problem and the prize. Cook the beef cheek wrong and you get a brick. Cook it precisely right and you get something that approaches the texture of wagyu: slick, richly gelatinous, with a pull-apart resistance that stops just short of complete dissolution.
The technique here is a two-stage thermal deployment: a 36-hour sous vide bath at 165°F (74°C) followed by a 90-minute smoke finish at 250°F (121°C). The bath does the molecular work. The smoker does the sensory work. Together they produce bark, depth, and an interior texture that no straight-smoke or braise method can fully replicate. This is not a weekend recipe — it is a 40-hour commitment, and every hour is earning its keep inside the bag.
Why does the beef cheek work? The science behind the method
Beef cheek achieves its signature gelatinous texture because sustained heat above 70°C (158°F) converts the muscle’s dense collagen matrix into soluble gelatin — but only if that temperature is held long enough to drive hydrolysis to near-completion. The collagen matrix begins to shrink at around 60°C to 65°C (140–149°F), which is why cheeks cooked rapidly at high heat emerge tight and chewy: the collagen contracts faster than it hydrolyzes. To convert that connective tissue into lip-coating gelatin, you need sustained temperature above the hydrolysis threshold, which accelerates sharply above 70°C (158°F).
The bath runs at 165°F (74°C) — high enough to push first-order collagen hydrolysis kinetics into productive territory, low enough to sit well beneath the 74.4°C (166°F) threshold where actin fully denatures and Water-Holding Capacity (WHC) collapses catastrophically. At 36 hours and 165°F, collagen-to-gelatin conversion approaches completion while the myofibrillar proteins remain in a controlled, partially denatured state that retains meaningful moisture. The result is a matrix where dissolved gelatin lubricates the denatured myosin strands from the inside — an architectural texture no quick-cook method can engineer.
Silver-skin removal before bagging is non-negotiable from a heat-transfer standpoint. Fascia is a poor thermal conductor — its dense, crosslinked collagen-I fibers and low water content create a boundary layer that slows heat penetration into the underlying muscle. Leaving silver-skin intact means the geometry of the thermal gradient is uneven: the outer muscle reaches 165°F on one timeline while deeper fiber bundles lag behind, producing inconsistent collagen conversion. Strip it cold, before bagging, with a sharp boning knife angled flush against the surface. Removing the silver-skin also allows the bag’s resting liquid — which accumulates substantial gelatin during the cook — to contact all exposed muscle surfaces directly, accelerating mass transfer of dissolved proteins.
The smoke finish at 250°F (121°C) is not a second cook — it is a Maillard and phenolic deposition event. The beef cheek surface exits the bag at pasteurized temperature with a water activity (aw) near 0.99, which means the boundary layer must be aggressively dried before meaningful browning can begin. Evaporative cooling at the surface anchors skin temperature near 100°C (212°F) until that moisture dissipates, delaying Maillard onset — which requires well above that threshold to generate the pyrazines, furans, and sulfur-containing heterocyclics responsible for roasted bark character. Oak smoke at 250°F produces phenolic compounds, primarily guaiacol and syringol, that deposit on the tacky, slightly dehydrated surface and polymerize into the visible, crunchy bark layer. After 90 minutes the bark is set, the interior has been gently re-heated to service temperature, and the dissolved gelatin in the muscle has redistributed rather than purged.
What equipment and ingredients do I need?
Immersion circulator: Temperature precision matters here. A circulator that swings ±1°F is acceptable; one that swings ±3°F is not. At 165°F the cook threads a needle between productive collagen hydrolysis and actin over-denaturation. Set the circulator, verify with a calibrated probe thermometer before loading, and do not open the vessel lid repeatedly.
Vacuum sealer: Channel-style sealers work for this application. Chamber sealers are ideal. Avoid zipper-lock water-displacement bags for a 36-hour cook — seal integrity at sustained heat becomes a real concern, and any leak that dilutes the bag liquid also dilutes the gelatin concentration.
Beef cheeks: Source from a butcher rather than a supermarket when possible — cheeks sold pre-trimmed at retail are often already stripped of the surrounding fat cap that helps protect the muscle during the bath. The goal is the cheek muscle (masseter) itself, not the cheek meat adjacent to it. Each trimmed cheek runs 12 to 16 oz. Two cheeks serve four people generously.
Kosher salt: Diamond Crystal is the reference here. Morton kosher is denser — use 75% of the listed weight if substituting. Do not use iodized table salt.
Oak wood chunks: Post oak is the Texas standard. White oak is a close second. Avoid mesquite for this application — 90 minutes of mesquite at 250°F will push the phenolic deposition into acrid territory on a wet, gelatin-rich surface.
Sous Vide Smoked Beef Cheeks
Equipment
- 1 Immersion circulator Must hold temperature within ±1°F. Verify with calibrated probe before loading.
- 1 Vacuum sealer and bags Channel-style minimum; chamber sealer preferred for a 36-hour cook. Avoid zipper-lock bags.
- 1 Large sous vide vessel or hotel pan Minimum 12-quart capacity. Cover with plastic wrap or a lid to minimize evaporation over 36 hours.
- 1 Offset smoker or kettle smoker Must hold a stable 250°F. A pellet grill set to 250°F with oak pellets is an acceptable substitute.
- 1 Calibrated probe thermometer For verifying bath temperature and smoker chamber temperature independently.
- 1 Boning knife For silver-skin removal. Must be sharp — dull knives tear fascia rather than cutting cleanly.
- 3 to 4 Oak wood chunks Post oak or white oak. Soak-free — dry chunks produce more consistent, less steamy smoke.
Ingredients
Beef Cheeks
- 2 whole beef cheeks (masseter muscle), 12–16 oz each trimmed weight Source from a butcher when possible. Look for the defined cheek muscle, not adjacent cheek meat.
- 1 tbsp Diamond Crystal kosher salt Use 2 tsp if substituting Morton kosher salt. Do not use iodized table salt.
- 1 tsp coarsely ground black pepper 16-mesh preferred. Coarse grind survives the long bath without going bitter.
- 1 tsp garlic powder Optional. Adds Maillard-reactive precursors to the bark layer.
- 1 tsp smoked paprika Optional. Adds pigment and a light phenolic backbone to the crust.
Bag Liquid Sauce (from reserved cook liquid)
- 1 cup reserved bag liquid from sous vide cook Strain through fine-mesh strainer. Will be deeply gelatinous when cold.
- 2 tbsp unsalted butter, cold and cubed For finishing. Add off-heat to prevent breaking the emulsion.
- 1 tsp red wine vinegar or fresh lemon juice Optional acid finish to balance the richness of the reduced gelatin sauce.
Instructions
Trim and Dry-Brine (12–24 hours before cook)
- Place each beef cheek on a cutting board. Locate all silver-skin — the pearlescent, opaque connective tissue fascia on the surface of the muscle. Using a sharp boning knife angled nearly flat against the meat, slide the blade under the membrane while pulling it taut with your off hand. Remove all silver-skin completely. This is not optional: fascia is a poor thermal conductor and its presence creates an uneven heat-transfer gradient through the cheek, compromising collagen conversion uniformity during the 36-hour bath.
- Combine the kosher salt, black pepper, garlic powder, and smoked paprika in a small bowl and mix to combine. Season each cheek liberally on all exposed surfaces. Place the seasoned cheeks on a wire rack set over a rimmed baking sheet and refrigerate, uncovered, for 12 to 24 hours. The dry-brine draws surface moisture out via osmosis, then allows it to be reabsorbed carrying dissolved salt deeper into the muscle fibers, increasing intracellular ionic strength and Water-Holding Capacity during the long bath.1 tbsp Diamond Crystal kosher salt, 1 tsp coarsely ground black pepper, 1 tsp garlic powder, 1 tsp smoked paprika
Sous Vide (36 hours at 165°F / 74°C)
- Set your immersion circulator to 165°F (74°C). Verify the temperature with a calibrated probe thermometer independently of the circulator’s display — do not proceed until the bath is confirmed at 165°F. Cover the vessel with plastic wrap or a lid to minimize evaporation over the long cook.
- Vacuum-seal each beef cheek in a separate bag, or place both in one large bag ensuring they are not stacked directly on top of each other — water must be able to circulate between them. If using a chamber sealer, seal at full vacuum. If using a channel-style sealer, seal at the highest available vacuum setting. Submerge the sealed bags in the preheated bath and clip or weight them so they remain fully submerged. Cook at 165°F for exactly 36 hours. Do not open the vessel repeatedly. At this temperature, full pasteurization is achieved within 90 minutes of the cheek core reaching bath temperature; the remaining 34-plus hours are dedicated to collagen hydrolysis.
- When the 36-hour cook is complete, remove the bags from the bath. If not smoking immediately, transfer the still-sealed bags to an ice bath (50% ice, 50% water) and chill for 45 minutes to bring the core temperature below 40°F (4°C) quickly, then refrigerate for up to 5 days. When ready to smoke, reheat the sealed bags in a 140°F (60°C) bath for 45 minutes before proceeding to the smoke finish.
Smoke Finish (90 minutes at 250°F / 121°C)
- Prepare your smoker and bring it to a stable 250°F (121°C). Add 3 to 4 dry oak wood chunks to the firebox or over coals. You are looking for thin blue smoke — not billowing white smoke, which indicates incomplete combustion and will deposit bitter creosote on the surface.
- Open each bag carefully over a bowl, reserving every drop of the bag liquid. This gelatinous liquid is your sauce base. Remove the cheeks and pat every surface completely dry with paper towels — work quickly and thoroughly. Residual bag liquid on the surface will suppress the surface temperature, delay Maillard onset, and produce a gray, steamed exterior instead of bark. Do not rinse the cheeks.1 cup reserved bag liquid from sous vide cook
- Place the patted-dry cheeks directly on the smoker grate, leaving at least 2 inches between them for airflow. Smoke at 250°F for 90 minutes, resisting the urge to open the smoker more than once. The exterior will develop a deep mahogany to near-black bark as oak phenolics (primarily guaiacol and syringol) deposit and polymerize on the tacky, drying surface. Internal temperature is not the target here — bark formation is.
- Remove the cheeks from the smoker. Tent loosely with aluminum foil and rest for 15 minutes before slicing. This allows dissolved gelatin within the muscle to redistribute and partially re-set, giving you a sliceable rather than collapsing result. Slice against the grain for plated service, or shred for tacos.
Bag Liquid Sauce
- Pour the reserved bag liquid through a fine-mesh strainer into a small saucepan. Skim any visible fat from the surface. Bring to a simmer over medium heat and reduce by half — the liquid will visibly thicken as water evaporates and gelatin concentration increases. Taste for seasoning; it will likely need very little salt.1 cup reserved bag liquid from sous vide cook
- Remove the pan from heat. Add the cold, cubed butter one piece at a time, swirling the pan to emulsify each cube before adding the next. Do not return to a boil after butter has been added — this will break the emulsion. Finish with a few drops of red wine vinegar or lemon juice to balance the richness. Serve the sauce alongside or spooned over the sliced cheeks.1 cup reserved bag liquid from sous vide cook, 2 tbsp unsalted butter, cold and cubed, 1 tsp red wine vinegar or fresh lemon juice
Notes
Nutrition
How do I nail it every time? Tips for a perfect result
- Strip all silver-skin before bagging, not after. Fascia is a thermal insulator. Any intact membrane creates an uneven collagen-conversion gradient through the cheek. Use a boning knife at a low angle, pulling the membrane taut with your off hand.
- Dry-brine uncovered 12 to 24 hours before bagging. Salt draws surface moisture out via osmosis, then that moisture is reabsorbed carrying dissolved salt into the muscle fiber. This raises the ionic strength of the intracellular environment, increasing the Water-Holding Capacity of the myofibrillar proteins during the long bath. A wet, unseasoned bag interior also impedes Maillard onset on the smoke finish.
- Pat the surface bone-dry before loading the smoker. The single most common failure mode for the smoke finish is a pale, steamed exterior. Bag liquid condenses on the cold cheek surface the moment the bag is opened. Use paper towels, work quickly, and get the cheeks into the smoker within 10 minutes of opening.
- Do not exceed 250°F in the smoker. The cheek interior is already fully cooked and pasteurized. The smoke stage is surface chemistry only. Higher temperatures risk pushing the interior back above 74.4°C (166°F) rapidly — crossing actin’s catastrophic denaturation threshold and expelling the gelatin-rich liquid built over 36 hours.
- Rest 15 minutes tented before slicing. Dissolved gelatin in the muscle redistributes as the cheek cools slightly. Slicing immediately after pulling from the smoker causes excessive purge. A 15-minute rest under loose foil allows the gelatin to re-set partially, giving a sliceable rather than collapsing result.
- Reserve the bag liquid — it is finished demi-glace. The liquid in the bag after 36 hours is intensely gelatinous, deeply saline, and fully pasteurized. Strain it, skim the fat, reduce by half on the stovetop, and finish with a pat of cold butter for a restaurant-quality sauce from byproduct.
What variations can I make with this recipe?
Regional smoke profiles: Post oak is canonical for Central Texas BBQ, but beef cheeks respond well to regional wood variation. Cherry wood adds a subtly sweet phenolic note and a deeper mahogany surface color. Pecan sits between oak and hickory in intensity and pairs particularly well with the beef’s intrinsic iron and fat notes. For a Korean-inspired direction, finish over a brief binchotan charcoal gust — no wood smoke, just radiant heat — and slice thin for ssam service with perilla, gochujang, and pickled daikon.
Braise-finish variation: If a smoker is not available, pull the cheeks from the bag, sear hard in a cast-iron skillet with rendered beef tallow at screaming-hot temperature for 60 to 90 seconds per side, then deglaze with the bag liquid plus a splash of dry red wine. Reduce until the sauce coats a spoon. The bark is lost but the full gelatin-conversion benefit of the sous vide stage is retained, and the sear provides a condensed Maillard surface.
Scaling up: The technique scales linearly — four cheeks fit in a full hotel pan sous vide setup as easily as two. Do not stack cheeks directly against each other in the bag; use two separate bags or space them so water circulates between them. Circulation is the heat-transfer medium, and blocking it creates cold pockets that compromise collagen-conversion uniformity.
Serving formats: Slice thick against the grain for plated dinner service. Shred for tacos — the gelatin-rich strands hold moisture far better than pulled brisket and do not dry out under a heat lamp. Slice thin and press for beef cheek torta filling. The gelatin content also means sliced cheeks can be portioned cold, vacuum-sealed, and re-thermalized at 140°F in 20 minutes for service without quality loss — a useful restaurant prep advantage.
Frequently asked questions about sous vide smoked beef cheeks
Can I shorten the sous vide time to 24 hours? A 24-hour cook at 165°F / 74°C is possible, but collagen conversion will be meaningfully incomplete. At 24 hours the beef cheek will be tender relative to raw, but noticeably less gelatinous and more fibrous than the 36-hour result. If time is the constraint, consider a different cut — short rib at 155°F for 24 hours will deliver a better result than a rushed cheek.
Is 165°F safe for a 36-hour sous vide cook? Yes — definitively. USDA pasteurization of beef requires achieving a specific log-reduction of pathogens as a function of both temperature and time. At 165°F (74°C) the required exposure time for a 6.5-log reduction in vegetative pathogens is measured in seconds, not hours. By the time the cheek core equilibrates to bath temperature — roughly 90 minutes into the cook — full pasteurization is achieved and maintained for the remaining 34-plus hours. The cook operates well within validated food safety parameters.
Why do my cheeks look gray instead of developing bark in the smoker? Gray exterior color after 90 minutes almost always traces back to residual surface moisture — bag liquid that was not fully patted dry before loading. That moisture layer suppresses surface temperature, delays Maillard onset, and produces a steamed rather than smoked exterior. A secondary cause is insufficient phenolic adhesion: if the cheek surface lacks the necessary tacky, partially dehydrated protein layer, guaiacol and syringol compounds from the smoke cannot adhere effectively. The fix is to open the smoker dampers slightly to increase airflow and drying rate for the first 20 minutes before closing back to smoking position.