Gluten-Free Smoked Wings — Shatter-Crisp Coating

Equipment
- 1 Smoker or kettle grill (indirect heat, 250°F capable) Pellet grill, offset, or kettle with snake method. Wood: cherry or apple chunks.
- 1 Instant-read thermometer Thermapen or equivalent. Required for the 160°F pull point.
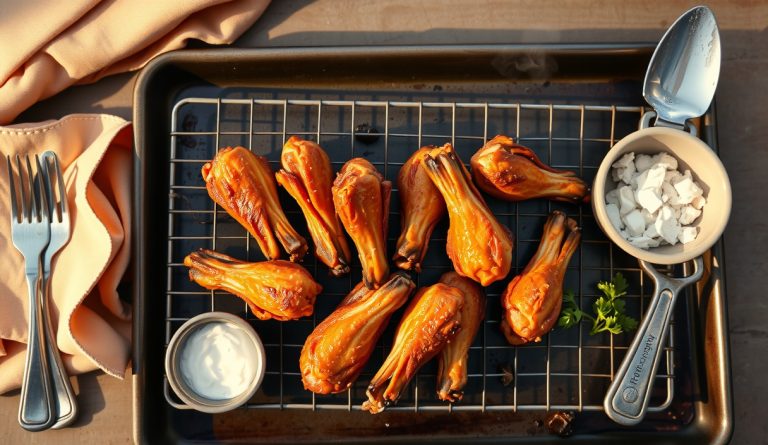
- 1 Wire rack set inside a rimmed sheet pan For the oven-finish option. Elevates wings so rendered fat drips away and hot air circulates on all sides.
- 1 Large zip-lock bag or wide mixing bowl For tossing the dredge onto the wings.
- 1 Cast-iron skillet or Dutch oven (fry-finish option) Holds a minimum of 2 inches of oil at 375°F. A 5-quart Dutch oven is ideal for heat stability.
- 1 Clip-on or probe thermometer For monitoring oil temperature if using the fry-finish method.
Ingredients
Wings
- 3 lbs chicken party wings (flats and drumettes, split) Pat dry thoroughly with paper towels. Place on a wire rack uncovered in the refrigerator for 8–24 hours before cooking. This is not optional — surface drying is the mechanism for crust adhesion.
- 1 tsp kosher salt Applied to the wings before the dredge. Brines the surface proteins and pre-seasons the meat.
- 1 tsp black pepper, freshly ground
Gluten-Free Dredge
- 3 tbsp tapioca starch Not tapioca flour. Provides the elastic, pliable base film that adheres to the skin. Gelatinizes at 140–149°F during the smoke stage, anchoring the dredge.
- 3 tbsp cornstarch Use certified gluten-free cornstarch (Bob’s Red Mill or Anthony’s). Forms the rigid, glass-like lattice in the high-heat finish stage. Gelatinizes at 157–167°F.
- 1 tsp certified gluten-free baking powder Clabber Girl or Rumford are certified GF. Raises surface pH to approximately 8.0–8.5, accelerating Maillard browning in the finish stage.
- 1 tsp garlic powder
- 1 tsp smoked paprika Adds a secondary smoke compound layer and contributes carotenoid pigments that deepen color.
- 0.5 tsp onion powder
- 0.5 tsp cayenne pepper Optional. Adds trigeminal TRPV1 heat. Omit for a mild profile.
- 0.5 tsp kosher salt In the dredge, separate from the pre-season salt.
Smoke Stage
- 2 oz cherry or apple wood chunks One fist-sized chunk at a time. Avoid over-smoking wings — their high surface-area-to-mass ratio makes them absorb smoke compounds faster than large cuts.
Finish Stage (choose one method)
- 2 tbsp neutral oil (avocado, refined coconut, or grapeseed) Oven-finish option: brush or mist lightly over wings before the 425°F blast. Accelerates Maillard by providing a thin conductive lipid layer.
- 1 quart neutral frying oil (avocado or refined peanut) Fry-finish option only. Fill the Dutch oven or skillet to 2 inches. Target 375°F. High smoke-point oils prevent off-flavor development at frying temperatures.

Instructions
Dry-Brine and Prep (Day Before)
- Pat the wings completely dry with paper towels — every surface, every crevice. Set them on a wire rack placed over a sheet pan. Season lightly with 1 tsp kosher salt and 1 tsp black pepper. Refrigerate uncovered for 8 to 24 hours. The goal is a surface that looks matte and feels tacky to the touch, not wet. This step directly controls crust adhesion: a wet surface creates a paste-dredge that steams rather than crisps.1 tsp kosher salt, 1 tsp black pepper, freshly ground
Build the Dredge
- Combine 3 tbsp tapioca starch, 3 tbsp cornstarch, 1 tsp certified GF baking powder, 1 tsp garlic powder, 1 tsp smoked paprika, 0.5 tsp onion powder, 0.5 tsp cayenne (if using), and 0.5 tsp kosher salt in a wide bowl or zip-lock bag. Whisk or shake until homogeneous. There should be no visible clumps — baking powder lumps will create localized alkaline hot-spots and uneven color.3 tbsp tapioca starch, 3 tbsp cornstarch, 1 tsp certified gluten-free baking powder, 1 tsp garlic powder, 1 tsp smoked paprika, 0.5 tsp onion powder, 0.5 tsp cayenne pepper, 0.5 tsp kosher salt
- Remove the wings from the refrigerator. Working in batches of 8 to 10 pieces, add them to the dredge bag or bowl and toss aggressively until every surface is coated. Shake off any large excess — you want a thin, even film, not a thick crust. Return the coated wings to the wire rack and let them rest for exactly 10 minutes before loading the smoker. During this rest, surface moisture migrates into the starch layer, partially gelatinizing it and gluing it to the skin.3 tbsp tapioca starch, 3 tbsp cornstarch, 1 tsp certified gluten-free baking powder, 1 tsp garlic powder, 1 tsp smoked paprika, 0.5 tsp onion powder, 0.5 tsp cayenne pepper, 0.5 tsp kosher salt
Smoke Stage (250°F to 160°F Internal)
- Set up your smoker or kettle grill for indirect heat and stabilize the temperature at 250°F. Add one chunk of cherry or apple wood. Place the coated wings directly on the grate, skin side up, leaving at least 1 inch between pieces. Do not crowd them — airflow is smoke-delivery infrastructure.2 oz cherry or apple wood chunks
- Smoke the wings uncovered at 250°F until an instant-read thermometer inserted into the thickest part of a drumette (not touching bone) reads 160°F internal. This will take 60 to 90 minutes depending on wing size, smoker efficiency, and ambient temperature. Add a second wood chunk at the 30-minute mark if smoke has subsided. Do not open the smoker unnecessarily — each lid-lift drops the chamber temperature and extends the smoke time unpredictably.2 oz cherry or apple wood chunks
- At 160°F, remove the wings and transfer them immediately to the wire rack set over a sheet pan. The dredge will appear set but pale — that is correct. The Maillard browning happens in the finish stage, not the smoker. Move quickly to the next step; resting time here should be under 5 minutes to retain maximum surface heat for the finish.
Finish Stage — Option A: Oven at 425°F
- While the wings are in the final 15 minutes of the smoke stage, preheat your oven to 425°F convection (or 450°F conventional if convection is unavailable). Lightly brush or spray the smoked wings with 2 tbsp neutral oil. This thin lipid layer conducts heat into the starch matrix and provides the fat-phase needed to fry the crust from the outside while rendered subcutaneous fat fries it from the inside.2 tbsp neutral oil (avocado, refined coconut, or grapeseed)
- Slide the wire rack with wings into the oven. Roast for 15 to 20 minutes, flipping the wings once at the 10-minute mark, until the crust is deeply golden and the surface cracks when you gently flex a wing. Internal temperature should reach 165–170°F. Remove immediately — at 175°F+ the actin network collapses fully and the meat turns dry.2 tbsp neutral oil (avocado, refined coconut, or grapeseed)
Finish Stage — Option B: Fry at 375°F
- Pour 1 quart neutral frying oil into a 5-quart Dutch oven or a deep cast-iron skillet. Heat over medium-high to 375°F on a clip-on thermometer. Maintain this temperature throughout — temperature drop during frying is the primary cause of soggy fried coatings because it shifts starch granule behavior from rapid dehydration to slow stewing.1 quart neutral frying oil (avocado or refined peanut)
- Working in batches of 6 to 8 wings, lower them into the oil using tongs or a spider strainer. Fry for 3 to 4 minutes, turning once, until deeply golden and the crust visibly crackles. Allow the oil to return to 375°F between batches (2 to 3 minutes). Drain on a wire rack, not paper towels — paper towels trap steam against the crust and collapse the lattice you just built.1 quart neutral frying oil (avocado or refined peanut)
Serve
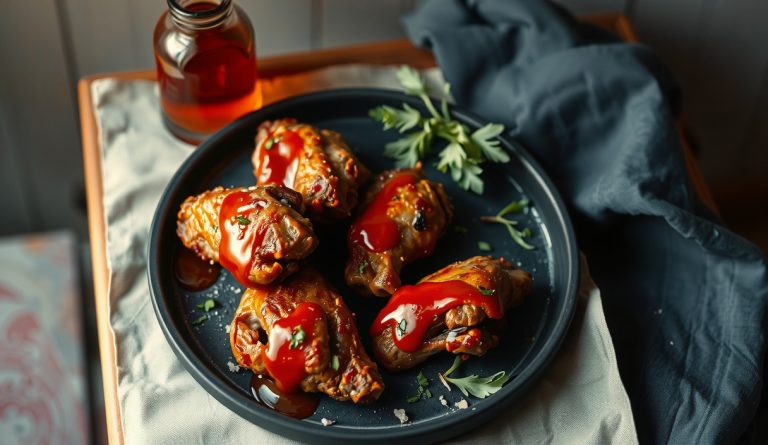
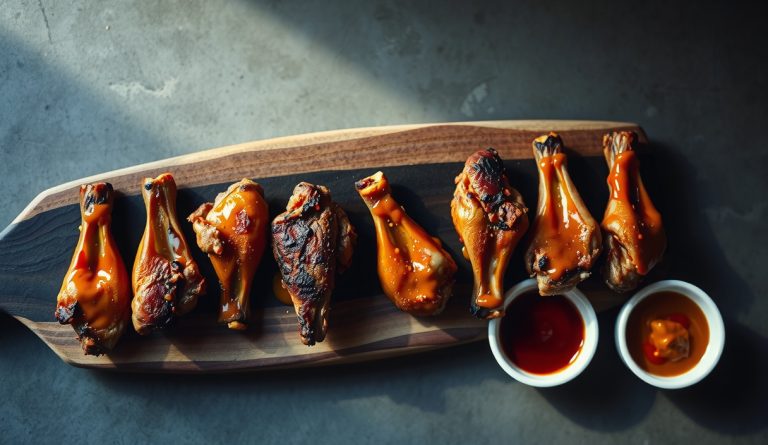
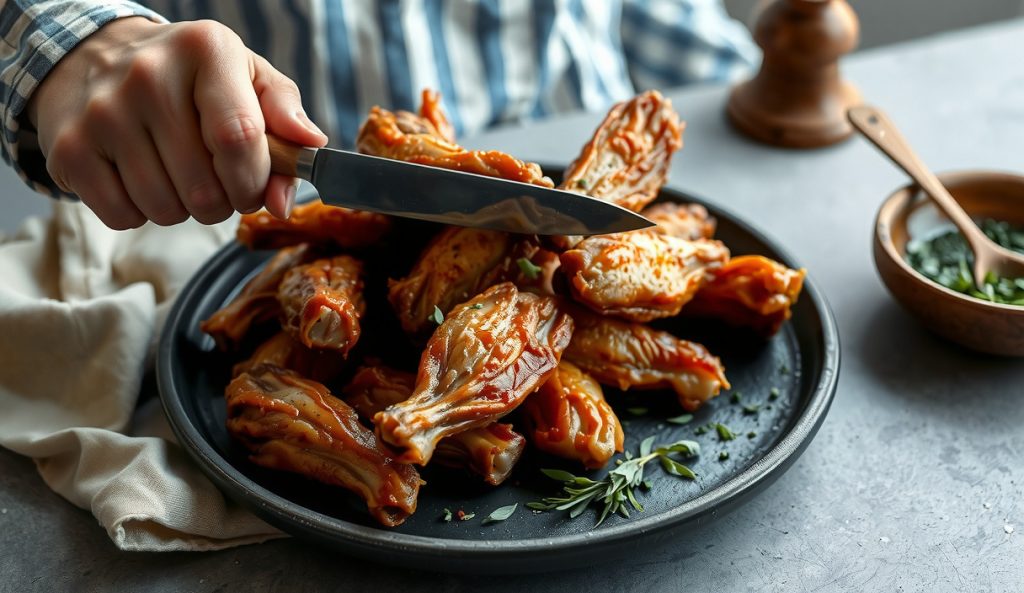
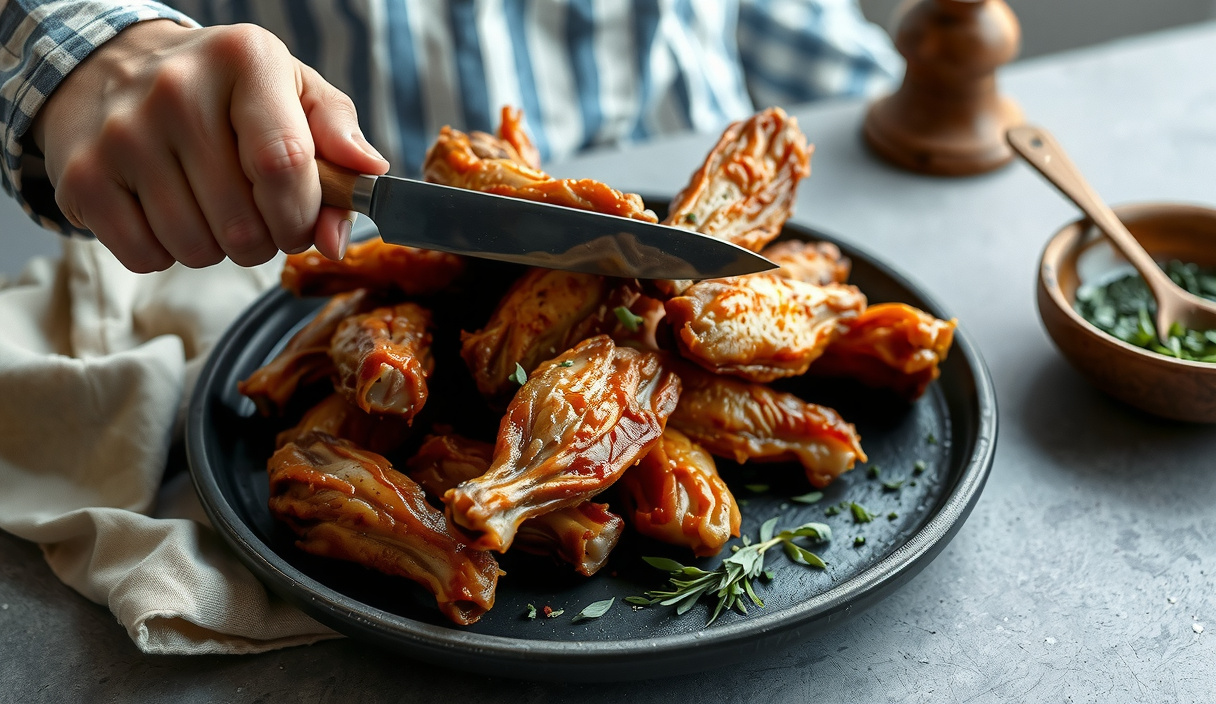
- Serve immediately — the shatter-crisp window is widest in the first 8 minutes off the heat. If tossing in sauce, use a butter-emulsified hot sauce (Buffalo style) applied just before plating: the fat phase coats the starch lattice rather than hydrating it. Water-based sauces should be served on the side for dipping to preserve the crust’s integrity. A sprinkle of flaky salt over the wings immediately after finishing reinforces the savory top note.
Notes
Nutrition
The greatest sin in wing cookery is not the sauce — it is the coating. A soggy, pale crust that peels away in one deflating sheet is the product of misunderstood physics: too much surface moisture, the wrong starch, and a thermal program that never gives the Maillard reaction its moment. American Meathead set out to fix every single failure point, and the result is a gluten-free smoked wing with a crust so crisp it audibly shatters when you bite through it.
The method is a two-stage thermal program borrowed from competition kitchens and applied to a backyard setup. Stage one is a 250°F smoke bath that drives the internal temperature to 160°F while depositing smoke compounds into the subcutaneous fat layer. Stage two is a ferocious 425°F oven blast or a 375°F fry that flash-dehydrates the outer dredge and ignites the full Maillard cascade. Together they produce something a single-cook method never can: deep smoke penetration married to a shatter-crisp shell.
Why do gluten-free smoked wings work? The science
Gluten-free smoked wings achieve their shatter-crisp texture because a two-starch dredge system, combined with a two-stage thermal program, replicates and then exceeds the structural performance of wheat-flour coatings. Wing skin is a composite biomaterial: a collagen-rich dermis beneath a lipid-dense epidermis. At the 250°F smoker temperature, two parallel reactions dominate the interior. Collagen in the skin layer undergoes thermal hydrolysis — transitioning from fibrous triple-helices toward soluble gelatin — while subcutaneous fat renders progressively into the space between the dermis and the dredge, creating the lubricating lipid layer that will later fry the crust from the inside out.
Holding the smoke phase below 300°F keeps the surface water activity (aw) high enough to absorb phenolic smoke compounds (guaiacol, syringol) but low enough to prevent premature Maillard onset, which would consume browning precursors before the high-heat finish stage arrives and needs them.
The dredge is where gluten-free science gets specific. Traditional wheat flour relies on hydrated gluten networks to grip the protein surface and form a continuous film. Without gluten, the recipe uses a two-starch system: tapioca starch (waxy, high amylopectin, gelatinizes at 140–149°F) for the elastic, pliable initial film, and cornstarch (higher amylose, gelatinizes at 157–167°F) for the rigid, glass-like lattice that locks in after the high-heat stage. Baking powder introduces alkalinity — pH 8.0–8.5 at the surface — which dramatically accelerates the Maillard cascade: amino groups become more nucleophilic, and Schiff base formation and Amadori rearrangement proceed faster, generating the browned melanoidin pigments responsible for color and that roasted, complex aroma.
The salt predissolution step brines the surface proteins, increasing their water-holding capacity slightly while pre-solubilizing them so they bond more aggressively to the dredge during the coating step. Wings are stall-free unlike large briskets: wings have minimal collagen mass relative to surface area, so evaporative cooling never accumulates enough latent-heat load to create a prolonged stall. Once the internal temperature hits 160°F in the smoker, the actin network has not yet fully collapsed — that threshold is 165–167°F in poultry — meaning the meat remains moist. Pulling wings at exactly 160°F internal and immediately transferring to the high-heat finish stage ensures carryover and finish heat reach a final internal of 165–170°F inside a window narrow enough to prevent the actomyosin contraction that produces dry, cottony texture in wing meat.
What equipment and ingredients do I need?
- Smoker or kettle grill: Any indirect-heat setup capable of holding 245–255°F works. Pellet grills make temperature management trivial. On a kettle, use the snake method with a single row of briquettes. A water pan under the wings moderates heat spikes and keeps the cooking chamber humidity slightly elevated, which helps smoke deposition.
- Wood choice: Cherry or apple for mild, sweet smoke that does not compete with the coating’s browning notes. Hickory works but can turn harsh on high-surface-area cuts like wings if overloaded — use no more than one fist-sized chunk at a time.
- Tapioca starch: Not tapioca flour (they differ in granule size and processing). Bob’s Red Mill and Anthony’s are reliably labeled correctly. Tapioca starch is the amylopectin-dominant fraction; its high gelatinization expansion creates a pliable, elastic film that adheres to the skin without cracking on the first bite.
- Baking powder — certified gluten-free: Clabber Girl and Rumford are certified GF. Standard baking powder sometimes uses wheat starch as the carrier. Check your label. The alkalizing effect is the mechanism here — do not substitute baking soda at equal volume (it is three to four times more alkaline and will produce a soapy, metallic aftertaste).
- Finishing options: A convection oven at 425°F is pitmaster-realistic and keeps the fat in the oven instead of your kitchen. A cast-iron skillet or Dutch oven with 2 inches of neutral oil at 375°F is faster and produces marginally more even browning. Both are listed in the instructions. Do not re-smoke after the dredge — the smoke compounds in the dredge will go acrid under long thermal exposure.
- Thermometer: Non-negotiable. A Thermapen or comparable instant-read probe is required for the 160°F pull point. An oven-safe leave-in probe (Signals, DOT) is optional but useful.
Gluten-Free Smoked Wings — Shatter-Crisp Coating
Equipment
- 1 Smoker or kettle grill (indirect heat, 250°F capable) Pellet grill, offset, or kettle with snake method. Wood: cherry or apple chunks.
- 1 Instant-read thermometer Thermapen or equivalent. Required for the 160°F pull point.
- 1 Wire rack set inside a rimmed sheet pan For the oven-finish option. Elevates wings so rendered fat drips away and hot air circulates on all sides.
- 1 Large zip-lock bag or wide mixing bowl For tossing the dredge onto the wings.
- 1 Cast-iron skillet or Dutch oven (fry-finish option) Holds a minimum of 2 inches of oil at 375°F. A 5-quart Dutch oven is ideal for heat stability.
- 1 Clip-on or probe thermometer For monitoring oil temperature if using the fry-finish method.
Ingredients
Wings
- 3 lbs chicken party wings (flats and drumettes, split) Pat dry thoroughly with paper towels. Place on a wire rack uncovered in the refrigerator for 8–24 hours before cooking. This is not optional — surface drying is the mechanism for crust adhesion.
- 1 tsp kosher salt Applied to the wings before the dredge. Brines the surface proteins and pre-seasons the meat.
- 1 tsp black pepper, freshly ground
Gluten-Free Dredge
- 3 tbsp tapioca starch Not tapioca flour. Provides the elastic, pliable base film that adheres to the skin. Gelatinizes at 140–149°F during the smoke stage, anchoring the dredge.
- 3 tbsp cornstarch Use certified gluten-free cornstarch (Bob’s Red Mill or Anthony’s). Forms the rigid, glass-like lattice in the high-heat finish stage. Gelatinizes at 157–167°F.
- 1 tsp certified gluten-free baking powder Clabber Girl or Rumford are certified GF. Raises surface pH to approximately 8.0–8.5, accelerating Maillard browning in the finish stage.
- 1 tsp garlic powder
- 1 tsp smoked paprika Adds a secondary smoke compound layer and contributes carotenoid pigments that deepen color.
- 0.5 tsp onion powder
- 0.5 tsp cayenne pepper Optional. Adds trigeminal TRPV1 heat. Omit for a mild profile.
- 0.5 tsp kosher salt In the dredge, separate from the pre-season salt.
Smoke Stage
- 2 oz cherry or apple wood chunks One fist-sized chunk at a time. Avoid over-smoking wings — their high surface-area-to-mass ratio makes them absorb smoke compounds faster than large cuts.
Finish Stage (choose one method)
- 2 tbsp neutral oil (avocado, refined coconut, or grapeseed) Oven-finish option: brush or mist lightly over wings before the 425°F blast. Accelerates Maillard by providing a thin conductive lipid layer.
- 1 quart neutral frying oil (avocado or refined peanut) Fry-finish option only. Fill the Dutch oven or skillet to 2 inches. Target 375°F. High smoke-point oils prevent off-flavor development at frying temperatures.
Instructions
Dry-Brine and Prep (Day Before)
- Pat the wings completely dry with paper towels — every surface, every crevice. Set them on a wire rack placed over a sheet pan. Season lightly with 1 tsp kosher salt and 1 tsp black pepper. Refrigerate uncovered for 8 to 24 hours. The goal is a surface that looks matte and feels tacky to the touch, not wet. This step directly controls crust adhesion: a wet surface creates a paste-dredge that steams rather than crisps.1 tsp kosher salt, 1 tsp black pepper, freshly ground
Build the Dredge
- Combine 3 tbsp tapioca starch, 3 tbsp cornstarch, 1 tsp certified GF baking powder, 1 tsp garlic powder, 1 tsp smoked paprika, 0.5 tsp onion powder, 0.5 tsp cayenne (if using), and 0.5 tsp kosher salt in a wide bowl or zip-lock bag. Whisk or shake until homogeneous. There should be no visible clumps — baking powder lumps will create localized alkaline hot-spots and uneven color.3 tbsp tapioca starch, 3 tbsp cornstarch, 1 tsp certified gluten-free baking powder, 1 tsp garlic powder, 1 tsp smoked paprika, 0.5 tsp onion powder, 0.5 tsp cayenne pepper, 0.5 tsp kosher salt
- Remove the wings from the refrigerator. Working in batches of 8 to 10 pieces, add them to the dredge bag or bowl and toss aggressively until every surface is coated. Shake off any large excess — you want a thin, even film, not a thick crust. Return the coated wings to the wire rack and let them rest for exactly 10 minutes before loading the smoker. During this rest, surface moisture migrates into the starch layer, partially gelatinizing it and gluing it to the skin.3 tbsp tapioca starch, 3 tbsp cornstarch, 1 tsp certified gluten-free baking powder, 1 tsp garlic powder, 1 tsp smoked paprika, 0.5 tsp onion powder, 0.5 tsp cayenne pepper, 0.5 tsp kosher salt
Smoke Stage (250°F to 160°F Internal)
- Set up your smoker or kettle grill for indirect heat and stabilize the temperature at 250°F. Add one chunk of cherry or apple wood. Place the coated wings directly on the grate, skin side up, leaving at least 1 inch between pieces. Do not crowd them — airflow is smoke-delivery infrastructure.2 oz cherry or apple wood chunks
- Smoke the wings uncovered at 250°F until an instant-read thermometer inserted into the thickest part of a drumette (not touching bone) reads 160°F internal. This will take 60 to 90 minutes depending on wing size, smoker efficiency, and ambient temperature. Add a second wood chunk at the 30-minute mark if smoke has subsided. Do not open the smoker unnecessarily — each lid-lift drops the chamber temperature and extends the smoke time unpredictably.2 oz cherry or apple wood chunks
- At 160°F, remove the wings and transfer them immediately to the wire rack set over a sheet pan. The dredge will appear set but pale — that is correct. The Maillard browning happens in the finish stage, not the smoker. Move quickly to the next step; resting time here should be under 5 minutes to retain maximum surface heat for the finish.
Finish Stage — Option A: Oven at 425°F
- While the wings are in the final 15 minutes of the smoke stage, preheat your oven to 425°F convection (or 450°F conventional if convection is unavailable). Lightly brush or spray the smoked wings with 2 tbsp neutral oil. This thin lipid layer conducts heat into the starch matrix and provides the fat-phase needed to fry the crust from the outside while rendered subcutaneous fat fries it from the inside.2 tbsp neutral oil (avocado, refined coconut, or grapeseed)
- Slide the wire rack with wings into the oven. Roast for 15 to 20 minutes, flipping the wings once at the 10-minute mark, until the crust is deeply golden and the surface cracks when you gently flex a wing. Internal temperature should reach 165–170°F. Remove immediately — at 175°F+ the actin network collapses fully and the meat turns dry.2 tbsp neutral oil (avocado, refined coconut, or grapeseed)
Finish Stage — Option B: Fry at 375°F
- Pour 1 quart neutral frying oil into a 5-quart Dutch oven or a deep cast-iron skillet. Heat over medium-high to 375°F on a clip-on thermometer. Maintain this temperature throughout — temperature drop during frying is the primary cause of soggy fried coatings because it shifts starch granule behavior from rapid dehydration to slow stewing.1 quart neutral frying oil (avocado or refined peanut)
- Working in batches of 6 to 8 wings, lower them into the oil using tongs or a spider strainer. Fry for 3 to 4 minutes, turning once, until deeply golden and the crust visibly crackles. Allow the oil to return to 375°F between batches (2 to 3 minutes). Drain on a wire rack, not paper towels — paper towels trap steam against the crust and collapse the lattice you just built.1 quart neutral frying oil (avocado or refined peanut)
Serve
- Serve immediately — the shatter-crisp window is widest in the first 8 minutes off the heat. If tossing in sauce, use a butter-emulsified hot sauce (Buffalo style) applied just before plating: the fat phase coats the starch lattice rather than hydrating it. Water-based sauces should be served on the side for dipping to preserve the crust’s integrity. A sprinkle of flaky salt over the wings immediately after finishing reinforces the savory top note.
Notes
Nutrition
How do I nail gluten-free smoked wings every time?
- Dry the wings overnight, uncovered, in the refrigerator. This is the single highest-leverage step. Twelve to twenty-four hours of refrigerator air exposure drops the surface water activity of the skin to a range where the dredge bonds as a thin, continuous film rather than a wet paste. Skipping this produces steam-baked crust, not fried crust, in the finish stage.
- Do not crowd the smoker grate. Wings need airflow on all sides for even smoke deposition. Touching wings create adjacent hot spots and shadowed cold zones, producing uneven color and doneness. Leave at least one inch between pieces.
- Pull at 160°F internal, not 165°F. Carryover in the finish stage closes the gap. Waiting for 165°F in the smoker means 170–175°F after the high-heat blast, and the actin network collapse at those temperatures produces noticeably drier meat. Use a probe; visual cues are unreliable for wings.
- Let the dredge hydrate for 10 minutes before smoking. After tossing the wings in the dry dredge, let them sit on the rack for 10 minutes. The surface moisture migrates into the starch layer, partially gelatinizing it and creating a glue layer that locks the dredge to the skin so it does not shed in the smoker.
- For the oven finish, use a wire rack over a rimmed sheet pan. Direct contact with the pan creates a steam trap under the wing. The rack allows the rendered fat to drip away and hot air to circulate under the wing, ensuring the underside crisps as aggressively as the top.
- If frying, maintain oil at 375°F throughout. Adding cold smoked wings drops the oil temperature rapidly. Fry in small batches — six to eight wings per quart of oil — and allow two to three minutes between batches for the oil to recover temperature. A dramatic temperature drop shifts the starch granule behavior from rapid dehydration to slow stewing, collapsing the crisp lattice before it sets.
What variations and adaptations work with this recipe?
Sauce compatibility: This crust is engineered to resist moisture migration, making it unusually sauce-tolerant. Buffalo sauce (butter-emulsified hot sauce) can be tossed immediately after the finish stage with minimal crust softening because the fat phase of the sauce coats the starch lattice rather than penetrating it. Water-based sauces (teriyaki, honey-soy) should be applied after plating rather than tossed, as their aqueous phase will hydrate the amylopectin layer and collapse the crispness within two to three minutes.
Dairy-free and whole-food adaptation: The base recipe uses no dairy. If you want to skip the optional clarified butter finish, drizzle with a smoked chili oil instead — it maintains the fat-coating mechanism that preserves the crust’s integrity while adding a second aromatic layer. For a Whole30-compatible version, confirm your baking powder is compliant (some brands use cream of tartar as the acid component, which is compliant) and omit any sauce with added sugar.
High-protein / keto macro profile: Wings are inherently high in protein and fat with minimal carbohydrate. The tapioca-cornstarch dredge adds roughly 8–10 grams of net carbohydrate per serving (twelve wings), which is acceptable in most low-carb frameworks. To reduce the carbohydrate load further, shift the dredge ratio to 3 parts cornstarch and 1 part tapioca starch — cornstarch’s lower amylopectin percentage means it absorbs slightly less moisture from the surface, resulting in a thinner, less elastic crust with approximately 15% less starch mass per wing but a marginal increase in fragility before the finish stage sets the lattice.
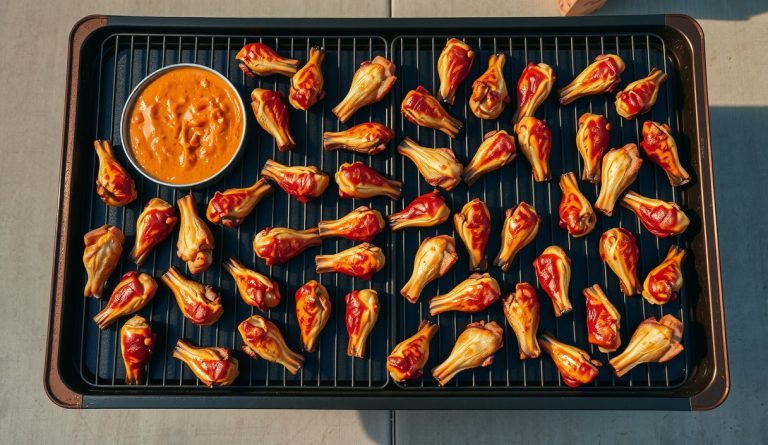
Scaling for a crowd: The two-stage program scales cleanly. A full packer of party wings (approximately 5 pounds, 40–50 pieces) fits comfortably on two standard smoker grates. The smoke stage time is governed by mass and ambient temperature, not piece count — expect 60 to 90 minutes at 250°F regardless of whether you are smoking 2 pounds or 6 pounds. The finish stage, however, must still be executed in batches to avoid crowding and steam-trapping. Plan your timing backward from service: smoke to 160°F, then batch-finish over 20 to 30 minutes total.
Frequently asked questions
Why does my crust slide off during the smoke stage? Insufficient drying time or a dredge applied to skin that is still wet from the pat-down is almost always the cause. The surface water activity must be low enough for the starch layer to grip the skin proteins rather than floating on a moisture film. Dry the wings uncovered in the refrigerator for a minimum of 8 hours — 24 hours if possible. After applying the dredge, let the coated wings rest on the rack for 10 minutes before loading the smoker; this allows partial gelatinization that anchors the crust firmly to the skin.
Can I skip the smoke stage and just bake or fry these wings? Yes, but skipping the smoke stage removes the defining characteristic of the recipe: the subcutaneous smoke-fat layer that provides aromatic depth and the slow-rendered fat that later fries the crust from the inside. For a smoke-free version, use a high-heat oven only — 425°F convection, 40–45 minutes, flipping once at 25 minutes. The crust mechanics remain identical and the results are excellent; the flavor dimension alone changes. The protein denaturation and starch lattice-set physics are unchanged.
Is this recipe safe for celiac disease? The recipe uses no gluten-containing ingredients. However, celiac-safe execution requires cross-contact prevention at every stage: certified gluten-free baking powder, verified gluten-free cornstarch (some facilities process wheat on shared equipment), and a smoker or grill that has not been used for wheat-marinated proteins without thorough cleaning. Tapioca starch, as a root vegetable starch, carries no inherent gluten risk. If you are cooking for someone with celiac disease, verify every packaged ingredient’s certification and treat equipment cleaning with the same rigor you would apply in an allergen-controlled kitchen.