Smoked Tri-Tip — Santa Maria Style
Equipment
- 1 Offset smoker or kettle grill with two-zone setup Any configuration delivering indirect 225°F smoke and a subsequent direct high-heat sear zone
- 3-4 pieces Red oak splits or large chunks Logs or large chunks only — pellets and chips do not sustain the coal bed quality needed for the sear
- 1 Instant-read thermometer Pull the probe before the sear phase to protect the sensor from direct coal heat
- 1 Wire cooling rack For resting the roast after the sear — preserves crust integrity versus resting flat
- 1 Sharp slicing knife A long, thin-bladed slicer makes clean perpendicular cuts across the changing grain direction
- 1 Chimney starter Build the sear coal bed in the chimney during the final 30 minutes of the smoke phase
Ingredients
The Roast
- 1 tri-tip roast, USDA Choice or Prime, fat cap trimmed to 1/4 inch 2.5 to 3 lbs is the target weight — large enough for smoke ring development, small enough for fast searing
Santa Maria Rub
- 1 tbsp coarse garlic salt Lawry’s or a homemade blend of 3 parts fine sea salt to 1 part garlic powder; avoid anti-caking agents
- 1 tbsp freshly cracked black pepper Crack coarse — pre-ground loses its volatile piperine punch before it hits the crust
- 1 tsp kosher salt Supplements the garlic salt for deeper ion penetration during the rub rest
- 1 tsp dried oregano Optional but traditional — adds dried-herb top notes that echo classic Santa Maria seasoning
- ½ tsp onion powder
Finishing
- 1 tbsp neutral oil Applied just before the sear to promote uniform crust contact and prevent sticking on the grate

Instructions
Rub and Rest
- Combine the garlic salt, cracked black pepper, kosher salt, dried oregano, and onion powder in a small bowl. Pat the tri-tip completely dry with paper towels on all sides — moisture on the surface will dissolve the rub and slow pellicle formation.1 tbsp freshly cracked black pepper, 1 tsp kosher salt, 1 tsp dried oregano
- Apply the rub generously to all surfaces of the roast, pressing it firmly into the meat. Do not be timid — this is a thick cut and the exterior crust needs aggressive seasoning to carry flavor all the way through. Set the roast on a wire rack over a sheet pan and rest at room temperature for 45 to 60 minutes. During this window, osmotic pressure draws surface moisture out and then re-absorbs it carrying dissolved salt deeper into the muscle tissue, improving seasoning depth and forming the dry pellicle that will support bark development.1 tbsp freshly cracked black pepper, 1 tsp kosher salt, 1 tsp dried oregano
Build the Smoker
- Set up your smoker or grill for two-zone indirect cooking. Target a steady 225°F in the indirect cooking chamber. Add 2 to 3 red oak chunks or a split log to your fire management system. Allow the smoke to transition from heavy white to thin blue-gray before placing the meat — white billowing smoke carries acrid, incomplete-combustion compounds that will make your crust taste bitter. Thin blue smoke is what carries the guaiacol and syringol volatiles that define Santa Maria flavor.
Smoke Phase
- Place the tri-tip fat-cap up on the indirect side of the grill. Insert a probe thermometer into the thickest part of the roast, avoiding bone and fat pockets. Close the lid and maintain 225°F. Leave it alone — resist the urge to open the lid repeatedly. Smoke penetration is a diffusion process; interrupting the thermal environment slows it.
- Approximately 25 to 30 minutes before you expect the roast to hit 125°F internal (typically 60 to 90 minutes total cook time depending on roast size and smoker efficiency), load your chimney starter with red oak lump charcoal or red oak hardwood. Get it fully lit and ashed over — you need a screaming-hot, 600°F-plus coal bed ready the moment the thermometer reads 125°F. Waiting to build coals after pulling the roast costs you heat and texture.
- When the internal temperature reaches 125°F, pull the roast from the smoker. Pat the surface completely dry with paper towels — any free moisture is the enemy of the Maillard reaction. Brush or rub lightly with neutral oil to promote even grate contact during the sear.1/2 tsp onion powder
Sear Over Red Oak Coals
- Dump the fully ashed red oak coals into the direct-heat zone of your grill and spread them into an even bed. Lower the grate to its closest position to the coals if your setup allows. The goal is intense radiant and conductive heat — you should not be able to hold your hand at grate level for more than 2 seconds.
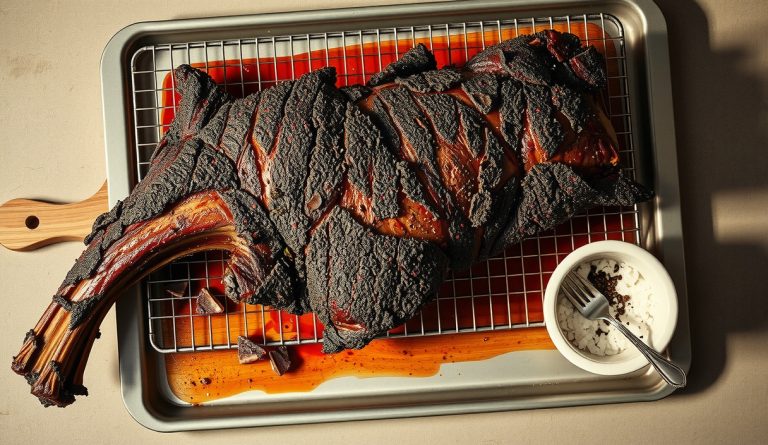
- Place the tri-tip directly over the coal bed. Do not walk away. Sear for 2 to 3 minutes per side, rotating once if needed to avoid localized flare-up charring. You are building a deeply browned, crackling crust — not burning the exterior. Listen for an aggressive sizzle and watch for the smoke and char lines that signal active Maillard chemistry. Total sear time is 4 to 6 minutes. The internal temperature will climb 5°F to 8°F during this phase from carryover and direct heat, landing at a target finished internal of 130°F to 133°F.
Rest and Slice
- Transfer the seared tri-tip to a wire rack (not flat on a cutting board) and rest for 10 to 15 minutes. Resting flat traps steam under the roast and softens the crust. The rack allows airflow on all sides and preserves bark texture while the internal thermal gradient equalizes across the roast.
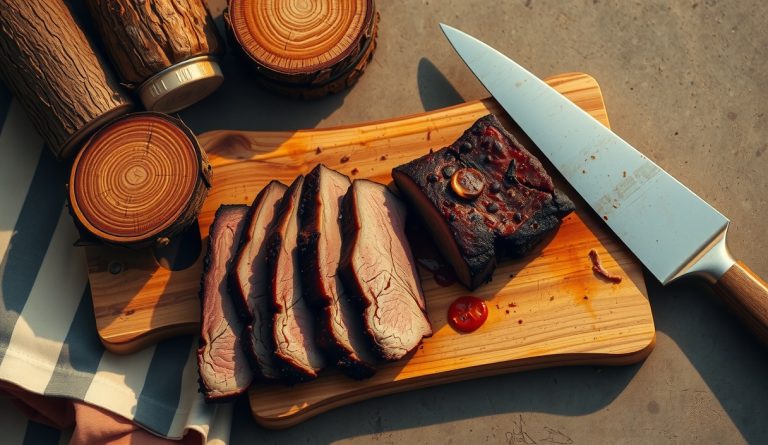
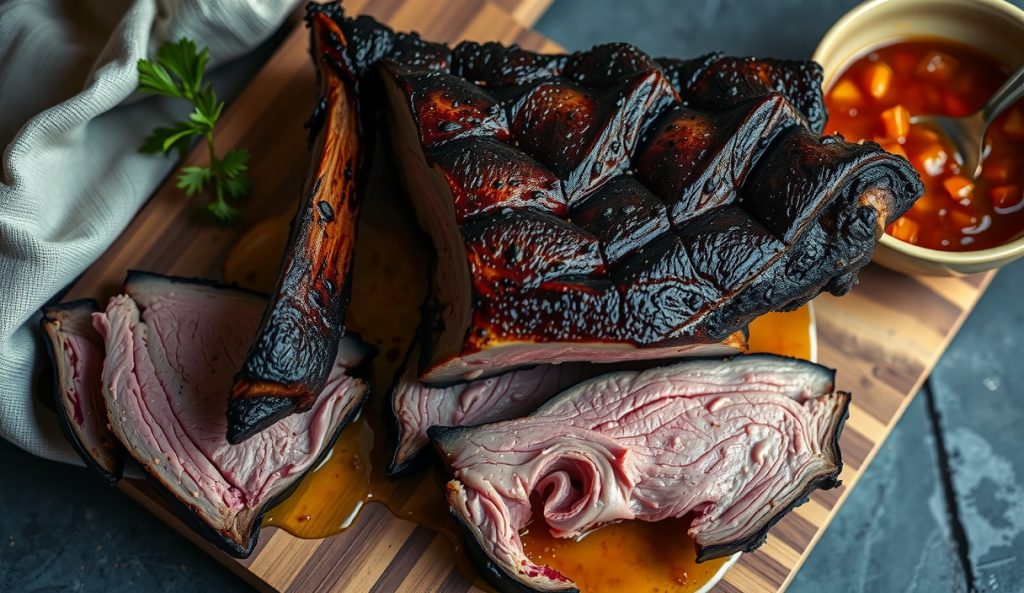
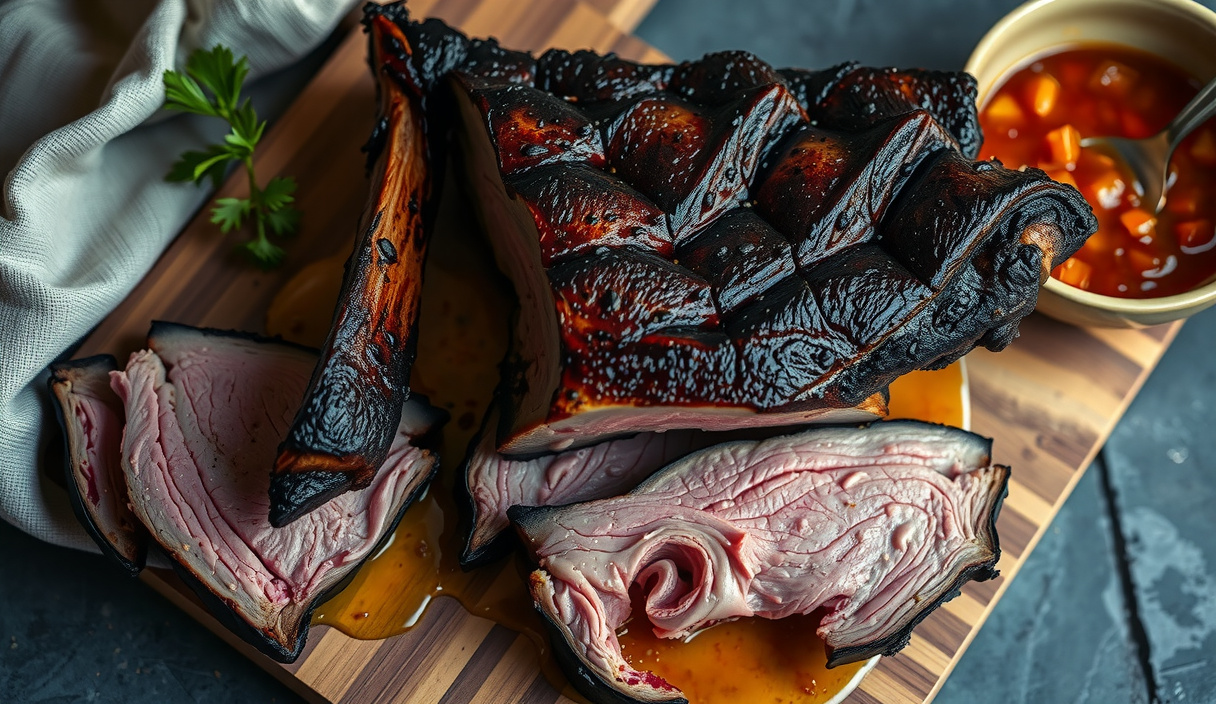
- Two-direction slicing is mandatory on tri-tip. Before cutting, examine the roast. At the wide, fan-shaped end the muscle fibers run roughly lengthwise. At the narrow, pointed end the fibers shift direction by approximately 90 degrees. Identify where the grain changes — usually about two-thirds of the way along the roast. Separate the roast into two sections at this transition point. Slice each section thinly (about 1/4 inch) and perpendicular to its own fiber direction. This shortens the myofibrillar bundles mechanically, converting what would be tough, chewy meat into tender, yielding slices. Serve immediately.
Notes
Nutrition
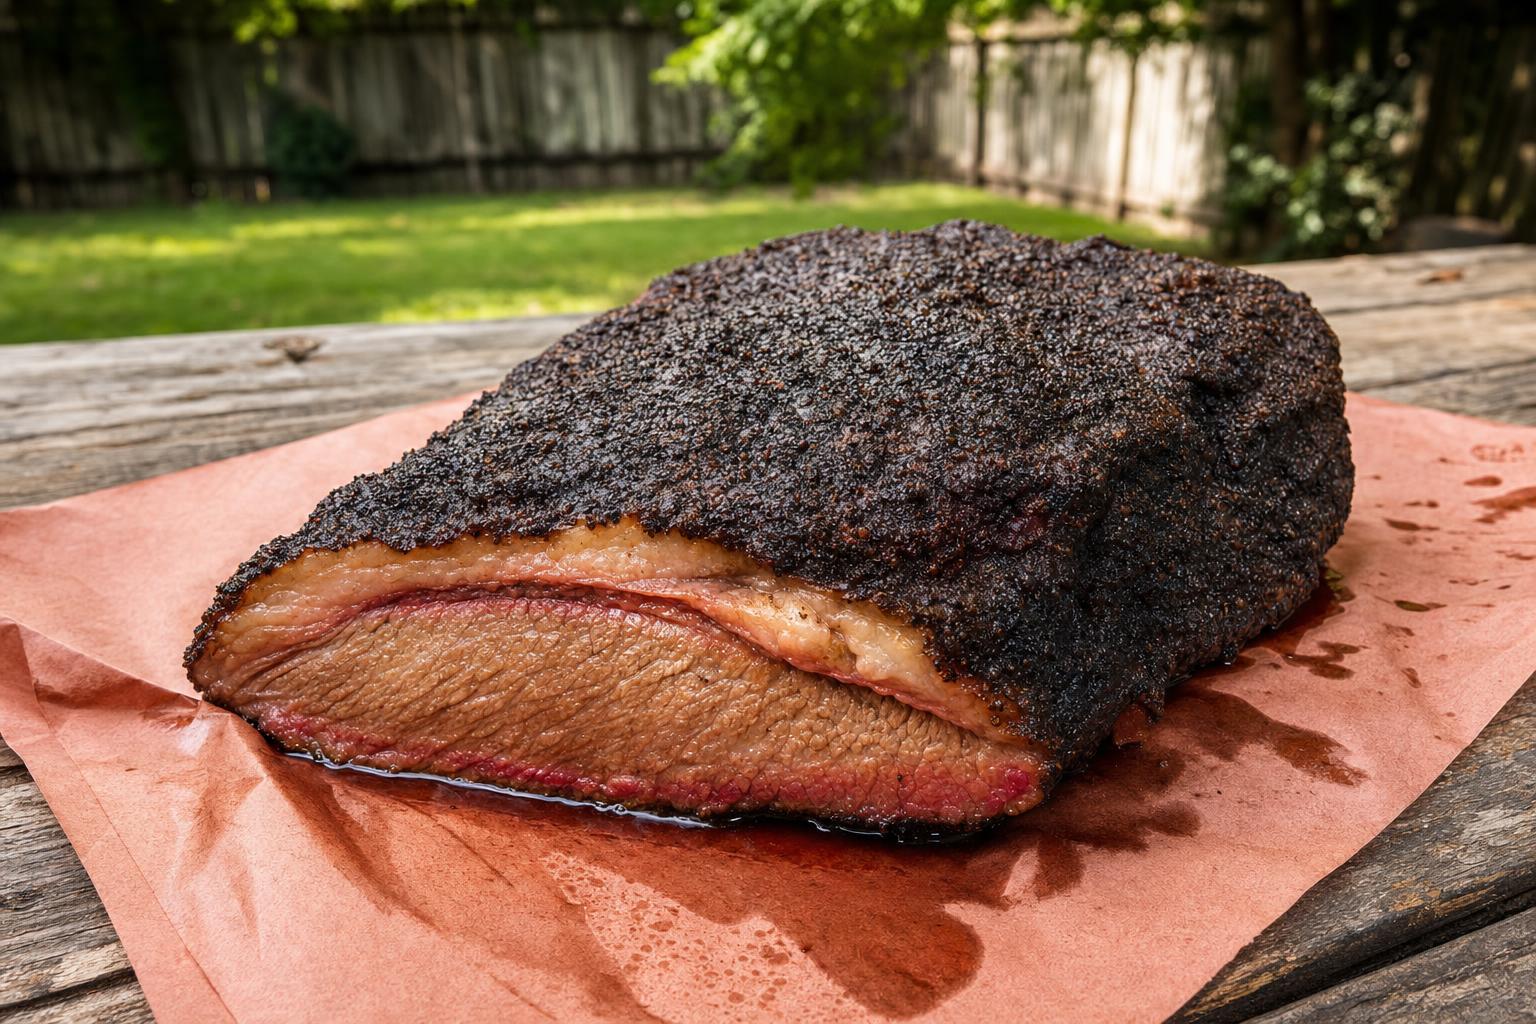
My first Santa Maria tri-tip was a revelation, and not because of some secret ingredient. It was a $30 cut of beef, a fistful of garlic salt, and a pile of red oak coals so hot they singed my eyebrows when I leaned in to check them. That bite — dark crust giving way to a rosy, smoke-threaded interior — is the reason I have since cooked more tri-tips than I can count. This is Central California’s contribution to American BBQ, and it deserves your full attention.
What makes this recipe different from the pile of tri-tip posts already on the internet is the why behind each step. The reverse sear is not a trend; it is a precision tool grounded in protein physics. The red oak is not decoration; its combustion chemistry produces a specific VOC fingerprint that defines the dish. And the two-direction slicing against the grain is not a chef’s affectation — it is a mandatory mechanical operation on a cut whose muscle fiber orientation changes mid-roast. Ignore it and you are chewing rope. Follow it and you are cutting butter.
Why does smoked tri-tip work? The science behind the reverse sear and red oak smoke
Smoked tri-tip cooked via reverse sear works because the low-heat smoke phase drives internal temperature to a precise protein-denaturation target before a high-heat sear builds the crust — two chemically incompatible reactions executed in their optimal sequence. The tri-tip is a single muscle — the tensor fasciae latae — pulled from the bottom sirloin. Unlike a brisket or pork shoulder, it carries relatively little collagen, so the window of optimal doneness is narrow and unforgiving.
The reverse sear exploits protein denaturation kinetics to hit that window with precision. At 225°F ambient, heat flux into the roast is slow and uniform. Myosin begins unfolding between 120°F and 130°F internal — the sweet spot for maximum juiciness and a silky, almost custard-like texture. The tri-tip is pulled at 125°F before the sear because the subsequent crust-building phase adds 5°F to 8°F of carryover, landing the finished roast squarely at 130°F to 133°F internal. Staying well below the 148°F threshold — where sarcoplasmic protein denaturation begins in earnest and moisture expulsion becomes severe — and nowhere near the catastrophic 158°F actin collapse that produces dry, stringy beef is the entire point of the method.
The Maillard reaction on the exterior requires a surface water activity (aw) well below 1.0 and a surface temperature well above 280°F — conditions that cannot coexist with a moist, steam-laden smoker environment. That is why the tri-tip is smoked first and seared second. After the low-and-slow phase, the roast surface is partially desiccated: a dry pellicle has formed, water activity at the boundary layer has dropped significantly, and the stage is set for explosive amino-carbonyl browning the moment the surface contacts coal-driven radiant and conductive heat. Red oak burns cleanly and produces guaiacol and syringol derivatives as primary aroma volatiles — the classic smoke signature that is earthy, slightly sweet, and almost vanilla-adjacent, distinct from the heavier phenolic load of hickory or the fruit-forward esters of apple wood. This is not arbitrary tradition; it is flavor physics calibrated over a century of Santa Maria cooking.
The grain direction matters as much as temperature. The tensor fasciae latae has a pronounced change in fiber orientation roughly two-thirds of the way along the roast. Slicing perpendicular to the grain shortens the myofibrillar bundles mechanically, drastically reducing the force required for mastication. Fail to account for the direction change and roughly one-third of the roast will present as tough regardless of internal temperature. Use the guide in the instructions below to identify both grain vectors and rotate the cutting angle accordingly. A sharp slicer knife held at 30° to 45° against the grain, cut thin, is the final variable in the tenderness equation.
What equipment and ingredients do I need for Santa Maria tri-tip?
- Red oak: This is the authentic Santa Maria fuel. Use split logs or large chunks, not pellets or chips, for sustained coal bed formation. Substituting with a different wood will produce a different dish — not necessarily worse, but different. Hickory runs hotter and smokier; if you use it, monitor internal temp more aggressively.
- Offset smoker or kettle: Any setup that gives you two-zone indirect heat for the smoke phase and direct, roaring-hot coal contact for the sear. A Santa Maria-style grill with a height-adjustable grate is ideal but not required.
- Instant-read thermometer: Non-negotiable. The window between 125°F and 140°F is where all the money lives. A probe left in the roast during the smoke phase is fine; pull it before the sear.
- Garlic salt: Use a coarse, good-quality garlic salt — ideally Lawry’s or a homemade blend of 3 parts fine sea salt to 1 part garlic powder. Avoid garlic salt with anti-caking agents that can interfere with pellicle formation.
- The tri-tip itself: Look for USDA Choice or Prime with visible marbling. A 2.5 lb to 3 lb roast is the ideal size — large enough to develop a smoke ring before the interior overcooks, small enough to sear quickly without carryover running away. The fat cap should be on, trimmed to about 1/4 inch.
Smoked Tri-Tip — Santa Maria Style
Equipment
- 1 Offset smoker or kettle grill with two-zone setup Any configuration delivering indirect 225°F smoke and a subsequent direct high-heat sear zone
- 3-4 pieces Red oak splits or large chunks Logs or large chunks only — pellets and chips do not sustain the coal bed quality needed for the sear
- 1 Instant-read thermometer Pull the probe before the sear phase to protect the sensor from direct coal heat
- 1 Wire cooling rack For resting the roast after the sear — preserves crust integrity versus resting flat
- 1 Sharp slicing knife A long, thin-bladed slicer makes clean perpendicular cuts across the changing grain direction
- 1 Chimney starter Build the sear coal bed in the chimney during the final 30 minutes of the smoke phase
Ingredients
The Roast
- 1 tri-tip roast, USDA Choice or Prime, fat cap trimmed to 1/4 inch 2.5 to 3 lbs is the target weight — large enough for smoke ring development, small enough for fast searing
Santa Maria Rub
- 1 tbsp coarse garlic salt Lawry’s or a homemade blend of 3 parts fine sea salt to 1 part garlic powder; avoid anti-caking agents
- 1 tbsp freshly cracked black pepper Crack coarse — pre-ground loses its volatile piperine punch before it hits the crust
- 1 tsp kosher salt Supplements the garlic salt for deeper ion penetration during the rub rest
- 1 tsp dried oregano Optional but traditional — adds dried-herb top notes that echo classic Santa Maria seasoning
- ½ tsp onion powder
Finishing
- 1 tbsp neutral oil Applied just before the sear to promote uniform crust contact and prevent sticking on the grate
Instructions
Rub and Rest
- Combine the garlic salt, cracked black pepper, kosher salt, dried oregano, and onion powder in a small bowl. Pat the tri-tip completely dry with paper towels on all sides — moisture on the surface will dissolve the rub and slow pellicle formation.1 tbsp freshly cracked black pepper, 1 tsp kosher salt, 1 tsp dried oregano
- Apply the rub generously to all surfaces of the roast, pressing it firmly into the meat. Do not be timid — this is a thick cut and the exterior crust needs aggressive seasoning to carry flavor all the way through. Set the roast on a wire rack over a sheet pan and rest at room temperature for 45 to 60 minutes. During this window, osmotic pressure draws surface moisture out and then re-absorbs it carrying dissolved salt deeper into the muscle tissue, improving seasoning depth and forming the dry pellicle that will support bark development.1 tbsp freshly cracked black pepper, 1 tsp kosher salt, 1 tsp dried oregano
Build the Smoker
- Set up your smoker or grill for two-zone indirect cooking. Target a steady 225°F in the indirect cooking chamber. Add 2 to 3 red oak chunks or a split log to your fire management system. Allow the smoke to transition from heavy white to thin blue-gray before placing the meat — white billowing smoke carries acrid, incomplete-combustion compounds that will make your crust taste bitter. Thin blue smoke is what carries the guaiacol and syringol volatiles that define Santa Maria flavor.
Smoke Phase
- Place the tri-tip fat-cap up on the indirect side of the grill. Insert a probe thermometer into the thickest part of the roast, avoiding bone and fat pockets. Close the lid and maintain 225°F. Leave it alone — resist the urge to open the lid repeatedly. Smoke penetration is a diffusion process; interrupting the thermal environment slows it.
- Approximately 25 to 30 minutes before you expect the roast to hit 125°F internal (typically 60 to 90 minutes total cook time depending on roast size and smoker efficiency), load your chimney starter with red oak lump charcoal or red oak hardwood. Get it fully lit and ashed over — you need a screaming-hot, 600°F-plus coal bed ready the moment the thermometer reads 125°F. Waiting to build coals after pulling the roast costs you heat and texture.
- When the internal temperature reaches 125°F, pull the roast from the smoker. Pat the surface completely dry with paper towels — any free moisture is the enemy of the Maillard reaction. Brush or rub lightly with neutral oil to promote even grate contact during the sear.1/2 tsp onion powder
Sear Over Red Oak Coals
- Dump the fully ashed red oak coals into the direct-heat zone of your grill and spread them into an even bed. Lower the grate to its closest position to the coals if your setup allows. The goal is intense radiant and conductive heat — you should not be able to hold your hand at grate level for more than 2 seconds.
- Place the tri-tip directly over the coal bed. Do not walk away. Sear for 2 to 3 minutes per side, rotating once if needed to avoid localized flare-up charring. You are building a deeply browned, crackling crust — not burning the exterior. Listen for an aggressive sizzle and watch for the smoke and char lines that signal active Maillard chemistry. Total sear time is 4 to 6 minutes. The internal temperature will climb 5°F to 8°F during this phase from carryover and direct heat, landing at a target finished internal of 130°F to 133°F.
Rest and Slice
- Transfer the seared tri-tip to a wire rack (not flat on a cutting board) and rest for 10 to 15 minutes. Resting flat traps steam under the roast and softens the crust. The rack allows airflow on all sides and preserves bark texture while the internal thermal gradient equalizes across the roast.
- Two-direction slicing is mandatory on tri-tip. Before cutting, examine the roast. At the wide, fan-shaped end the muscle fibers run roughly lengthwise. At the narrow, pointed end the fibers shift direction by approximately 90 degrees. Identify where the grain changes — usually about two-thirds of the way along the roast. Separate the roast into two sections at this transition point. Slice each section thinly (about 1/4 inch) and perpendicular to its own fiber direction. This shortens the myofibrillar bundles mechanically, converting what would be tough, chewy meat into tender, yielding slices. Serve immediately.
Notes
Nutrition
How do I nail smoked tri-tip every time?
- Pull at 125°F, not 135°F. The sear adds more heat than most people expect. If you pull at 130°F thinking you are being safe, you will finish at 140°F or above — into the dry zone. Trust the thermometer and trust the process.
- Dry the surface before searing. Pat the roast with paper towels after the smoke phase. Any free surface moisture will flash to steam and suppress Maillard browning for the first 30 to 60 seconds of sear time — time you do not have when you are working over 600°F coals.
- Build your coal bed before the smoke hits 125°F. The sear must happen immediately after the smoke phase, while the roast is still hot. If you let the tri-tip rest and cool while waiting for coals to build, the interior will firm up and you will overshoot temperature during reheating.
- Identify the grain direction before you slice. Stand the roast on the cutting board after resting. Look at the larger, wider end — fibers run roughly diagonally. Flip to the narrower, thicker end — fibers shift orientation. Mark the transition point with a toothpick if needed. Slice each zone perpendicular to its own grain, not to some imagined universal direction.
- Rest on a rack, not flat on a board. Resting flat traps steam under the roast and softens the crust you worked hard to build. A wire rack allows airflow and preserves crust texture while the internal thermal gradient equalizes.
- Do not skip the rub rest time. Salting 45 to 60 minutes before smoking allows osmotic equilibration — the salt draws surface moisture out, then the moisture is reabsorbed carrying dissolved salt deeper into the muscle. This is not dry brining in the overnight sense; it is a short-form ion diffusion that measurably improves seasoning depth and pellicle quality.
What variations can I try on the classic Santa Maria smoked tri-tip?
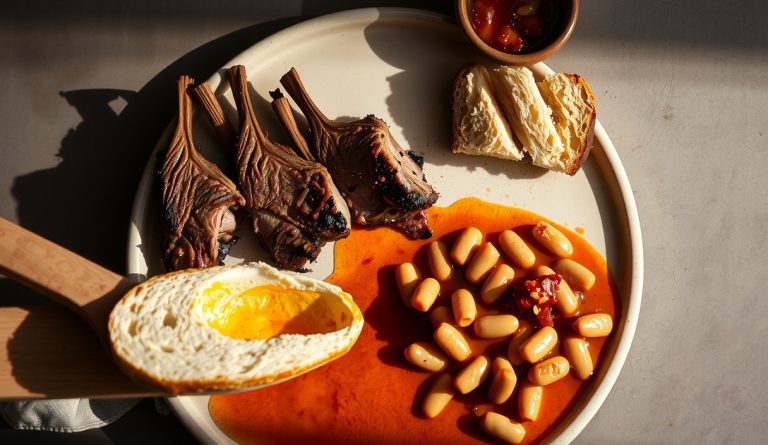
Traditional Santa Maria Pinquito Beans Pairing: The canonical Santa Maria plate includes small pink pinquito beans slow-cooked with bacon, tomato, and green onion. Pinquito beans are not a side dish — they are structural to the meal. Cook them low and slow while the tri-tip smokes and serve them as the starchy anchor alongside fresh salsa and garlic bread grilled directly over the oak coals.
Overnight Dry Brine Variation: For a more aggressively seasoned crust, apply the garlic-salt-pepper rub 12 to 24 hours in advance and refrigerate the tri-tip uncovered on a wire rack. This extended salt contact drives deeper ion migration and produces a dramatically thicker, crunchier bark during the sear phase. Reduce the sear time slightly, as the drier surface browns faster.
Regional Wood Swap: If red oak is unavailable, white oak is the closest substitution — similar combustion chemistry, slightly less pronounced smoke output. Post oak (the Texas standard) works well and adds a touch more earthiness. Avoid mesquite for this cook; its high combustion temperature and aggressive phenol load overwhelm the relatively clean beef flavor profile that defines Santa Maria style.
Scaling for Larger Groups: Tri-tip does not scale by simply adding time — it scales by adding roasts. Cook two or three individual tri-tips on the smoker simultaneously rather than seeking a larger single cut. Each roast maintains its optimal geometry for even heat penetration, and each roast can be pulled individually as it hits 125°F rather than managing uneven temperatures in one massive piece of meat.
Frequently asked questions about smoked Santa Maria tri-tip
Why does my tri-tip always come out tough even when I hit the right temperature? Toughness after hitting the correct internal temperature is almost certainly a slicing issue rather than a cooking issue. If the tri-tip is sliced parallel to the grain — or even at a 45-degree angle to it rather than perpendicular — the myofibrillar bundles remain long and require significant jaw force to break down. Pull the roast off the board, look at the fiber direction at both ends, and re-slice perpendicular to the fibers in each zone. The same roast will taste dramatically more tender.
Can I use a gas grill instead of charcoal and wood for the sear? A gas grill can be used, but something real is sacrificed. The radiant and conductive heat from a live coal bed driven by red oak combustion routinely exceeds 700°F at grate level and deposits wood-combustion volatiles on the crust during searing. A gas grill running at 550°F to 600°F will produce a decent crust, but the VOC profile will be absent — the final product will taste like a good steak rather than Santa Maria tri-tip. Hardwood lump charcoal supplemented with red oak chunks in a chimney is the minimum viable alternative.
What is the smoke ring on tri-tip and does it affect flavor? The smoke ring is a myoglobin reaction, not a direct flavor compound. When carbon monoxide and nitric oxide from wood combustion penetrate the meat surface, they bind to myoglobin and stabilize its pink color even after the protein has denatured — creating the characteristic red-pink ring beneath the bark. The smoke ring does not directly add flavor, but it is a reliable proxy for sufficient smoke exposure time and low-temperature cooking. A thick smoke ring signals that the tri-tip spent meaningful time in a clean smoke environment; thin or absent rings indicate too-hot cooking or insufficient smoke. Flavor comes from the actual phenolic and aldehyde VOCs depositing on and diffusing into the surface tissue during the smoke phase — a separate but correlated phenomenon.