Smoked Prime Rib — Bone-In
Equipment
- 1 Offset smoker or kettle grill with two-zone setup Must hold a stable 225°F indirect ambient temperature. Pellet grill works; add a smoke tube for deeper ring.
- 4 to 6 Oak or post oak wood chunks Chunks, not chips. Split to roughly fist-size for a steady, controlled burn. Cherry or pecan are acceptable substitutes.
- 1 Instant-read probe thermometer Accurate to ±0.5°F. Thermapen or equivalent. A leave-in probe makes monitoring the long smoke hands-free.
- 1 Wire rack set inside a rimmed sheet pan For dry brining in the refrigerator and for the high-heat sear phase.
- 1 Heavy roasting pan or cast iron skillet Preheated in the 500°F oven for the final sear. The residual heat from the hot pan aids in crust formation on the bottom of the roast.
- 4 to 6 lengths Butcher’s twine For tying the rib bones back to the roast if the butcher has removed them. The bones act as a natural roasting rack and flavor the meat.
Ingredients
The Roast
- 1 3-bone bone-in prime rib roast, first-cut preferred Approximately 7 to 9 pounds. USDA Prime grade strongly recommended. Ask the butcher to french the bones and tie them back on if removed. Cap on or off is your call — on gives you more rendered fat and a richer bark.
Dry Brine
- 3 tablespoons Diamond Crystal kosher salt Use 2 tablespoons if substituting Morton kosher salt, which has higher crystal density. Approximately 1 teaspoon per pound of meat is the target application rate.
- 2 teaspoons coarse black pepper, freshly cracked Use a coarse grind — 3/16 inch crack setting if you have an adjustable grinder. Fine-ground pepper will blow off in the smoke.
- 1 teaspoon garlic powder Optional but recommended. Adds a Maillard-ready amino acid layer that contributes to bark complexity.
For Serving
- 2 tablespoons flaky sea salt, such as Maldon For finishing at the table. The large crystal size provides a textural contrast to the bark and a clean salinity hit.
- 1 cup prepared horseradish cream Optional. Fresh-grated horseradish in sour cream with a pinch of salt is classic and cuts the richness.
- 1 cup beef au jus or pan drippings Optional. Collect the drippings from the smoke phase, deglaze with beef stock, strain, and reduce by half.

Instructions
24 Hours Before: Dry Brine
- Remove the prime rib from its packaging and pat completely dry with paper towels — surface moisture is the enemy of a good bark, and you want to start the drying process immediately. Set the roast bone-side down on a wire rack placed inside a rimmed sheet pan.
- Combine the kosher salt, cracked black pepper, and garlic powder in a small bowl. Apply the seasoning blend aggressively and evenly to every exposed surface of the roast — top, sides, and the ends of the meat between the bones. Do not season the cut bone surfaces. Press the seasoning firmly into the fat cap so it adheres.2 teaspoons coarse black pepper, freshly cracked, 1 teaspoon garlic powder
- Place the seasoned roast, uncovered, in the refrigerator on the wire rack. Leave it uncovered for the full 24-hour dry brine window. The exposed surface will appear slightly tacky and dry by hour 12 and then begin to look glistening again by hour 24 as the brine draws moisture back out and then diffuses inward. Both stages are correct — do not cover the roast.
Day of Cook: Smoke Phase
- Remove the prime rib from the refrigerator 45 to 60 minutes before the smoke goes on. A cold core extending the cook time is fine — but a refrigerator-cold roast that has been sitting in warm ambient air for only 10 minutes has an artificially low surface temperature and will cause your probe to mislead you in the early phase. Let it temper slightly.
- Fire up your smoker and stabilize it at 225°F with indirect heat. Add oak wood chunks to your heat source. Wait until the smoke runs thin and blue-gray — this indicates clean combustion. White billowing smoke contains unburned creosote compounds that will deposit a bitter, acrid coating on the meat. Do not put the roast on until the smoke is clean.
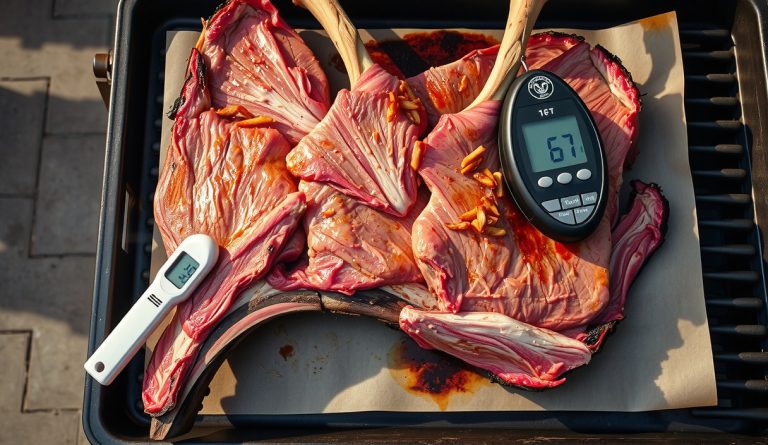
- Place the prime rib bone-side down on the smoker grate over indirect heat, fat cap up. Insert a leave-in probe thermometer from the cut end of the roast, angling toward the geometric center of the muscle mass. Avoid bone contact and avoid fat pockets — probe placement in pure muscle tissue at the center gives you the most accurate reading of the coolest point in the roast, which is the number you are managing.
- Smoke at 225°F until the internal temperature at the center reads 120°F. On a 7- to 9-pound bone-in prime rib, this will take approximately 5.5 to 7 hours. Do not open the smoker more than necessary — every opening drops ambient temperature and resets the thermal equilibrium of the cook chamber. Add wood chunks as needed to maintain clean, thin smoke throughout. The stall you experience around 110°F to 115°F is normal and brief — the evaporative surface cooling catches up to the internal heat input momentarily. Hold steady at 225°F and it will push through.
Rest Phase
- When the internal temperature reads exactly 120°F, pull the roast off the smoker. Place it bone-side down on a clean wire rack set inside a sheet pan. Do not wrap it tightly in foil — a tight wrap traps steam and destroys the bark you built. Tent it very loosely with a sheet of foil, or simply leave it exposed in a warm corner of the kitchen away from drafts.
- While the roast rests, preheat your oven to 500°F with the heavy roasting pan or a cast iron skillet on the center rack. Let the oven and the pan heat together for at least 20 minutes — the pan must be screaming hot when the roast goes in. This is critical for bark formation on the bottom surface of the roast.
- Rest the roast for exactly 30 minutes. Check the temperature at the center with your instant-read thermometer at the 30-minute mark. It should read between 128°F and 132°F — this is the carryover window. If it is below 126°F, extend the rest by 10 minutes and recheck. If it is above 133°F, move immediately to the sear phase.
Final Sear
- Pat the entire exterior of the roast dry with paper towels. Any moisture on the surface will vaporize before the Maillard reaction begins, delaying crust formation and costing you oven time you do not have at this stage. The surface should feel dry and slightly tacky, not wet.
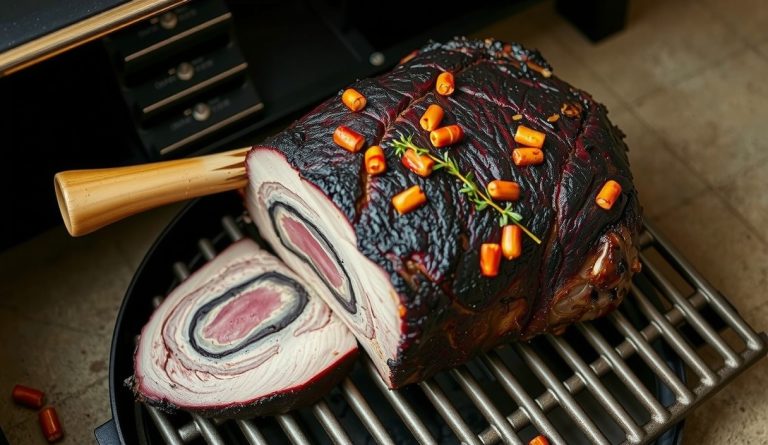
- Carefully transfer the roast to the preheated roasting pan in the 500°F oven, bone-side down and fat cap up. Do not add oil or additional fat — the rendered surface fat from the brine and smoke phase is sufficient. Sear at 500°F for 8 to 12 minutes, monitoring closely, until the fat cap is deeply browned and the exposed meat surfaces on the ends show a dark mahogany crust. The bark should look almost crackled and dry — not wet or shiny. Check every 2 minutes after the 8-minute mark; the difference between a perfect crust and a burned one is narrow at this temperature.
- Remove the roast from the oven and immediately transfer it to a cutting board — do not let it sit in the hot roasting pan or the bottom will continue to cook. Let it rest on the board for 5 minutes only, then carve and serve immediately. Finish with flaky sea salt at the table.2 tablespoons flaky sea salt, such as Maldon, 1 cup prepared horseradish cream, 1 cup beef au jus or pan drippings
Carving
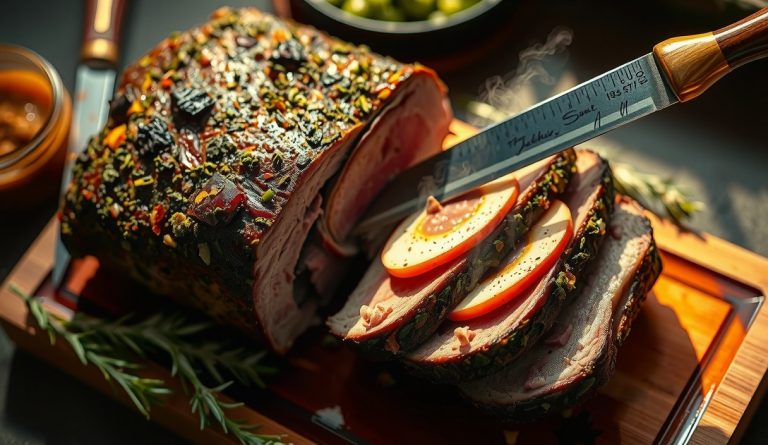
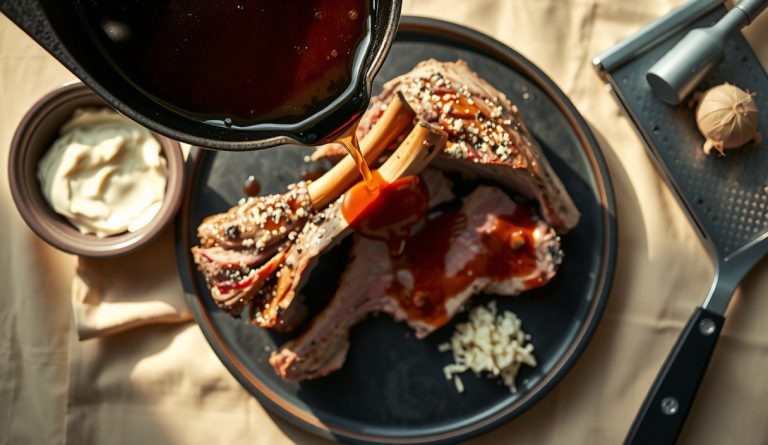
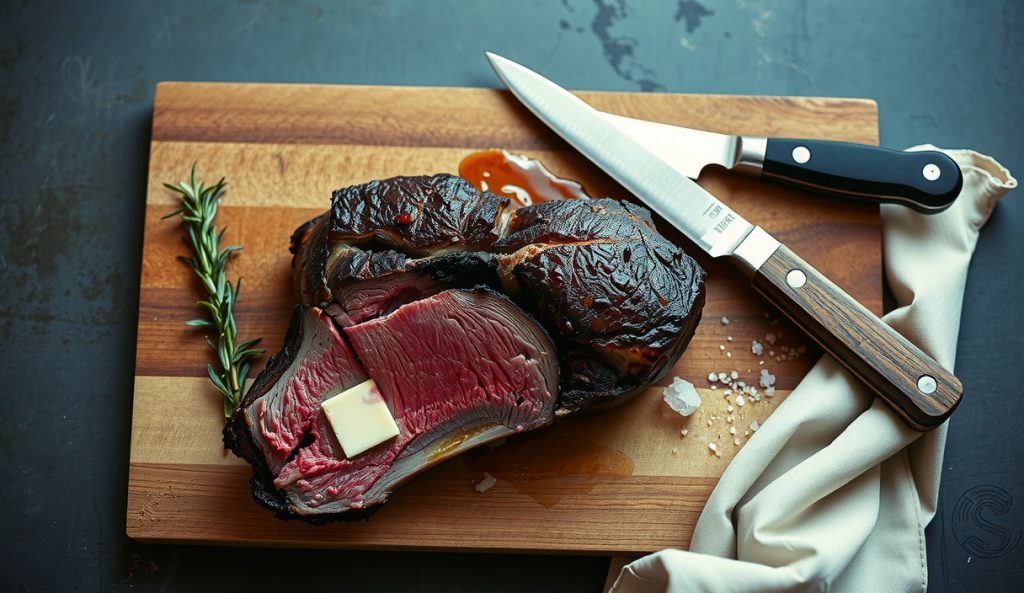
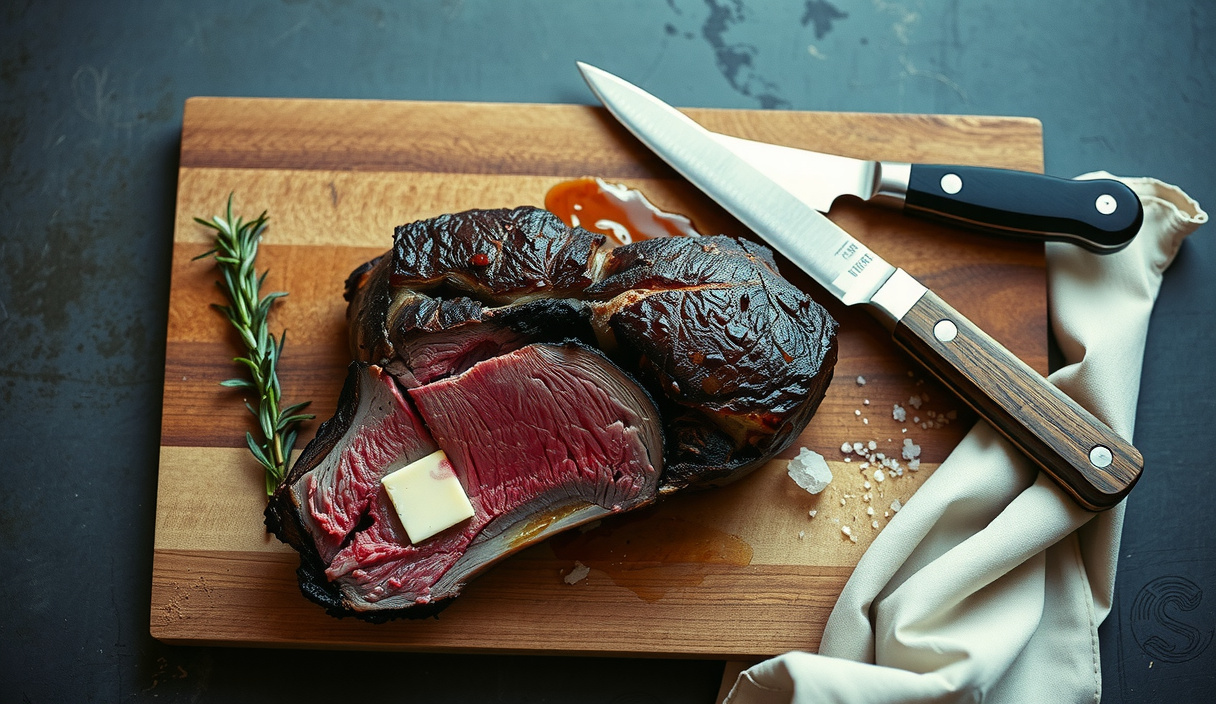
- To carve: stand the roast upright on its bone-side and slice downward along the contour of the rib bones with a long, sharp carving knife to free the bone rack from the meat in one piece. Lay the boneless eye flat and slice into individual steaks of 3/4 inch to 1 inch thickness. Serve the bones to the table — there is significant meat between them and anyone who grew up gnawing rib bones will claim them immediately. Drizzle with au jus and serve horseradish cream alongside.1 cup prepared horseradish cream, 1 cup beef au jus or pan drippings
Notes
Nutrition
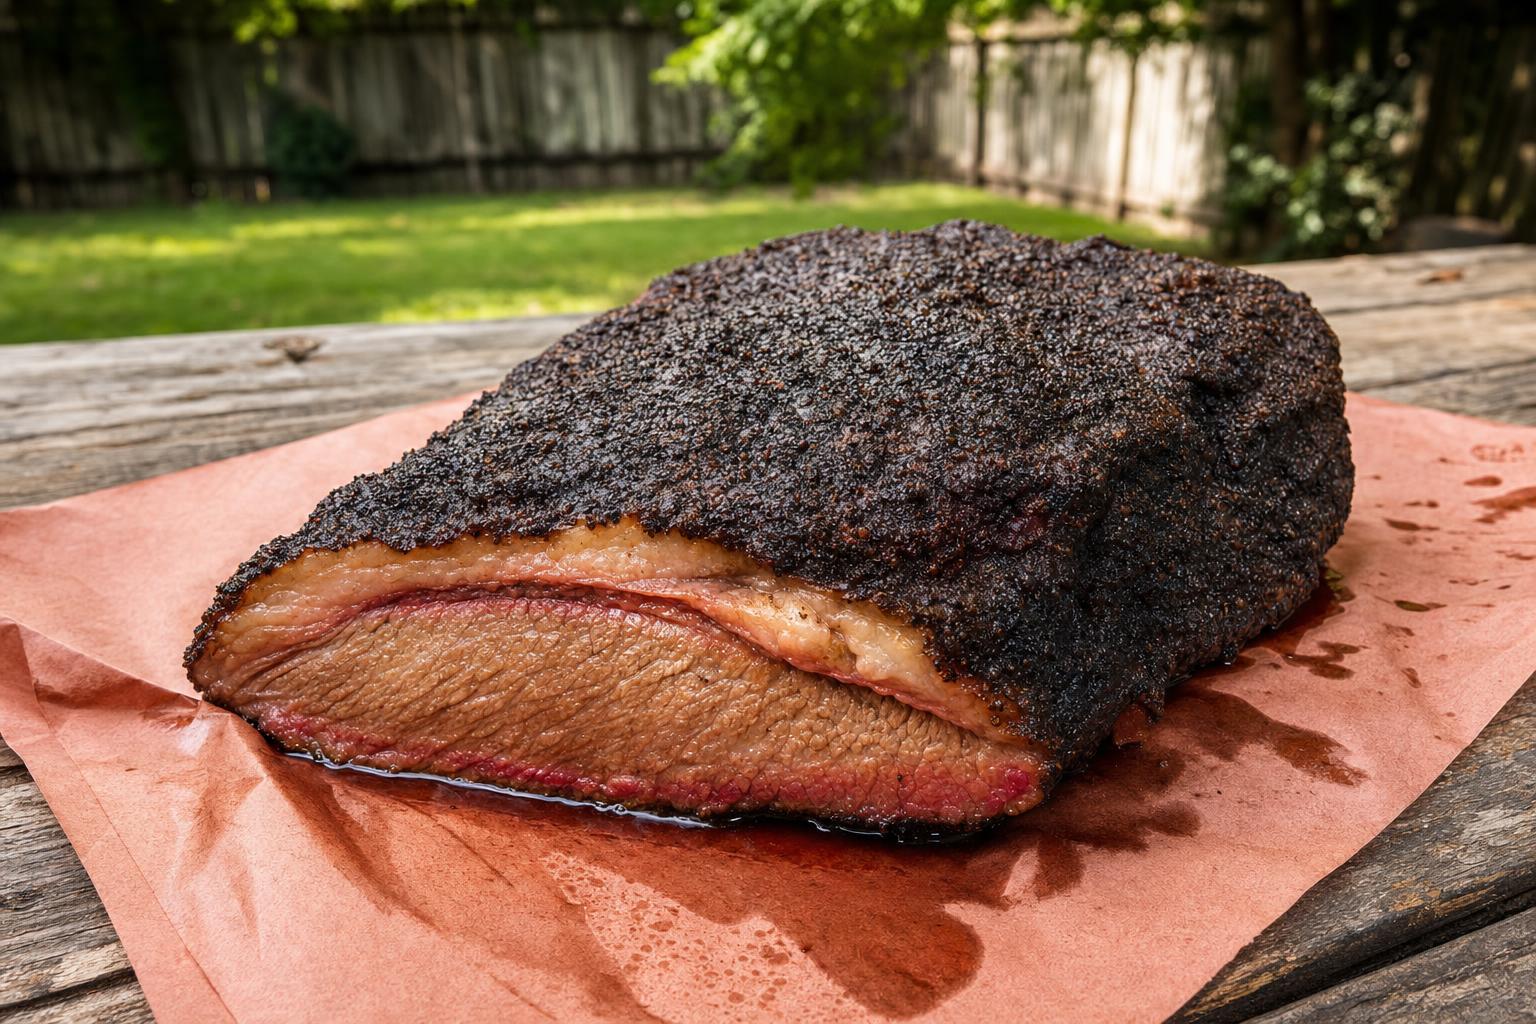
There is a specific kind of silence that falls over a table when a whole bone-in prime rib lands in the center of it. Not awe exactly — more like a collective, involuntary intake of breath before the carving knife ever moves. We have chased that moment for years, and the version that produces it most reliably is not the oven-roasted one. It is this: twenty-four hours of dry brine, six-plus hours over oak smoke at 225°F, a hard 500°F sear, and thirty minutes of resting patience. The result is a roast with a smoke ring you can read like a tree’s age, a bark that shatters when you press it, and a center that holds that cardinal medium-rare pink from the very first slice to the very last.
What separates this method from a standard reverse-sear is the smoke layer and the extended low-temperature window. Smoking at 225°F keeps the surface water activity high enough that Maillard onset is suppressed on the exterior — and that is intentional. The smoke ring develops and intercostal collagen begins hydrolysis while the interior climbs at roughly 1°F every 3 to 4 minutes. Pulling the smoked prime rib at 120°F internal and allowing carryover cooking to complete its work reliably delivers a center temperature of 130°F without overshooting. The final sear at 500°F dehydrates the salted surface in under 10 minutes, collapsing water activity at the boundary layer and igniting the Maillard cascade all at once. That is the bark.
Why does smoked prime rib work? The science
Smoked prime rib works because the 225°F cook rate keeps the core below the actin-collapse threshold (167°F to 176°F / 75°C to 80°C) while simultaneously driving collagen hydrolysis and smoke ring development — two processes a hotter oven cannot provide. Prime rib is a composite of two protein worlds: the myofibrillar network of the longissimus dorsi — one of the least-exercised muscles on the steer, with intramuscular fat marbled throughout — and the collagen-dense intercostal connective tissue anchoring the meat to the rib bones. These two systems respond to heat on entirely different kinetic timelines, and low-and-slow smoking is the only method that honors both simultaneously.
Myosin, the primary structural protein in the muscle, begins denaturing around 104°F to 122°F (40°C to 50°C). Actin, the secondary network, is far more heat-stable and collapses violently between 167°F and 176°F (75°C to 80°C), at which point water-holding capacity craters and the roast goes from juicy to dry irrecoverably. The entire mission of this cook is to keep the core temperature below that actin danger threshold. A 130°F (54°C) target internal temperature gives a full 37°F buffer below that cliff edge.
The dry brine is not merely seasoning — it is a moisture-engineering step. Kosher salt applied 24 hours ahead draws surface moisture outward via osmotic pressure, dissolves back into a concentrated brine, and then diffuses inward through the meat tissue. The salt denatures a thin peripheral layer of myosin, creating a self-basting protein gel at the surface that dramatically improves water retention during the cook. It also lowers the water activity (aw) at the crust from roughly 0.98 down toward 0.90, which means the surface evaporates faster and the Maillard reaction accelerates during the final high-heat sear. The interplay between pre-sear surface dehydration and high radiant heat from a 500°F oven is what produces bark with real structural integrity — it shatters rather than peeling.
The smoke ring is a separate chemistry: myoglobin at the meat surface reacts with nitric oxide and carbon monoxide in the smoke to form carboxymyoglobin and nitrosomyoglobin, both of which are stable reddish pigments that resist the color shift to tan hemichrome even as the surface heats. Ring depth is a function of smoke exposure time and surface moisture — hence why 225°F and a humid early cook phase produce a deeper ring than a hotter, drier cook.
Carryover cooking is the third pillar of this method and the one most misunderstood. When you pull the roast at 120°F and tent it, the outer layers of meat — which are hotter than the core — continue conducting heat inward. In a 3-bone roast weighing approximately 7 to 9 pounds, this carryover differential is reliably 8°F to 12°F, landing the geometric center at 128°F to 132°F after a 30-minute rest without any additional external energy input. This is not guesswork; it is first-order thermodynamics. The 500°F sear that follows deposits very little additional heat into the core — the crust is forming in minutes, not driving a temperature wave through 4 inches of protein matrix. Pull at 120°F. Trust the carryover. Sear hard and fast. Slice immediately after resting.
What equipment and ingredients do you need?
Offset smoker or kettle grill with two-zone setup: Stable 225°F ambient temperature with indirect heat and wood smoke is required. A pellet grill works but produces a lighter smoke ring due to cleaner combustion. For the deepest smoke penetration, use a stick burner or a charcoal kettle with wood chunks.
Oak or post oak: The classic Texas choice for beef. Oak burns hot and clean, producing a moderately dense smoke that pairs with beef fat without overpowering. Cherry or pecan add sweetness; hickory intensifies the ring but can turn bitter on a 6-hour cook. Avoid mesquite for long smokes — the phenol load becomes acrid.
The roast itself: Request a 3-bone, first-cut (loin-end) or second-cut prime rib from your butcher, bone-in and frenched if you want the dramatic presentation. USDA Prime grade has the intramuscular fat density to withstand the long smoke without drying out. Choice grade works but benefits from a slightly lower pull temperature of 118°F. Ask the butcher to tie the bones back on if they have been removed for easier carving — the bones act as an insulating rack and flavor the meat through the cook.
Kosher salt: Diamond Crystal or Morton. These two brands have different crystal densities — Morton is denser, so use roughly two-thirds the volume if substituting. The 24-hour dry brine window is non-negotiable for brine-back diffusion to complete.
Instant-read thermometer: A Thermapen or equivalent probe thermometer accurate to ±0.5°F. Insert from the end of the roast toward the geometric center, avoiding bone and pockets of fat. The temperature at the absolute center is the number that matters.
Smoked Prime Rib — Bone-In
Equipment
- 1 Offset smoker or kettle grill with two-zone setup Must hold a stable 225°F indirect ambient temperature. Pellet grill works; add a smoke tube for deeper ring.
- 4 to 6 Oak or post oak wood chunks Chunks, not chips. Split to roughly fist-size for a steady, controlled burn. Cherry or pecan are acceptable substitutes.
- 1 Instant-read probe thermometer Accurate to ±0.5°F. Thermapen or equivalent. A leave-in probe makes monitoring the long smoke hands-free.
- 1 Wire rack set inside a rimmed sheet pan For dry brining in the refrigerator and for the high-heat sear phase.
- 1 Heavy roasting pan or cast iron skillet Preheated in the 500°F oven for the final sear. The residual heat from the hot pan aids in crust formation on the bottom of the roast.
- 4 to 6 lengths Butcher’s twine For tying the rib bones back to the roast if the butcher has removed them. The bones act as a natural roasting rack and flavor the meat.
Ingredients
The Roast
- 1 3-bone bone-in prime rib roast, first-cut preferred Approximately 7 to 9 pounds. USDA Prime grade strongly recommended. Ask the butcher to french the bones and tie them back on if removed. Cap on or off is your call — on gives you more rendered fat and a richer bark.
Dry Brine
- 3 tablespoons Diamond Crystal kosher salt Use 2 tablespoons if substituting Morton kosher salt, which has higher crystal density. Approximately 1 teaspoon per pound of meat is the target application rate.
- 2 teaspoons coarse black pepper, freshly cracked Use a coarse grind — 3/16 inch crack setting if you have an adjustable grinder. Fine-ground pepper will blow off in the smoke.
- 1 teaspoon garlic powder Optional but recommended. Adds a Maillard-ready amino acid layer that contributes to bark complexity.
For Serving
- 2 tablespoons flaky sea salt, such as Maldon For finishing at the table. The large crystal size provides a textural contrast to the bark and a clean salinity hit.
- 1 cup prepared horseradish cream Optional. Fresh-grated horseradish in sour cream with a pinch of salt is classic and cuts the richness.
- 1 cup beef au jus or pan drippings Optional. Collect the drippings from the smoke phase, deglaze with beef stock, strain, and reduce by half.
Instructions
24 Hours Before: Dry Brine
- Remove the prime rib from its packaging and pat completely dry with paper towels — surface moisture is the enemy of a good bark, and you want to start the drying process immediately. Set the roast bone-side down on a wire rack placed inside a rimmed sheet pan.
- Combine the kosher salt, cracked black pepper, and garlic powder in a small bowl. Apply the seasoning blend aggressively and evenly to every exposed surface of the roast — top, sides, and the ends of the meat between the bones. Do not season the cut bone surfaces. Press the seasoning firmly into the fat cap so it adheres.2 teaspoons coarse black pepper, freshly cracked, 1 teaspoon garlic powder
- Place the seasoned roast, uncovered, in the refrigerator on the wire rack. Leave it uncovered for the full 24-hour dry brine window. The exposed surface will appear slightly tacky and dry by hour 12 and then begin to look glistening again by hour 24 as the brine draws moisture back out and then diffuses inward. Both stages are correct — do not cover the roast.
Day of Cook: Smoke Phase
- Remove the prime rib from the refrigerator 45 to 60 minutes before the smoke goes on. A cold core extending the cook time is fine — but a refrigerator-cold roast that has been sitting in warm ambient air for only 10 minutes has an artificially low surface temperature and will cause your probe to mislead you in the early phase. Let it temper slightly.
- Fire up your smoker and stabilize it at 225°F with indirect heat. Add oak wood chunks to your heat source. Wait until the smoke runs thin and blue-gray — this indicates clean combustion. White billowing smoke contains unburned creosote compounds that will deposit a bitter, acrid coating on the meat. Do not put the roast on until the smoke is clean.
- Place the prime rib bone-side down on the smoker grate over indirect heat, fat cap up. Insert a leave-in probe thermometer from the cut end of the roast, angling toward the geometric center of the muscle mass. Avoid bone contact and avoid fat pockets — probe placement in pure muscle tissue at the center gives you the most accurate reading of the coolest point in the roast, which is the number you are managing.
- Smoke at 225°F until the internal temperature at the center reads 120°F. On a 7- to 9-pound bone-in prime rib, this will take approximately 5.5 to 7 hours. Do not open the smoker more than necessary — every opening drops ambient temperature and resets the thermal equilibrium of the cook chamber. Add wood chunks as needed to maintain clean, thin smoke throughout. The stall you experience around 110°F to 115°F is normal and brief — the evaporative surface cooling catches up to the internal heat input momentarily. Hold steady at 225°F and it will push through.
Rest Phase
- When the internal temperature reads exactly 120°F, pull the roast off the smoker. Place it bone-side down on a clean wire rack set inside a sheet pan. Do not wrap it tightly in foil — a tight wrap traps steam and destroys the bark you built. Tent it very loosely with a sheet of foil, or simply leave it exposed in a warm corner of the kitchen away from drafts.
- While the roast rests, preheat your oven to 500°F with the heavy roasting pan or a cast iron skillet on the center rack. Let the oven and the pan heat together for at least 20 minutes — the pan must be screaming hot when the roast goes in. This is critical for bark formation on the bottom surface of the roast.
- Rest the roast for exactly 30 minutes. Check the temperature at the center with your instant-read thermometer at the 30-minute mark. It should read between 128°F and 132°F — this is the carryover window. If it is below 126°F, extend the rest by 10 minutes and recheck. If it is above 133°F, move immediately to the sear phase.
Final Sear
- Pat the entire exterior of the roast dry with paper towels. Any moisture on the surface will vaporize before the Maillard reaction begins, delaying crust formation and costing you oven time you do not have at this stage. The surface should feel dry and slightly tacky, not wet.
- Carefully transfer the roast to the preheated roasting pan in the 500°F oven, bone-side down and fat cap up. Do not add oil or additional fat — the rendered surface fat from the brine and smoke phase is sufficient. Sear at 500°F for 8 to 12 minutes, monitoring closely, until the fat cap is deeply browned and the exposed meat surfaces on the ends show a dark mahogany crust. The bark should look almost crackled and dry — not wet or shiny. Check every 2 minutes after the 8-minute mark; the difference between a perfect crust and a burned one is narrow at this temperature.
- Remove the roast from the oven and immediately transfer it to a cutting board — do not let it sit in the hot roasting pan or the bottom will continue to cook. Let it rest on the board for 5 minutes only, then carve and serve immediately. Finish with flaky sea salt at the table.2 tablespoons flaky sea salt, such as Maldon, 1 cup prepared horseradish cream, 1 cup beef au jus or pan drippings
Carving
- To carve: stand the roast upright on its bone-side and slice downward along the contour of the rib bones with a long, sharp carving knife to free the bone rack from the meat in one piece. Lay the boneless eye flat and slice into individual steaks of 3/4 inch to 1 inch thickness. Serve the bones to the table — there is significant meat between them and anyone who grew up gnawing rib bones will claim them immediately. Drizzle with au jus and serve horseradish cream alongside.1 cup prepared horseradish cream, 1 cup beef au jus or pan drippings
Notes
Nutrition
How do you nail smoked prime rib every time?
- Pull at exactly 120°F, not 125°F. The single most common failure mode is pulling too late. Carryover in a roast this size is a real, measurable 8°F to 12°F. Pulling at 125°F and then searing will push the center to 137°F to 140°F — well into medium, not medium-rare. Instrument the cook, not intuition.
- Dry the surface before the high-heat sear. After the 30-minute rest, pat the exterior with paper towels. Residual surface moisture will vaporize before Maillard browning can begin, delaying crust formation and robbing oven heat from the bark. A dry surface reaches Maillard temperatures 60 to 90 seconds faster than a wet one.
- Do not tent tightly. A tight foil tent traps steam and softens the bark you worked all day to build. Tent loosely or use an inverted sheet pan over the roast to reflect heat without creating a steam bath.
- Probe placement is everything. Insert the probe from the cut end of the roast, angling toward the geometric center. Avoid hitting bone — bone conducts heat differently than meat and will give a false reading. Avoid fat pockets, which read higher than the surrounding muscle.
- Let the smoker stabilize before the roast goes in. A cold smoker running at 200°F on its way up to 225°F will stall the cook and accumulate acrid compounds from incomplete combustion. Wait for the smoke to run thin and blue-gray, not white and billowing.
- Rest before searing, not after. The rest allows the temperature gradient between the crust and the core to equalize and lets carryover complete. The sear that follows is pure surface chemistry — it does not significantly raise the core temperature if you move fast. Serve within 15 minutes of the sear.
What variations can you try?
Herb-crusted bark: After the dry brine, apply a paste of fresh rosemary, thyme, garlic, Dijon mustard, and coarse black pepper before the roast goes on the smoker. The mustard acts as a mild emulsifier and adhesive layer; the alliums and herbs will char slightly under the 500°F sear and add a secondary flavor dimension to the crust. Skip the garlic powder in the base rub if using this variation.
Scaling up to a 4- or 5-bone roast: A larger roast increases the thermal mass and extends the cook time significantly — expect 8 to 10 hours for a 5-bone roast at 225°F. The carryover differential also increases slightly; pull a 5-bone roast at 118°F rather than 120°F. Everything else in the method holds. Do not rush a larger roast by bumping the smoker temperature; the outer layers will cook faster than the core can equilibrate, producing a gray ring around the outside.
Pellet grill adaptation: A pellet grill produces real smoke but at a lower intensity than a stick burner. To deepen the smoke ring, add a smoke tube loaded with oak pellets alongside the roast for the first two hours of the cook. The additional smoldering combustion introduces more nitric oxide to the surface, extending ring penetration. After two hours, the meat surface temperature rises enough that the smoke-ring reaction slows regardless of additional smoke input.
Horseradish cream and au jus pairing: The drippings that collect in the pan during the smoker phase are intensely flavored — reduced beef fat, rendered collagen, and smoke-infused purge from the meat. Deglaze the pan with beef stock and red wine, strain, and reduce by half for a pan au jus with a built-in smoke signature. Fresh horseradish grated tableside and folded into cold sour cream with a pinch of salt cuts the richness and provides the enzymatic pungency — allyl isothiocyanate from the broken-down glucosinolates — that makes prime rib pairing work on a molecular level.
Frequently asked questions
Why smoke prime rib at 225°F instead of a higher temperature like 275°F? At 225°F, the surface of the roast stays moist long enough for maximum smoke ring development and for intercostal collagen to begin hydrolysis before the outer muscle layers reach actin-collapse temperature (167°F to 176°F). At 275°F, smoke ring depth and collagen conversion are sacrificed for a shorter cook window. The internal temperature gradient is also steeper at higher ambient temperatures, meaning the outer inch of the roast is significantly hotter than the core — exactly the outcome to avoid in a roast this size. The lower ambient temperature produces a more even internal temperature gradient and more total time in the optimal protein window between 130°F and 145°F.
Can the final sear be done in a cast iron skillet instead of the oven? On a bone-in prime rib this size, a skillet sear is impractical — the surface area of a 3-bone roast far exceeds what a standard 12-inch pan can contact. An uneven crust results, with the roast resting on its own fumes. A 500°F oven with a preheated roasting pan or a hot grill grate delivers radiant and conductive heat hitting all surfaces simultaneously. A blowtorch can touch up any pale spots after the oven sear, but a torch should not be the primary crust-building tool on a roast this size.
How do you store and reheat leftover smoked prime rib without overcooking it? Slice only what is needed at service. Store the remaining roast bone-in and unsliced, wrapped tightly, in the refrigerator for up to four days. To reheat, place the roast on a wire rack over a sheet pan in a 250°F oven until the center reads 120°F — typically 45 to 60 minutes depending on the size of the remaining piece. The low oven temperature prevents the outer layers from overcooking before the center warms. A quick 90-second broil re-crisps the bark afterward. Sliced leftover prime rib heated in hot beef au jus for 60 seconds is also excellent and eliminates any risk of overcooking entirely.