Smoked Chicken Wings With Crackling-Crisp Skin

Equipment
- 1 Offset smoker or kettle grill with indirect zone Needs to hold a stable 245–255°F ambient temperature
- 1 Instant-read thermometer Calibrated; used to pull wings at exactly 165°F
- 1 Wire rack set over a rimmed baking sheet Essential for airflow on all surfaces during the overnight fridge rest
- 2 Cherry or apple wood chunks 2 fist-sized chunks; not chips — slower smolder, no refueling needed
- 1 High-heat grill or large cast-iron skillet Must reach 450°F for the finish sear; preheat at least 10 minutes
- 1 Large mixing bowl For tossing wings with the dry brine mixture
Ingredients
Wings and Dry Brine
- 3 lbs chicken wings Split into flats and drums, tips removed; patted completely dry with paper towels
- 1 tbsp kosher salt Diamond Crystal preferred; if using Morton, reduce to 2 teaspoons
- 1 tsp aluminum-free baking powder Raises skin pH to ~8.5 for Maillard acceleration and peptide bond weakening
- 1 tsp freshly cracked black pepper
- 1 tsp garlic powder
- 1 tsp smoked paprika Adds a second layer of smoke-adjacent color and VOC complexity
- 0.5 tsp onion powder
- 0.25 tsp cayenne pepper Optional; adjust to heat preference
For Serving (Optional)
- 4 tbsp unsalted butter For a classic Buffalo-style toss
- 0.33 cup Louisiana-style hot sauce Such as Frank’s RedHot; whisk into melted butter off heat

Instructions
Dry Brine and Rest
- Pat the chicken wings completely dry with paper towels on all surfaces. Any surface moisture will dilute the dry brine and slow the pH shift in the skin.
- In a large bowl, whisk together the kosher salt, baking powder, black pepper, garlic powder, smoked paprika, onion powder, and cayenne (if using) until evenly combined.1 tbsp kosher salt, 1 tsp aluminum-free baking powder, 1 tsp freshly cracked black pepper, 1 tsp garlic powder, 1 tsp smoked paprika, 0.5 tsp onion powder, 0.25 tsp cayenne pepper
- Add the wings to the bowl and toss aggressively until every surface is coated with the dry brine mixture. The coating should feel uniformly chalky — no bare patches of skin.1 tbsp kosher salt, 1 tsp aluminum-free baking powder, 1 tsp freshly cracked black pepper, 1 tsp garlic powder, 1 tsp smoked paprika, 0.5 tsp onion powder, 0.25 tsp cayenne pepper
- Arrange the wings in a single layer on a wire rack set over a rimmed baking sheet, skin side up. Do not stack them. Refrigerate uncovered for a minimum of 8 hours, ideally 12 to 24 hours. The refrigerator’s low-humidity airflow is doing critical drying work here — covering the wings traps moisture and defeats the process.
Smoke
- Remove the wings from the refrigerator 20 minutes before smoking. Set up your smoker or kettle grill for indirect cooking and preheat to a stable 250°F ambient temperature. Add 2 fist-sized chunks of cherry or apple wood directly to the coals or firebox.
- Place the wings on the smoker grate, skin side up, with at least 1 inch of space between each wing for airflow. Close the lid. Smoke at 250°F until the thickest part of the largest drumette reads 165°F internal on an instant-read thermometer — approximately 90 to 120 minutes depending on wing size and smoker calibration. Do not open the lid for the first 45 minutes.
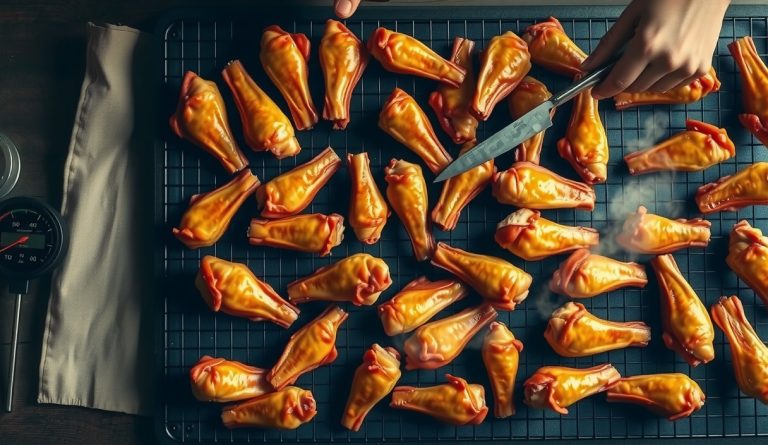
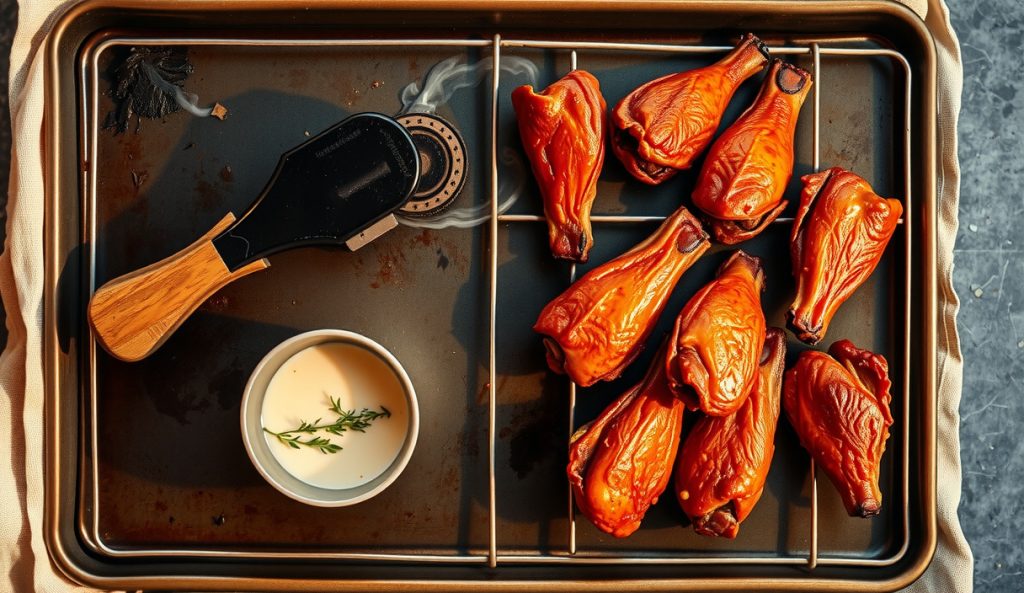
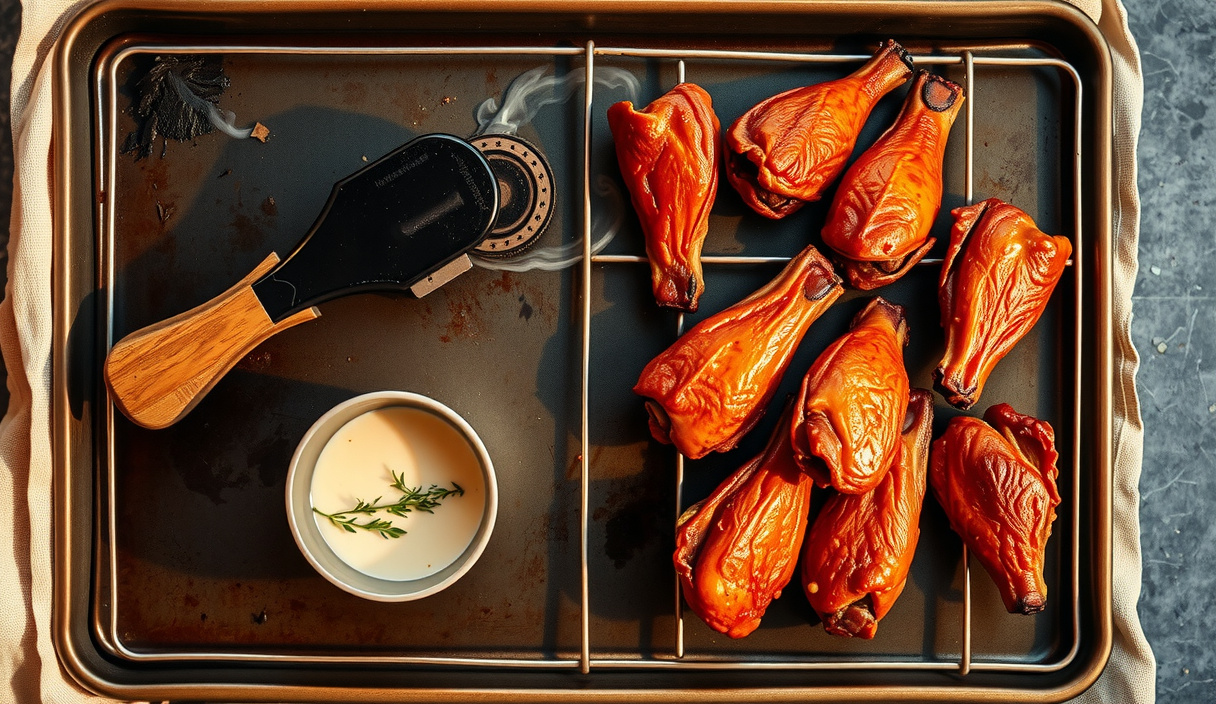
- When the wings hit 165°F, transfer them to the wire rack on the baking sheet. The skin should look dry and matte with a deep amber color. If any spots look glossy or wet, they need more time on the smoker. Rest the wings on the rack while you prepare the sear.
High-Heat Sear
- Preheat a grill or cast-iron skillet to 450°F minimum — this takes at least 10 full minutes on high heat. You need genuine high-energy radiation and conduction at the surface, not just ambient hot air. A drop of water flicked onto the grate or pan should vaporize instantly with an aggressive sizzle.
- Place the wings skin side down on the hot grate or skillet. Do not move them. Sear for 60 to 90 seconds. The skin will appear to stick initially — this is the proteins at the contact surface bonding to the metal. Let them release naturally; pulling early tears the skin. Flip and sear the other side for 60 seconds.
- Transfer the seared wings to a clean serving platter or bowl immediately. The skin should be deep mahogany brown, blistered in spots, and audibly crunchy when you press it with a finger.
Sauce and Serve (Optional)
- If saucing: melt the unsalted butter in a small saucepan over medium heat. Remove from heat and whisk in the hot sauce until fully emulsified. Transfer the seared wings to a large bowl, pour the sauce over, and toss immediately. Serve within 4 minutes — sauce is hygroscopic and will begin softening the crust within 5 to 8 minutes at room temperature. For maximum crunch, serve the sauce on the side.4 tbsp unsalted butter, 0.33 cup Louisiana-style hot sauce
- If serving plain: season with a light pinch of flaky sea salt immediately off the sear and serve at once. The contrast between the smoky, shatteringly crisp skin and the juicy interior is the entire point — do not let them sit.
Notes
Nutrition
Wings are a test of honesty. There is nowhere to hide a pale, rubbery skin or a steam-cooked interior. The pitmasters who nail them — legitimately nail them — understand that the crunch you hear across the table is not an accident. It is the product of controlled dehydration, a pH shift, and a violent thermal finish. This recipe locks in all three, and does it on a backyard smoker without a deep-fryer in sight.
The inspiration came from a simple frustration: wings that smelled right but bit wrong. Gorgeous amber color, smoke ring intact, yet the skin peeled away in one rubbery sheet. The fix was hiding in food chemistry, not in the fire.
Why do smoked chicken wings get crispy skin? The science
Smoked chicken wings achieve crackling-crisp skin through three sequential mechanisms: an alkaline pH shift that thins the skin matrix, a low-and-slow drying phase that eliminates surface moisture, and a high-heat sear that drives the Maillard reaction above the 280°F threshold. Chicken skin is a layered matrix of collagen, elastin, and subcutaneous fat locked inside a thin protein sheet. At rest, that sheet is held together by tightly coiled peptide bonds and a relatively neutral surface pH of around 5.5 to 6.0.
Baking powder — specifically the sodium bicarbonate component — raises the surface pH of the skin toward 8.0 to 9.0. That alkaline shift accelerates the hydrolysis of peptide bonds in the outermost keratin layer and denatures surface proteins ahead of the heat cycle. The result is a thinner, more porous skin matrix that loses moisture faster, browns earlier via the Maillard cascade (which itself accelerates sharply above pH 7.0), and shatters rather than bends when bitten. The 0.5% w/w baking powder to salt ratio used here is the minimum effective dose — below it you get no pH effect; above 1% you risk a metallic flavor from residual carbonate.
The two-stage cook exploits the sequential denaturation physics of chicken muscle. At 250°F ambient, the smoker delivers low-flux convective heat. Myosin begins denaturing around 130°F internal, setting a tender gel network. Collagen in the connective tissue begins hydrolysis above 160°F, softening the joint. The wings are pulled at 165°F internal — the USDA pasteurization threshold for poultry — which keeps the meat just past the sarcoplasmic denaturation window (51–67°C) but well below the 74°C actin-collapse zone that destroys water-holding capacity. The meat stays juicy because actin never fully denatures. Meanwhile, the low ambient temperature and the dry-brine salt osmosis have been pulling surface moisture outward for the entire smoke session, leaving the skin nearly desiccated and primed for the Maillard reaction.
The 450°F sear is the phase-change event. Surface water activity drops below 0.3 in seconds at that temperature, eliminating the evaporative cooling that would otherwise anchor the skin temperature at 212°F and stall browning. Maillard onset requires substrate temperatures well above 280°F at the surface. The combination of the alkaline pre-treatment, the pre-dried skin, and the blast of radiant-convective heat from a screaming-hot grill grate drives the surface from 212°F to 350°F+ in under 90 seconds — fast enough to blister and char without overcooking the interior that is already at a safe temperature.
What equipment and ingredients do I need?
- Baking powder, not baking soda. Double-acting baking powder contains both sodium bicarbonate and an acid salt (monocalcium phosphate). That acid salt moderates the pH so the wing surface lands at ~8.5 rather than a skin-stripping 10+. Pure baking soda overshoots and tastes soapy. Use aluminum-free baking powder if you are sensitive to the faint metallic note from sodium aluminum sulfate.
- Kosher salt. The coarse crystal structure creates localized osmotic gradients that draw moisture to the surface, which then evaporates during the overnight rest. Fine table salt dissolves too quickly and can over-cure the skin.
- Wire rack over a sheet pan. Air circulation underneath the wing is non-negotiable during the overnight fridge rest. A wing sitting flat on a plate retains surface moisture on its underside; a rack lets both faces dry equally.
- Wood choice. Cherry or apple wood produces the mahogany color that reads as properly smoked on the plate. Hickory or mesquite at the doses needed for wings at 250°F risks bitterness from creosote — save them for larger cuts with more surface area to buffer the smoke load. Use chunks, not chips, for a 45-to-60-minute smolder window without refueling.
- Instant-read thermometer. The pull temperature of 165°F is not a suggestion. Smoke rings and color are unreliable doneness indicators on thin cuts. A calibrated probe removes guesswork.
- High-heat grill or cast-iron. A clean grill grate preheated to 450°F for at least 10 minutes delivers the intense radiant and conductive heat needed to blister the skin in under 2 minutes per side. A cast-iron skillet screaming hot on a gas burner works equally well indoors.
Smoked Chicken Wings With Crackling-Crisp Skin
Equipment
- 1 Offset smoker or kettle grill with indirect zone Needs to hold a stable 245–255°F ambient temperature
- 1 Instant-read thermometer Calibrated; used to pull wings at exactly 165°F
- 1 Wire rack set over a rimmed baking sheet Essential for airflow on all surfaces during the overnight fridge rest
- 2 Cherry or apple wood chunks 2 fist-sized chunks; not chips — slower smolder, no refueling needed
- 1 High-heat grill or large cast-iron skillet Must reach 450°F for the finish sear; preheat at least 10 minutes
- 1 Large mixing bowl For tossing wings with the dry brine mixture
Ingredients
Wings and Dry Brine
- 3 lbs chicken wings Split into flats and drums, tips removed; patted completely dry with paper towels
- 1 tbsp kosher salt Diamond Crystal preferred; if using Morton, reduce to 2 teaspoons
- 1 tsp aluminum-free baking powder Raises skin pH to ~8.5 for Maillard acceleration and peptide bond weakening
- 1 tsp freshly cracked black pepper
- 1 tsp garlic powder
- 1 tsp smoked paprika Adds a second layer of smoke-adjacent color and VOC complexity
- 0.5 tsp onion powder
- 0.25 tsp cayenne pepper Optional; adjust to heat preference
For Serving (Optional)
- 4 tbsp unsalted butter For a classic Buffalo-style toss
- 0.33 cup Louisiana-style hot sauce Such as Frank’s RedHot; whisk into melted butter off heat
Instructions
Dry Brine and Rest
- Pat the chicken wings completely dry with paper towels on all surfaces. Any surface moisture will dilute the dry brine and slow the pH shift in the skin.
- In a large bowl, whisk together the kosher salt, baking powder, black pepper, garlic powder, smoked paprika, onion powder, and cayenne (if using) until evenly combined.1 tbsp kosher salt, 1 tsp aluminum-free baking powder, 1 tsp freshly cracked black pepper, 1 tsp garlic powder, 1 tsp smoked paprika, 0.5 tsp onion powder, 0.25 tsp cayenne pepper
- Add the wings to the bowl and toss aggressively until every surface is coated with the dry brine mixture. The coating should feel uniformly chalky — no bare patches of skin.1 tbsp kosher salt, 1 tsp aluminum-free baking powder, 1 tsp freshly cracked black pepper, 1 tsp garlic powder, 1 tsp smoked paprika, 0.5 tsp onion powder, 0.25 tsp cayenne pepper
- Arrange the wings in a single layer on a wire rack set over a rimmed baking sheet, skin side up. Do not stack them. Refrigerate uncovered for a minimum of 8 hours, ideally 12 to 24 hours. The refrigerator’s low-humidity airflow is doing critical drying work here — covering the wings traps moisture and defeats the process.
Smoke
- Remove the wings from the refrigerator 20 minutes before smoking. Set up your smoker or kettle grill for indirect cooking and preheat to a stable 250°F ambient temperature. Add 2 fist-sized chunks of cherry or apple wood directly to the coals or firebox.
- Place the wings on the smoker grate, skin side up, with at least 1 inch of space between each wing for airflow. Close the lid. Smoke at 250°F until the thickest part of the largest drumette reads 165°F internal on an instant-read thermometer — approximately 90 to 120 minutes depending on wing size and smoker calibration. Do not open the lid for the first 45 minutes.
- When the wings hit 165°F, transfer them to the wire rack on the baking sheet. The skin should look dry and matte with a deep amber color. If any spots look glossy or wet, they need more time on the smoker. Rest the wings on the rack while you prepare the sear.
High-Heat Sear
- Preheat a grill or cast-iron skillet to 450°F minimum — this takes at least 10 full minutes on high heat. You need genuine high-energy radiation and conduction at the surface, not just ambient hot air. A drop of water flicked onto the grate or pan should vaporize instantly with an aggressive sizzle.
- Place the wings skin side down on the hot grate or skillet. Do not move them. Sear for 60 to 90 seconds. The skin will appear to stick initially — this is the proteins at the contact surface bonding to the metal. Let them release naturally; pulling early tears the skin. Flip and sear the other side for 60 seconds.
- Transfer the seared wings to a clean serving platter or bowl immediately. The skin should be deep mahogany brown, blistered in spots, and audibly crunchy when you press it with a finger.
Sauce and Serve (Optional)
- If saucing: melt the unsalted butter in a small saucepan over medium heat. Remove from heat and whisk in the hot sauce until fully emulsified. Transfer the seared wings to a large bowl, pour the sauce over, and toss immediately. Serve within 4 minutes — sauce is hygroscopic and will begin softening the crust within 5 to 8 minutes at room temperature. For maximum crunch, serve the sauce on the side.4 tbsp unsalted butter, 0.33 cup Louisiana-style hot sauce
- If serving plain: season with a light pinch of flaky sea salt immediately off the sear and serve at once. The contrast between the smoky, shatteringly crisp skin and the juicy interior is the entire point — do not let them sit.
Notes
Nutrition
How do I nail crispy smoked wings every time?
- Do not skip the overnight rest. The dry brine needs a minimum of 8 hours — 12 to 24 is better. The salt draws moisture to the surface, that moisture dissolves the salt, and then osmosis pulls the brine back into the meat while the exterior dries under refrigerator airflow. Skipping this step leaves you with wet skin that steams rather than sears in the finish phase.
- Pat completely dry before racking. Even after an overnight rest, blot each wing with paper towels before applying the baking powder mixture. Any residual surface moisture creates a steam barrier that delays the pH shift and slows Maillard onset.
- Manage your smoker temperature tightly. Spikes above 300°F during the smoke phase will start rendering the fat before the skin has dried adequately, and you will lose the crisp you built with the dry brine. Stay at 245–255°F ambient. If your smoker runs hot, crack a vent and place a water pan below the grate to act as a thermal buffer.
- Sear fast and do not fiddle. The finish sear should be 60 to 90 seconds per side maximum. Longer and you risk drying the interior. The skin will appear to stick momentarily — let it release naturally. Forcing it tears the skin and defeats the effort.
- Season the sauce separately. If you sauce the wings, toss them in a bowl immediately off the sear and eat within 4 minutes. Sauce is hygroscopic; it pulls moisture into the skin and softens the crust within 5 to 8 minutes at room temperature. Serve sauces on the side for maximum structural integrity.
- Failure mode — gummy interior skin: This almost always means the fat between the skin and the meat did not fully render. Increase the smoke-phase time by 15 minutes or drop the smoke temperature slightly to extend the rendering window before the sear.
What variations work best with this technique?
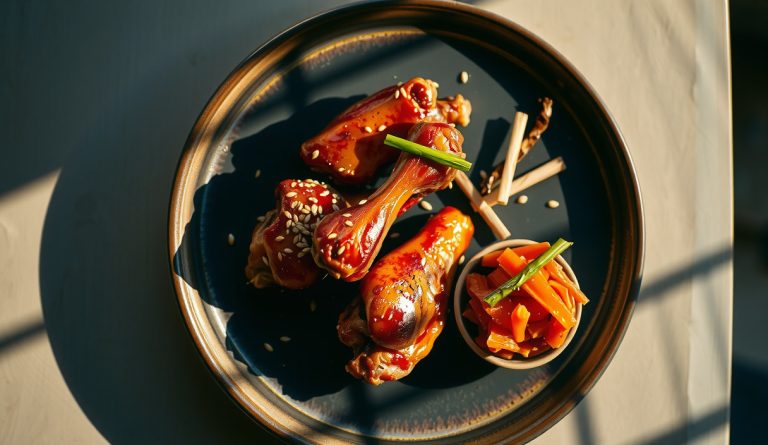
Korean-style gochujang glaze. The alkaline dry brine pairs exceptionally well with high-fermented pastes. Thin gochujang 1:1 with honey and add a splash of rice wine vinegar. Toss the wings immediately after the sear and serve with sliced scallion greens and toasted sesame. The residual heat from the wing surface caramelizes the sugar in the glaze within seconds, adding a lacquered finish without a second trip to the grill.
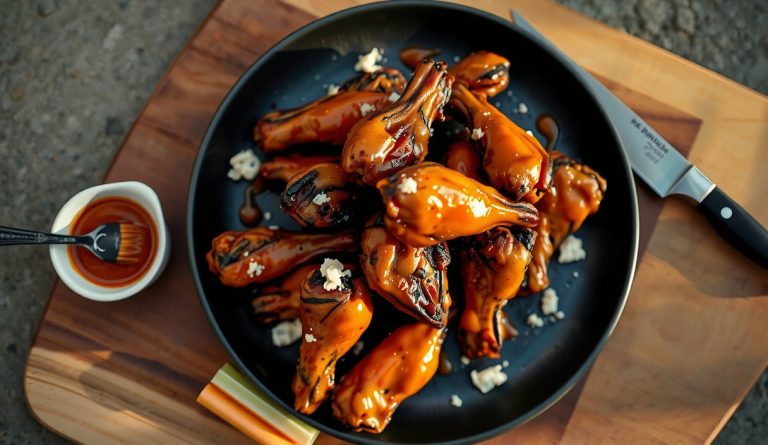
Buffalo. The classic is classic for a reason. Melt 4 tablespoons of unsalted butter and whisk in 1/3 cup of Frank’s RedHot (or any cayenne-based Louisiana hot sauce) off heat. The emulsified butter-fat phase buffers the acetic acid in the hot sauce, softening its sharpness and helping it cling to the skin. Toss off the grate and eat immediately. Do not use a margarine substitute — the water content will steam the skin soft.
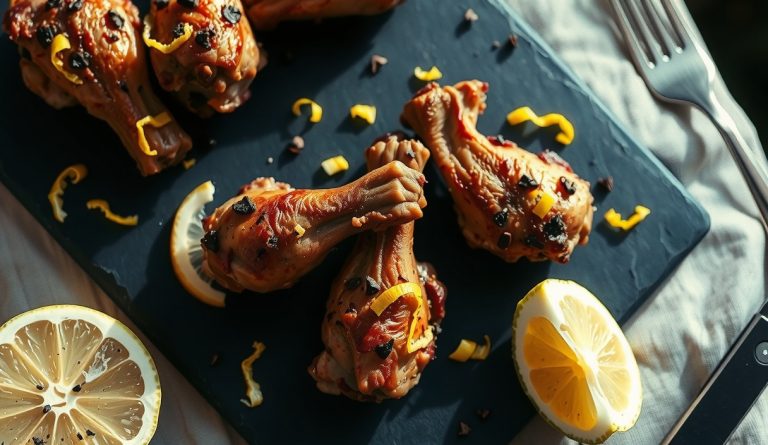
Lemon-pepper dry toss. Skip the sauce entirely and toss the finished wings with 2 teaspoons of freshly cracked black pepper and the zest of two lemons the moment they come off the sear. The heat of the wing volatilizes the terpenes in the lemon zest — specifically limonene and linalool — producing a bright, floral aromatic bloom that disappears within a minute. Zest directly over the bowl, not in advance. This variation is the best showcase of the unadorned crispy skin.
Scaling up. The baking-powder-to-salt ratio scales linearly by weight. For every additional pound of wings, add 1 teaspoon of kosher salt and 1/4 teaspoon of baking powder. Do not crowd the smoker grate — airflow around each wing is what drives skin drying. For more than 4 pounds, add a second grate level and rotate top to bottom at the 30-minute mark to equalize smoke exposure. The sear phase remains unchanged regardless of batch size; work in small groups so the grill temperature does not drop below 425°F.
Frequently asked questions
Can I do this on a gas grill without a dedicated smoker? Yes. Set up a two-zone fire: one side on high, one side off. Place a small foil pouch of wood chunks directly on the lit burner and close the lid. Smoke the wings on the cold side at 250°F (regulate by cracking the lid as needed) until 165°F internal, then move them directly over the hot side for the sear. You will get less smoke penetration than a dedicated smoker — roughly a 30% reduction in smoke ring depth — but the crispy-skin technique is fully intact.
Why baking powder and not just salt? Salt alone draws moisture out via osmosis and seasons the meat, but it does not meaningfully alter the skin’s surface chemistry or structural porosity. Baking powder adds the alkaline pH shift that weakens peptide bonds in the keratin layer, physically thinning the skin matrix and opening microscopic channels that accelerate fat rendering and moisture escape during cooking. The two work through different mechanisms and the combination is genuinely additive — you cannot replicate the result with either ingredient alone.
My wings came out with great color but the skin was still chewy. What went wrong? Chewy skin after a good sear almost always indicates that the subcutaneous fat layer did not fully render during the smoke phase. This happens when the smoker ran too hot and set the outer skin proteins into a rigid shell before the fat beneath had time to liquefy and drain. The fix: drop your smoke temperature to 240°F and extend the cook by 10 to 15 minutes. The lower ambient temperature gives the fat — which renders progressively between 130°F and 160°F — more time to drain before the skin locks up in the finish heat.