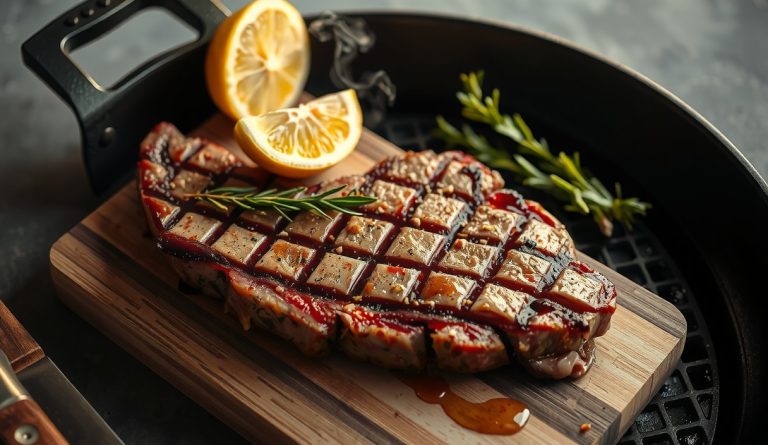
Reverse-Sear Ribeye on the Grill
Equipment
- 1 Charcoal grill with lid (22-inch kettle or larger) Set up for two-zone indirect/direct cooking
- 1 Chimney starter For lighting a full load of lump charcoal
- 1 Leave-in dual-probe thermometer One probe at grate level in the indirect zone, one in the steak
- 1 Instant-read thermometer For precision reads during the sear phase
- 1 Wire rack set over a rimmed sheet pan For the refrigerator drying phase and the post-sear rest
- 1 pair Long tongs For flipping over high heat without disturbing the crust
Ingredients
The Steak
- 1 bone-in or boneless ribeye steak, 2 inches thick (approximately 28–34 oz) USDA Prime or high-Choice; heavy marbling in the cap and longissimus is critical
- 1 tsp Diamond Crystal kosher salt Per pound of steak weight; use 3/4 tsp per pound if salting 24 hours ahead
- 1 tsp coarsely cracked black pepper Use a mortar or coarse grind setting — fine pepper burns on the coals
Optional Compound Butter (Applied at Rest)
- 1 tbsp unsalted butter, softened
- 1 tsp fresh thyme leaves
- 1 small garlic clove, finely grated Optional; omit if you prefer unobstructed beef flavor
For the Grill
- 1 full chimney lump hardwood charcoal Approximately 5–6 quarts; split between a small indirect-zone bed and a full direct searing load
- 1 chunk post oak or apple wood Optional; for smoke during the indirect phase only

Instructions
Day Before or 4 Hours Ahead: Season and Dry
- Remove the ribeye from its packaging and pat completely dry on all surfaces with paper towels. Season all sides — including the fat cap and any exposed bone — generously with kosher salt and cracked black pepper. Place the steak on a wire rack set over a sheet pan.1 tsp Diamond Crystal kosher salt, 1 tsp coarsely cracked black pepper
- Refrigerate uncovered for a minimum of 4 hours, or up to 24 hours. Do not cover or tent the steak — the goal is active drying. The surface will develop a slightly tacky, darker appearance: this is the pellicle forming and is exactly what you want. It signals that surface water activity has dropped and the Maillard reaction will begin almost immediately on contact with the coals.
Fire Setup
- About 30 minutes before cooking, light roughly one-third of a chimney of charcoal and bank it to one side of the grill. Place a drip pan filled with a small amount of water on the opposite (cool) side. Position one leave-in probe at grate level on the cool side. Close the lid and adjust the vents until the cool-zone temperature stabilizes at 225°F. This may take 10 to 15 minutes of vent adjustment.1 small garlic clove, finely grated
- If using a wood chunk for smoke, place it directly on the lit coals now. It will begin producing smoke within 2 to 3 minutes.1 full chimney lump hardwood charcoal
Indirect Phase: Low and Slow to 115°F
- Remove the steak from the refrigerator. Pat all surfaces dry one final time with fresh paper towels to remove any surface condensation from the transfer. Insert the second leave-in probe into the geometric center of the thickest part of the steak, ensuring it is not touching bone or fat.
- Place the steak on the cool side of the grill, directly over the drip pan and away from any direct heat. Close the lid and do not open it unnecessarily. The steak will take approximately 45 to 60 minutes at 225°F to reach an internal temperature of 115°F. At 225°F, the thermal gradient across a 2-inch steak is very shallow — the interior and exterior are equilibrating slowly and evenly.
- While the steak is on the indirect zone, light a full chimney of lump charcoal. Allow it to fully ignite until the top coals are completely ashed over and glowing orange with no black spots. This searing load needs to be at maximum heat when the steak comes off the indirect zone.1 small garlic clove, finely grated
- When the steak’s internal temperature reaches 115°F, remove it from the indirect zone and set it on a clean plate. Dump the fully lit chimney load of coals directly onto the grill, bank them to create a dense, intensely hot searing surface. Allow the grate to preheat directly over the coals for 2 minutes with the lid off.
Sear Phase: Maximum Maillard in Minimum Time
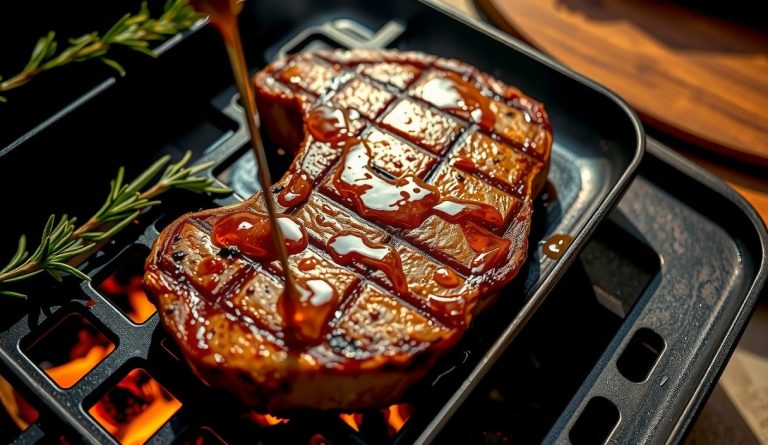
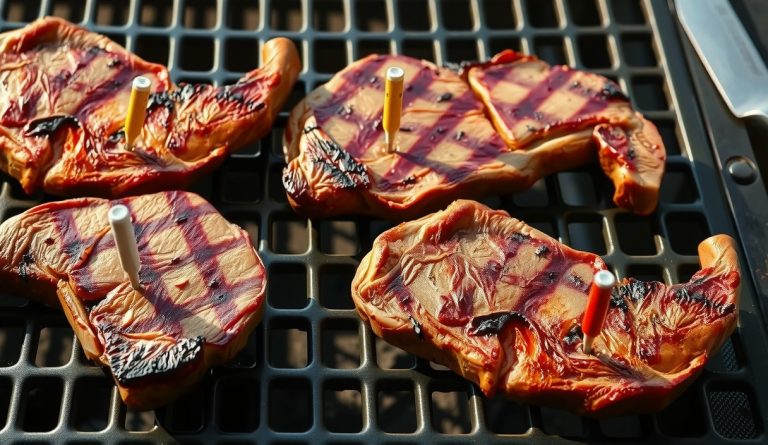
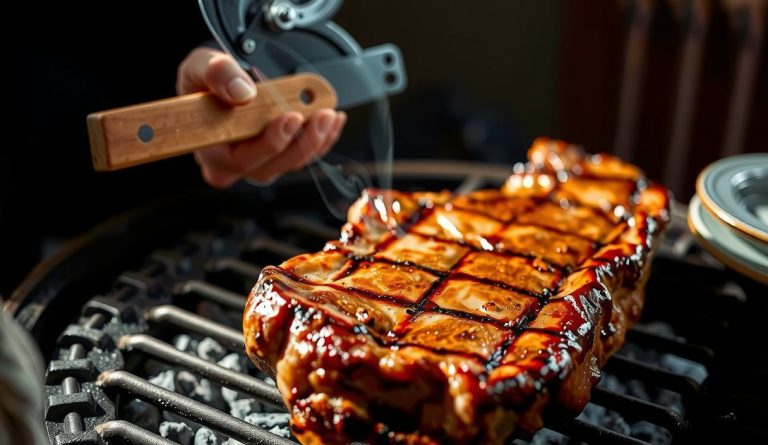
- Pat the steak surface dry one final time if any moisture has accumulated. Place the steak directly over the hot coals. You should hear an immediate, aggressive sizzle. Do not move the steak. Sear for exactly 60 to 90 seconds per side, flipping once with long tongs. Watch for the crust to develop a deep mahogany-brown color — not black. If you see significant flare-ups from dripping fat, shift the steak slightly to manage them without lifting it fully off the grate.
- After the second side is seared, stand the steak on its fat cap edge for 20 to 30 seconds to render and crisp the fat band. Use tongs to balance the steak on its edge — a pair of grill bricks or another steak can help stabilize it. Check the internal temperature with an instant-read thermometer: you are looking for 125 to 128°F for medium-rare. If below 120°F, add 20 more seconds per side. If already at 128°F or above, proceed immediately to rest.
Rest and Serve
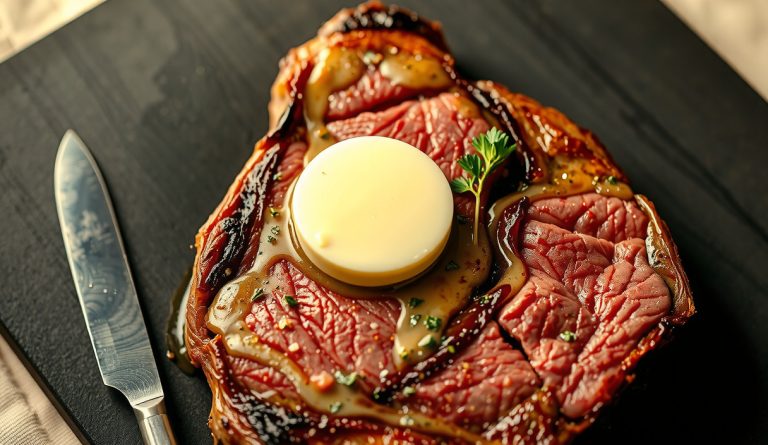
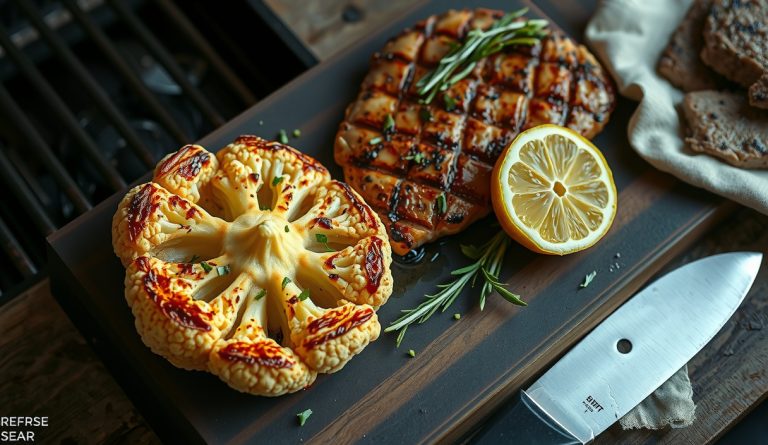
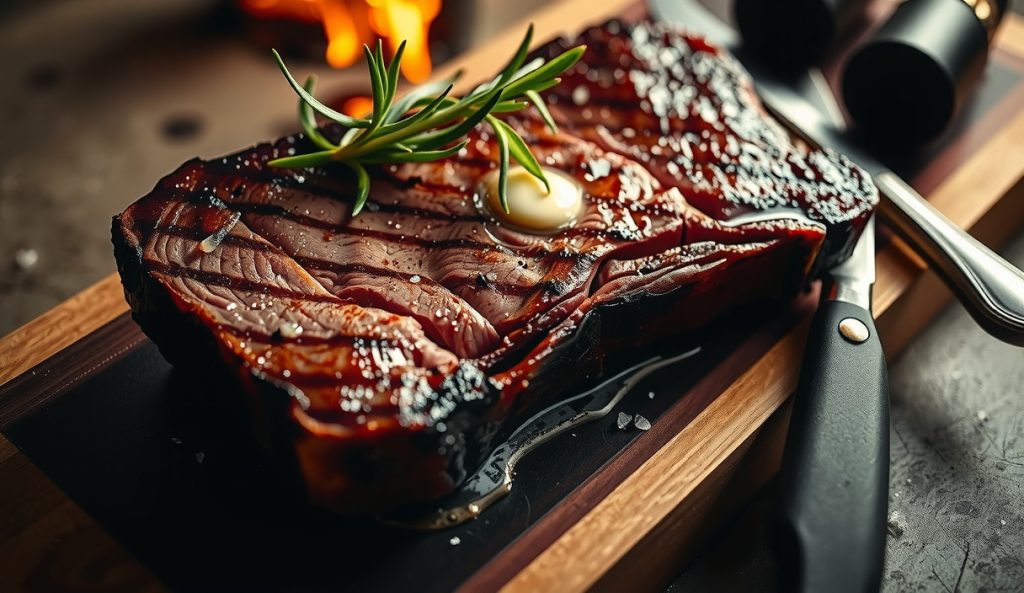
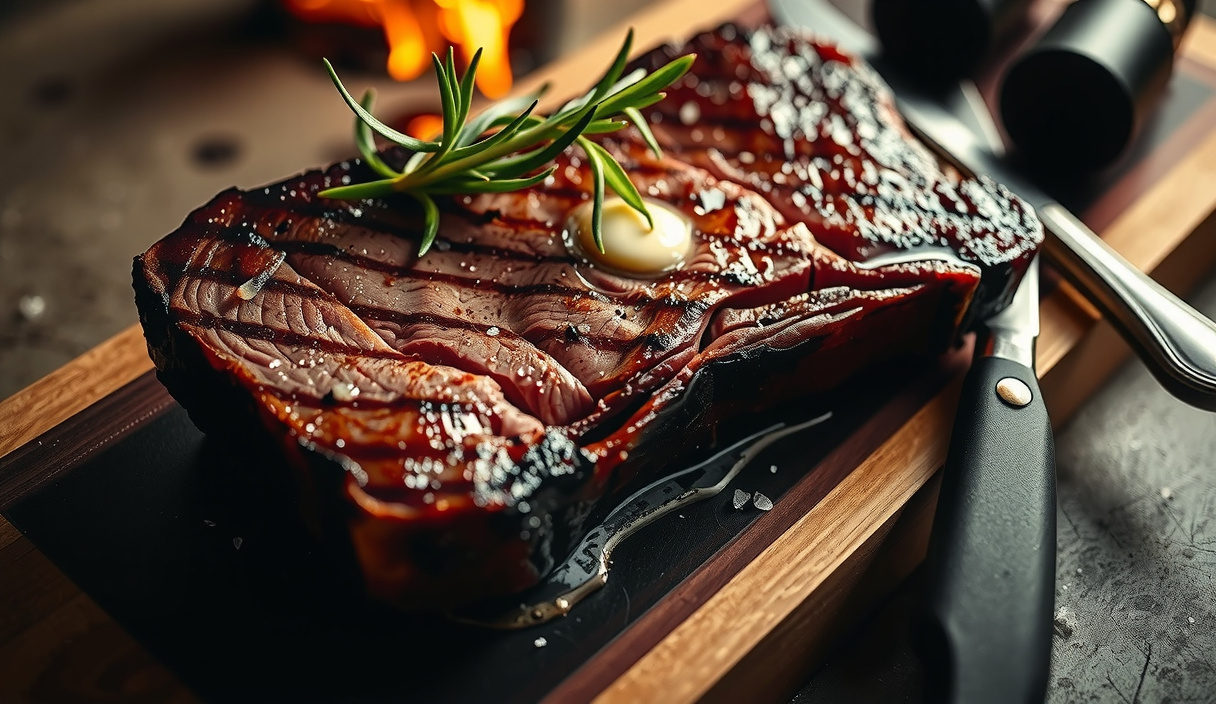
- Transfer the steak to a clean wire rack over a sheet pan. Do not tent with foil — tenting traps steam and softens the crust. If using the optional compound butter, mix the softened butter with thyme leaves and grated garlic, and place a small knob on the top surface of the steak immediately. It will melt slowly as the steak rests.1 tbsp unsalted butter, softened, 1 tsp fresh thyme leaves
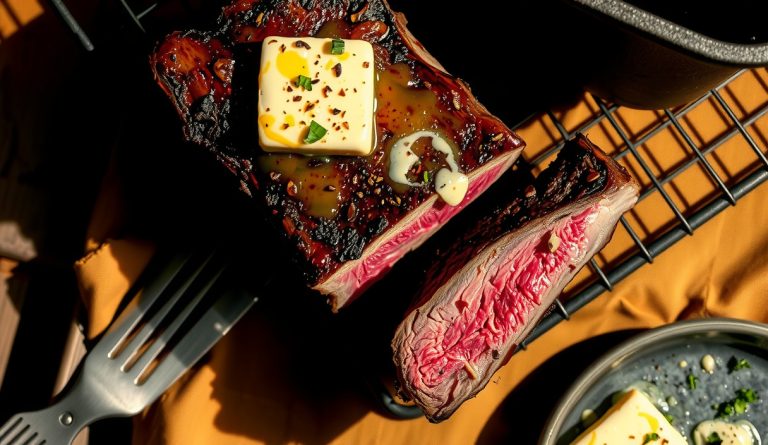
- Rest for 5 to 7 minutes. The internal temperature will continue rising to approximately 130 to 133°F — a perfect medium-rare. Slice against the grain or serve whole. Season the cut surface with a small additional pinch of flake salt if desired, and serve immediately.1 tsp Diamond Crystal kosher salt
Notes
Nutrition
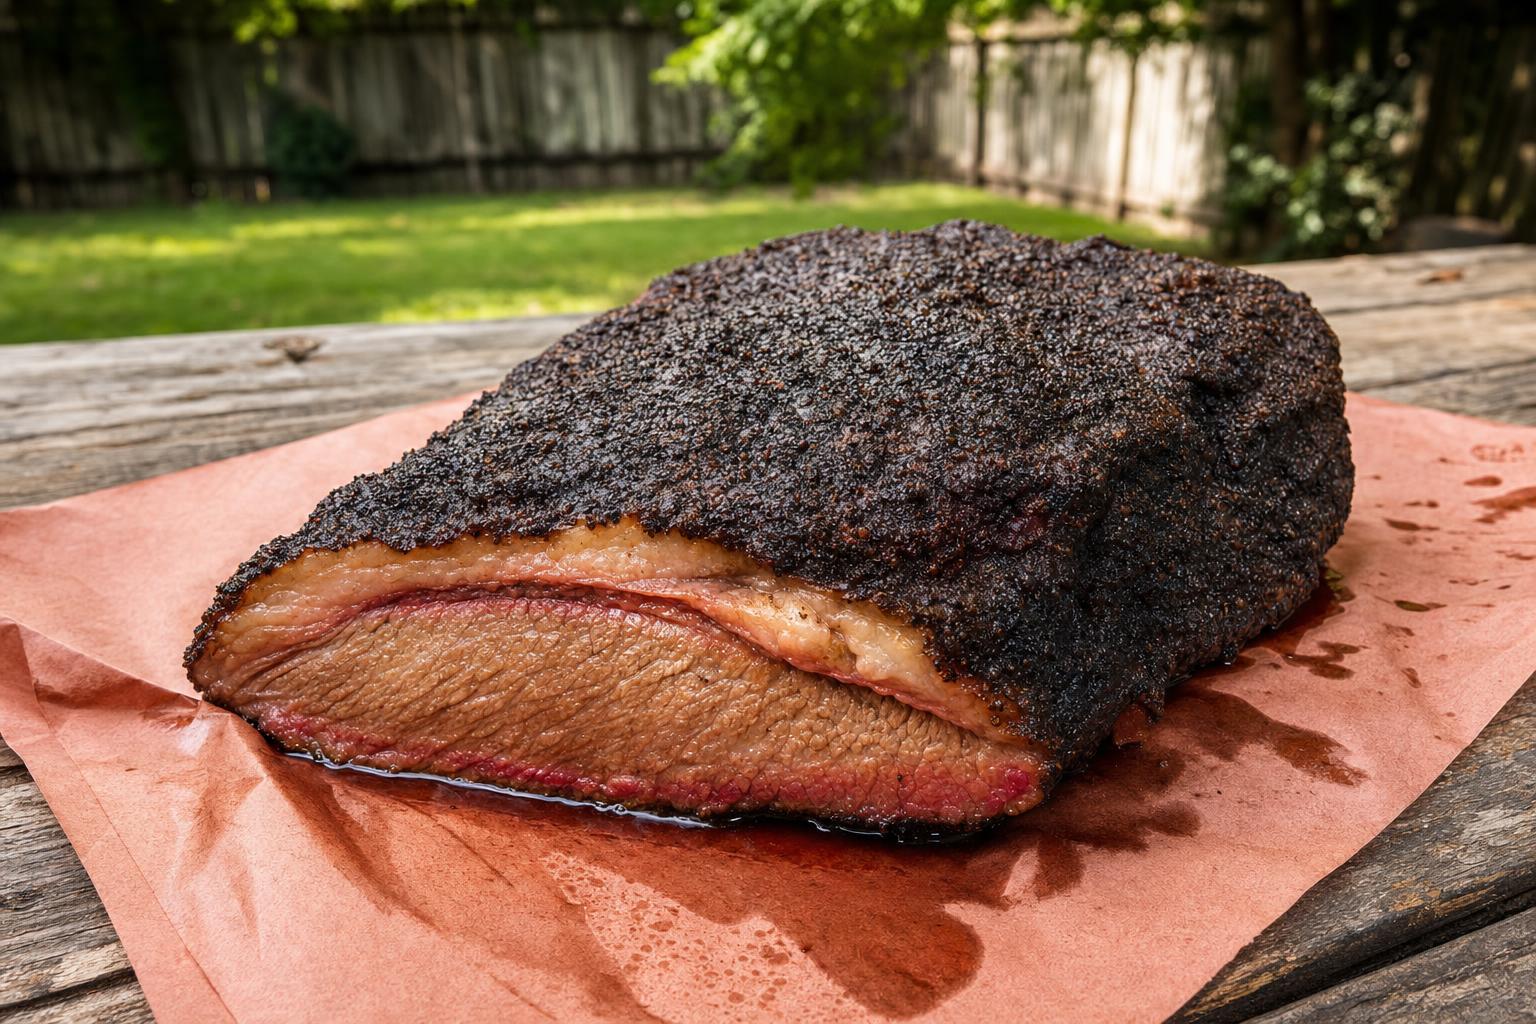
There is a moment about forty-five minutes into the reverse sear when nothing seems to be happening. The ribeye sits on the cool side of the grill, fat barely rendering, surface still looking raw. That is exactly when the technique is working. You are doing something counterintuitive: keeping the interior cold enough that when the sear finally comes, the heat has nowhere to run. The result is a crust so dark and shatteringly crisp it reads almost like bark, wrapped around a center that is rosy from edge to edge — not just a thin pink ribbon surrounded by gray. This is not a shortcut. It is applied thermodynamics.
The reverse sear earns its reputation after years of fighting the traditional high-heat-first method on thick steaks. Every time a two-inch ribeye comes off a screaming-hot grate using the conventional approach, the exterior looks beautiful and the interior is a graduated disaster — overcooked gray band, then medium band, then a tiny medium-rare core. The reverse sear inverts that failure mode entirely. It is one of those techniques that makes you feel slightly embarrassed you did not figure it out sooner.
Why does reverse-sear ribeye produce a better crust and more even doneness? The science
The reverse sear produces better crust and more even doneness because the slow indirect phase brings the interior to a uniform 115°F before any searing begins, leaving the high-heat finishing step with almost no thermal inertia to fight. The Maillard reaction — the cascade of amino-carbonyl condensations that produces hundreds of volatile aroma compounds and dark melanoidin pigments — requires a dry surface temperature well above 140°C (284°F) to proceed at any meaningful rate. Surface water is the enemy: as long as free moisture is present at the boundary layer, evaporation absorbs energy as fast as the grate delivers it, anchoring the surface near 100°C and starving the Maillard cascade of the thermal activation energy it needs.
Leaving the ribeye uncovered in the refrigerator for a minimum of four hours is not about drying the meat out — it is about equilibrating surface water activity downward so that when the steak hits 700°F coals, the boundary layer transitions to browning almost instantly rather than spending the first thirty seconds steaming. That four-hour uncovered rest drops the surface water activity from near 0.99 toward 0.85 or lower, which is precisely the range where Maillard kinetics accelerate dramatically.
The protein denaturation pathway of beef muscle tissue runs in a predictable sequence. Myosin, the primary structural protein, begins unfolding between 39°C and 58°F (102–136°F) — the tenderization window where the steak goes from raw to pleasantly yielding. The catastrophic event is actin collapse at 74–78°C (165–172°F): once actin denatures, the actomyosin complex contracts violently, expelling bound moisture in a cascade that destroys water-holding capacity and produces the chalky, gray, desiccated texture everyone dreads. The reverse sear wins because the long, slow indirect phase brings the entire interior to a uniform 115°F — well within the safe myosin window, nowhere near actin — before any searing begins. When the ribeye finally hits the coals, the crust forms in 60 to 90 seconds per side before the interior has time to overshoot. You are working with a thermal budget, and the reverse sear gives you a surplus.
The indirect phase also gives the collagen in the connective tissue surrounding the spinalis and the ribeye cap a mild head start on hydrothermal softening. While 115°F is far below the sustained temperatures required for full collagen hydrolysis into gelatin — which begins in earnest above 160°F and accelerates past 180°F — even brief exposure at 55–65°C initiates collagen shrinkage and begins releasing intramuscular fat from the marbling. That fat redistributes through the muscle fiber bundles during the rest, contributing to the perception of juiciness. The uncovered refrigerator drying step simultaneously builds a pellicle — a tacky, slightly concentrated protein layer at the surface — that adheres to Maillard precursors more efficiently and produces a crust that sticks to the meat rather than peeling away.
What equipment and ingredients do I need for reverse-sear ribeye on the grill?
The ribeye: A two-inch ribeye is not optional to the technique — it is the technique. Anything thinner and the indirect phase is over before the interior equilibrates; you are just slow-cooking a thin steak. Look for USDA Prime or high-Choice with visible intramuscular fat throughout the cap and the longissimus. Bone-in or boneless both work; the bone is not a heat conductor in any meaningful sense at these temperatures.
The grill setup: A two-zone fire is required. For a kettle, bank the lit charcoal to one side with a drip pan on the other. For a gas grill, run one or two burners on low and leave the others off. The cool zone should hold a steady 225°F with the lid closed — use a leave-in probe thermometer at grate level to verify this, not the dome thermometer, which reads high. For the searing phase, you want maximum radiant and conductive heat: fully lit lump charcoal, no lid, steak directly over the coals.
Kosher salt: Diamond Crystal and Morton behave differently by volume. This recipe is written for Diamond Crystal. If using Morton, cut the volume by one-third. Salt 24 to 48 hours ahead if time allows; the salt will fully dissolve and redistribute into the meat. If salting at the four-hour drying stage, that is also fine — the surface will still dry effectively.
The thermometer: A dual-probe leave-in thermometer for the indirect phase and a fast-read instant thermometer for the final sear check are both non-negotiable for this technique. Internal temperature is the only variable that tells you when to move the ribeye.
Reverse-Sear Ribeye on the Grill
Equipment
- 1 Charcoal grill with lid (22-inch kettle or larger) Set up for two-zone indirect/direct cooking
- 1 Chimney starter For lighting a full load of lump charcoal
- 1 Leave-in dual-probe thermometer One probe at grate level in the indirect zone, one in the steak
- 1 Instant-read thermometer For precision reads during the sear phase
- 1 Wire rack set over a rimmed sheet pan For the refrigerator drying phase and the post-sear rest
- 1 pair Long tongs For flipping over high heat without disturbing the crust
Ingredients
The Steak
- 1 bone-in or boneless ribeye steak, 2 inches thick (approximately 28–34 oz) USDA Prime or high-Choice; heavy marbling in the cap and longissimus is critical
- 1 tsp Diamond Crystal kosher salt Per pound of steak weight; use 3/4 tsp per pound if salting 24 hours ahead
- 1 tsp coarsely cracked black pepper Use a mortar or coarse grind setting — fine pepper burns on the coals
Optional Compound Butter (Applied at Rest)
- 1 tbsp unsalted butter, softened
- 1 tsp fresh thyme leaves
- 1 small garlic clove, finely grated Optional; omit if you prefer unobstructed beef flavor
For the Grill
- 1 full chimney lump hardwood charcoal Approximately 5–6 quarts; split between a small indirect-zone bed and a full direct searing load
- 1 chunk post oak or apple wood Optional; for smoke during the indirect phase only
Instructions
Day Before or 4 Hours Ahead: Season and Dry
- Remove the ribeye from its packaging and pat completely dry on all surfaces with paper towels. Season all sides — including the fat cap and any exposed bone — generously with kosher salt and cracked black pepper. Place the steak on a wire rack set over a sheet pan.1 tsp Diamond Crystal kosher salt, 1 tsp coarsely cracked black pepper
- Refrigerate uncovered for a minimum of 4 hours, or up to 24 hours. Do not cover or tent the steak — the goal is active drying. The surface will develop a slightly tacky, darker appearance: this is the pellicle forming and is exactly what you want. It signals that surface water activity has dropped and the Maillard reaction will begin almost immediately on contact with the coals.
Fire Setup
- About 30 minutes before cooking, light roughly one-third of a chimney of charcoal and bank it to one side of the grill. Place a drip pan filled with a small amount of water on the opposite (cool) side. Position one leave-in probe at grate level on the cool side. Close the lid and adjust the vents until the cool-zone temperature stabilizes at 225°F. This may take 10 to 15 minutes of vent adjustment.1 small garlic clove, finely grated
- If using a wood chunk for smoke, place it directly on the lit coals now. It will begin producing smoke within 2 to 3 minutes.1 full chimney lump hardwood charcoal
Indirect Phase: Low and Slow to 115°F
- Remove the steak from the refrigerator. Pat all surfaces dry one final time with fresh paper towels to remove any surface condensation from the transfer. Insert the second leave-in probe into the geometric center of the thickest part of the steak, ensuring it is not touching bone or fat.
- Place the steak on the cool side of the grill, directly over the drip pan and away from any direct heat. Close the lid and do not open it unnecessarily. The steak will take approximately 45 to 60 minutes at 225°F to reach an internal temperature of 115°F. At 225°F, the thermal gradient across a 2-inch steak is very shallow — the interior and exterior are equilibrating slowly and evenly.
- While the steak is on the indirect zone, light a full chimney of lump charcoal. Allow it to fully ignite until the top coals are completely ashed over and glowing orange with no black spots. This searing load needs to be at maximum heat when the steak comes off the indirect zone.1 small garlic clove, finely grated
- When the steak’s internal temperature reaches 115°F, remove it from the indirect zone and set it on a clean plate. Dump the fully lit chimney load of coals directly onto the grill, bank them to create a dense, intensely hot searing surface. Allow the grate to preheat directly over the coals for 2 minutes with the lid off.
Sear Phase: Maximum Maillard in Minimum Time
- Pat the steak surface dry one final time if any moisture has accumulated. Place the steak directly over the hot coals. You should hear an immediate, aggressive sizzle. Do not move the steak. Sear for exactly 60 to 90 seconds per side, flipping once with long tongs. Watch for the crust to develop a deep mahogany-brown color — not black. If you see significant flare-ups from dripping fat, shift the steak slightly to manage them without lifting it fully off the grate.
- After the second side is seared, stand the steak on its fat cap edge for 20 to 30 seconds to render and crisp the fat band. Use tongs to balance the steak on its edge — a pair of grill bricks or another steak can help stabilize it. Check the internal temperature with an instant-read thermometer: you are looking for 125 to 128°F for medium-rare. If below 120°F, add 20 more seconds per side. If already at 128°F or above, proceed immediately to rest.
Rest and Serve
- Transfer the steak to a clean wire rack over a sheet pan. Do not tent with foil — tenting traps steam and softens the crust. If using the optional compound butter, mix the softened butter with thyme leaves and grated garlic, and place a small knob on the top surface of the steak immediately. It will melt slowly as the steak rests.1 tbsp unsalted butter, softened, 1 tsp fresh thyme leaves
- Rest for 5 to 7 minutes. The internal temperature will continue rising to approximately 130 to 133°F — a perfect medium-rare. Slice against the grain or serve whole. Season the cut surface with a small additional pinch of flake salt if desired, and serve immediately.1 tsp Diamond Crystal kosher salt
Notes
Nutrition
How do I nail the reverse-sear ribeye every time? Tips
- Do not skip the open-air refrigerator rest. Four hours uncovered is the minimum; overnight is better. The surface drying step is responsible for the first thirty seconds of Maillard reaction happening at the surface rather than inside a steam cloud — skip it and the crust will be thinner, paler, and less complex. Pat dry with paper towels immediately before the sear regardless, to catch any surface condensation from the transfer.
- Pull at 115°F, not 125°F. The sear adds 10 to 15°F of carry-over and surface conduction. If you wait until 125°F to pull the ribeye from the indirect phase, you will overshoot to medium. The probe should read 115°F and the steak should feel barely warm at the center when pressed.
- Let the searing coals get obscenely hot. The visual cue is coals that are fully ashed over and glowing orange with no black spots. If using a chimney starter, wait until the top coals are fully lit before dumping. A dim, half-lit fire produces steam and char, not crust.
- Do not move the steak during the sear. Place the ribeye down, leave it for 60 to 90 seconds, flip once, 60 to 90 seconds, done. Every time you lift the steak you interrupt contact, drop the surface temperature, and stall the Maillard cascade. Use tongs only for flipping.
- Rest on a wire rack, not a cutting board. Resting on a flat surface traps steam and softens the crust you just built. A wire rack lets air circulate and keeps the bottom crust intact. Five to seven minutes is sufficient — the thermal gradient across a two-inch ribeye equalizes quickly once it leaves the fire.
- Season aggressively. A two-inch ribeye has substantial mass. Salt and coarse black pepper need to penetrate well. If seasoning at the four-hour mark, use approximately one teaspoon of Diamond Crystal kosher salt per pound of meat. If salted 24 hours ahead, reduce to three-quarters teaspoon per pound at the start of the drying phase.
What are the best variations on reverse-sear ribeye?
The compound butter finish: The four-minute rest window is the ideal moment to apply a compound butter — not during the sear where it will scorch, and not before the indirect phase where the fat will simply baste off. A classic combination of softened unsalted butter, fresh thyme, rosemary, and grated garlic applied immediately off the grill will melt into the crust as the ribeye rests, adding aromatic fat-soluble volatiles that carry directly into the first bite. Keep the butter portion modest — roughly one tablespoon — so it enhances rather than masks the beef.
Smoke integration during the indirect phase: The long, slow indirect window is an opportunity to layer smoke into the ribeye while the surface is still moist enough to absorb water-soluble phenolic compounds. A single chunk of post oak or fruitwood (apple or cherry) placed directly on the lit coals at the start of the indirect phase will generate clean smoke for the first twenty to thirty minutes, which is all you need. Avoid continuous smoking — the drying phase after the first smoke cycle is what builds the pellicle and prepares the surface for the crust.
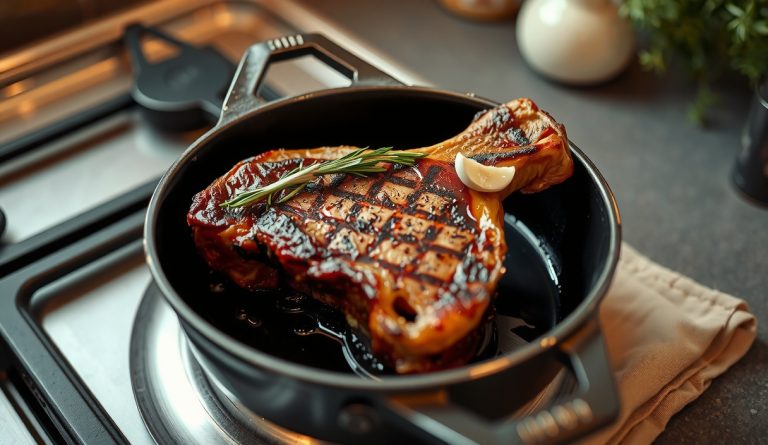
Cast iron finishing option: If weather or equipment prevents a coal sear, a screaming-hot cast iron skillet over the highest burner your range allows is a legitimate alternative. Preheat the pan dry for at least six minutes — no oil in the pan, which would smoke and burn. A thin coat of avocado oil or refined beef tallow applied to the steak’s surface just before the sear provides a minimal lubrication layer with a high smoke point, protecting the Maillard surface without introducing off-flavors.
Scaling up for multiple steaks: The reverse sear scales easily as long as you do not crowd the indirect zone. Steaks need at least one inch of clearance from each other on the grate for hot air to circulate uniformly. If cooking four two-inch ribeyes simultaneously, the searing phase must be staggered — pull each steak from the indirect zone as it individually hits 115°F, since they will not finish at exactly the same time. Have the searing coals fully loaded and ready so the window between indirect and sear stays under two minutes.
Frequently asked questions about reverse-sear ribeye
Why does the reverse sear produce more even doneness than the traditional sear-first method? The reverse sear produces more even doneness because it brings the interior to a uniform target temperature first, in a low, controlled environment, then applies the sear quickly enough that heat penetration into the already-warm interior is minimal. When you sear first, you deposit a massive thermal spike at the surface before the interior has been conditioned. That surface heat conducts inward for the entire duration of the subsequent oven or indirect phase, creating a graduated temperature gradient — very hot at the rim, progressively cooler toward the center. The reverse sear eliminates this gradient entirely, producing edge-to-edge uniform color rather than the ring-and-center pattern of traditional high-heat-first cooking.
Can I do the indirect phase inside in the oven and finish on the grill? Yes — set your oven to 250°F on a convection setting if available, place the ribeye on a wire rack over a sheet pan, and proceed to 115°F internal exactly as you would on the grill. Transfer directly to fully loaded coals for the sear. The only thing you lose is the ambient smoke exposure during the slow phase, which is easily recovered with a two-minute smoke-chunk treatment on the coals before the steak goes on. This oven-to-grill approach is practical for cold-weather grilling or when charcoal management is inconvenient.
My crust came out pale and thin despite following the recipe. What went wrong? Three common culprits account for most pale-crust failures. First, the coal bed was not hot enough — partially lit charcoal produces far more steam and far less radiant heat than fully ashed coals. Second, the surface was not dry enough at sear time — even a small film of surface moisture from condensation during the transfer from refrigerator to grill is enough to delay browning by thirty to forty-five seconds, which for a two-minute total sear is catastrophic; always pat the ribeye’s surface dry immediately before it hits the grate. Third, the steak was pressed against the grate rather than sitting on it with good airflow — if the grate bars are spaced too far apart, use a cast iron grate insert or a preheated skillet over the coals to ensure maximum contact surface.