Beer-Can Chicken on the Grill
Equipment
- 1 Charcoal or gas grill (22-inch kettle preferred) Set up for two-zone indirect heat at 350°F. Bank coals to both sides of a drip pan, or light flanking gas burners only.
- 1 Disposable aluminum drip pan Placed in the center of the grill under the bird to catch drippings and prevent flare-ups.
- 1 Instant-read thermometer Essential for pulling the bird at the correct 160°F breast internal temperature. A Thermapen or similar probe thermometer is ideal.
- 1 Standard 12-oz beer can (or vertical poultry roaster) Half-filled before cooking. A stainless vertical poultry roaster is a cleaner, purpose-built alternative.
- 1 Wire rack set inside a rimmed sheet pan For the 24-hour uncovered dry brine in the refrigerator. Airflow under the bird is critical for pellicle formation.
Ingredients
The Chicken
- 1 whole chicken, 3.5 to 4.5 pounds Pat completely dry inside and out with paper towels before applying the dry brine.
Dry Brine Rub
- 2 tsp Diamond Crystal kosher salt Use 0.5 tsp per pound of chicken. For Morton kosher salt, reduce to 1.25 tsp total — Morton’s flakes are denser.
- 1 tsp baking powder Aluminum-free preferred. Raises skin pH to accelerate Maillard browning and create micro-blistered crust texture.
- 1 tsp smoked paprika
- 1 tsp garlic powder
- 1 tsp onion powder
- 0.5 tsp freshly ground black pepper
- 0.5 tsp dried thyme
- 0.25 tsp cayenne pepper Optional. Omit for a milder profile.
The Can
- 1 12-oz can lager or pilsner beer Drink or pour out half the beer before cooking. Low-sodium chicken broth is a fully effective non-alcoholic substitute.
Optional Aromatics for the Can
- 2 cloves garlic, smashed
- 1 sprig fresh thyme or rosemary

Instructions
24 Hours Before: Dry Brine
- Remove the chicken from its packaging and pat it completely dry with paper towels — exterior skin, interior cavity, every surface. Moisture on the skin at this stage defeats the osmotic draw of the dry brine and delays pellicle formation.
- In a small bowl, combine the kosher salt, baking powder, smoked paprika, garlic powder, onion powder, black pepper, dried thyme, and cayenne (if using). Stir thoroughly to distribute the baking powder evenly — clumping will create uneven browning.1 tsp baking powder, 1 tsp smoked paprika, 1 tsp garlic powder, 1 tsp onion powder, 0.5 tsp freshly ground black pepper, 0.5 tsp dried thyme, 0.25 tsp cayenne pepper
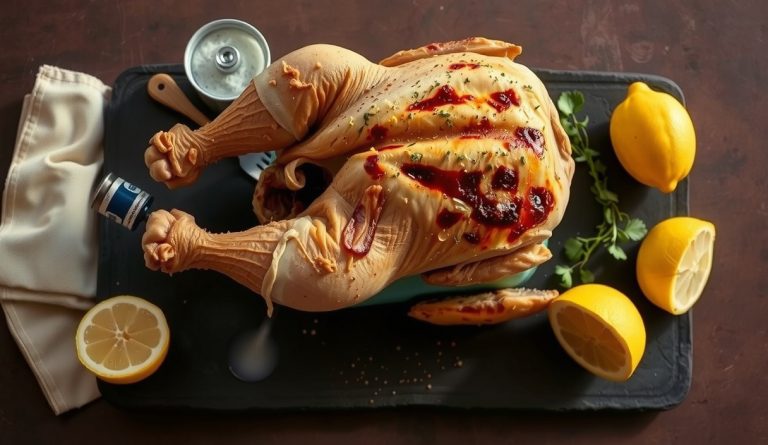
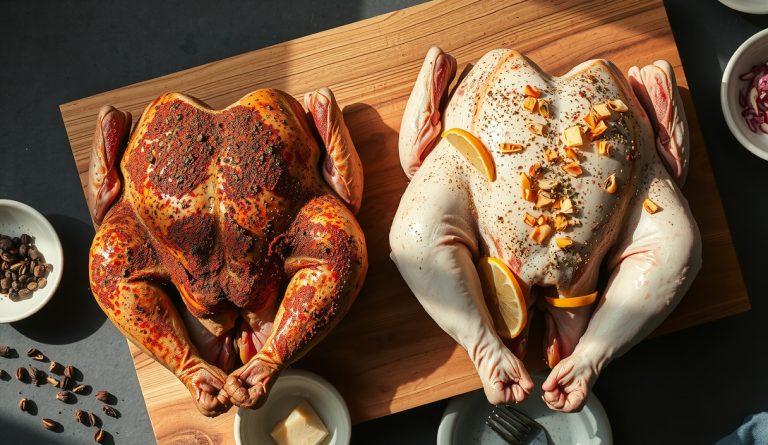
- Rub the spice mixture all over the bird: under the breast skin (gently loosen it with your fingers), over the thighs, drumsticks, wings, and inside the cavity. Apply about 60% of the rub to the skin surfaces you want to brown most aggressively — the breast top and thighs. Set the chicken breast-side up on a wire rack set over a rimmed sheet pan.1 tsp baking powder, 1 tsp smoked paprika, 1 tsp garlic powder, 1 tsp onion powder, 0.5 tsp freshly ground black pepper, 0.5 tsp dried thyme, 0.25 tsp cayenne pepper
- Refrigerate uncovered for 24 hours (minimum 8 hours, maximum 48 hours). The initial surface moisture will be drawn out by osmosis in the first 2 hours, then reabsorbed. By hour 12 to 24, the skin will be visibly dry and slightly tacky — that is the pellicle. This surface is what browns and crisps on the grill.
Set Up the Grill
- Remove the chicken from the refrigerator 30 minutes before grilling. While it tempers, prepare your grill. Charcoal kettle: Light a full chimney of charcoal (about 90 briquettes or 80 hardwood charcoal pieces). When ashed over, bank the coals evenly to both sides of the kettle and place a disposable drip pan in the center. Replace the grill grate. Gas grill: Preheat with all burners on high for 10 minutes, then turn off center burners and reduce outer burners to medium-low. Place a drip pan over the unlit center burners. Target 350°F at lid level.
Mount the Bird and Grill
- Open the beer can. Drink or pour out approximately half (6 ounces). If using aromatics, drop the smashed garlic cloves and herb sprig into the can now. If substituting chicken broth, fill a clean can or vertical roaster reservoir halfway.1 12-oz can lager or pilsner beer, 2 cloves garlic, smashed, 1 sprig fresh thyme or rosemary
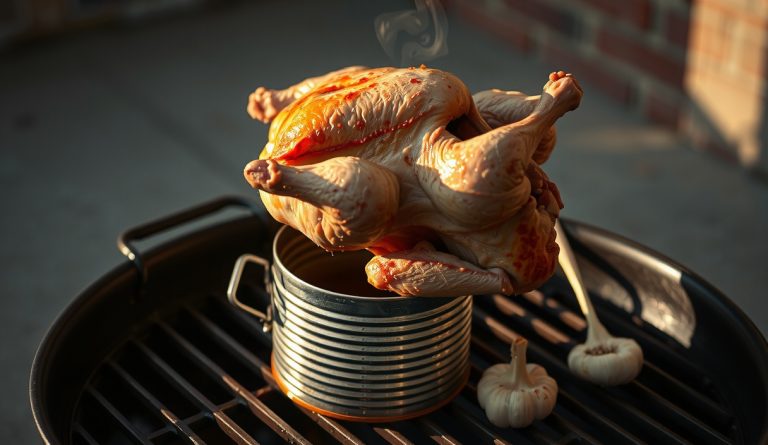
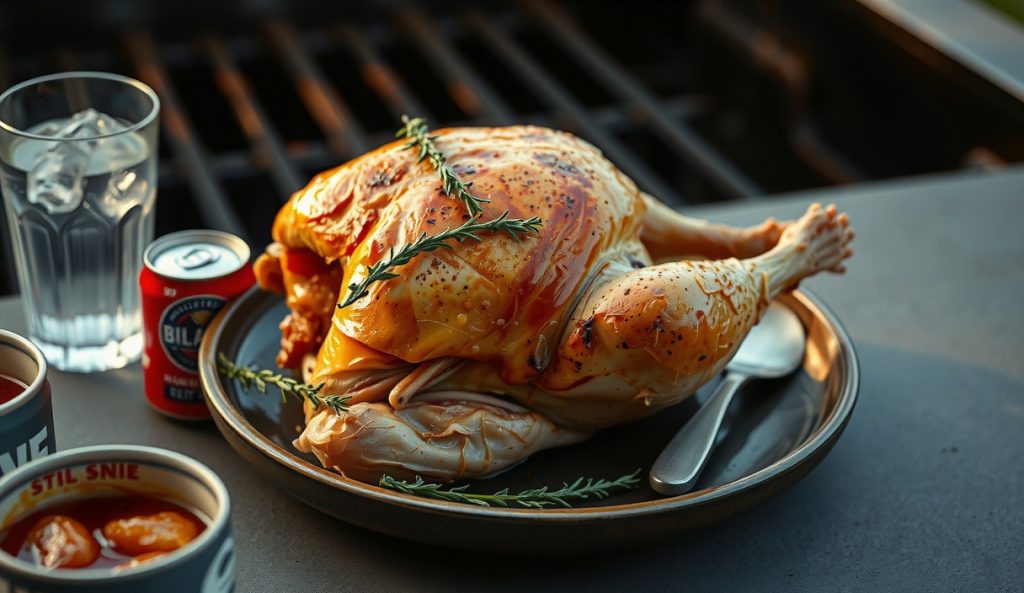
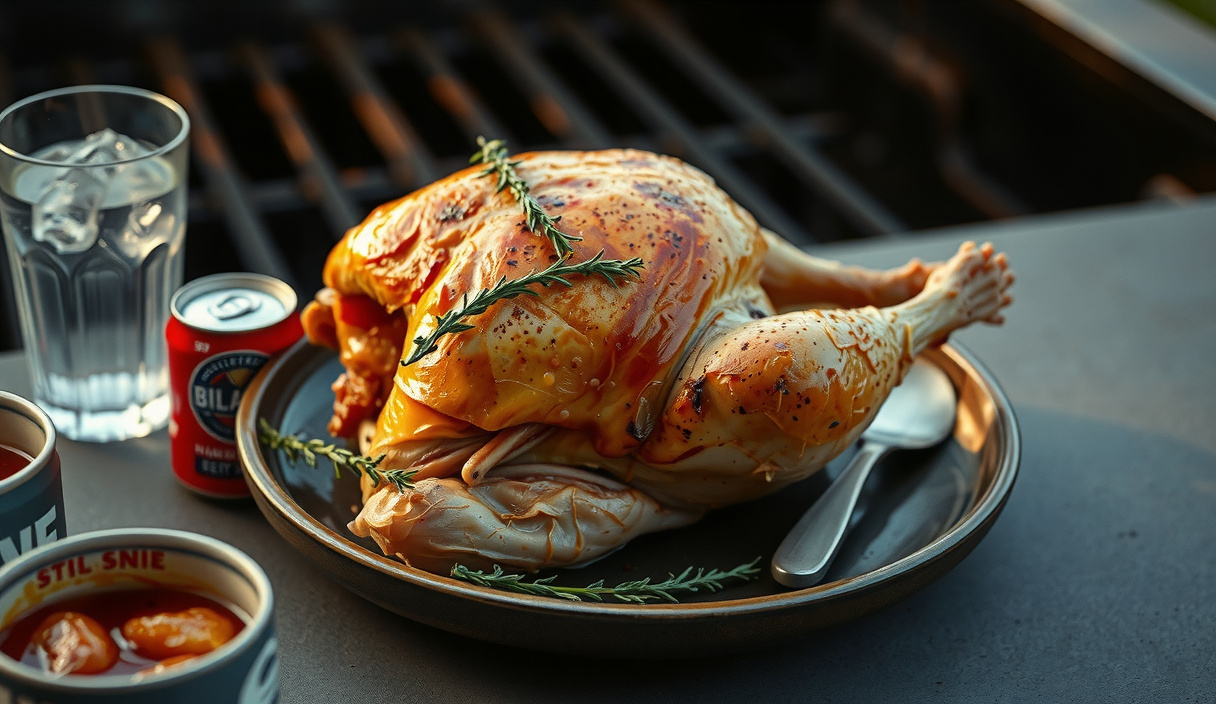
- Hold the chicken upright — cavity facing down — and lower it onto the beer can so the can enters the cavity and the chicken sits with its legs forming a tripod with the can base. The drumsticks should angle slightly forward, touching the grill grate, to provide a stable three-point stance. Tuck the wing tips behind the bird’s back.1 12-oz can lager or pilsner beer
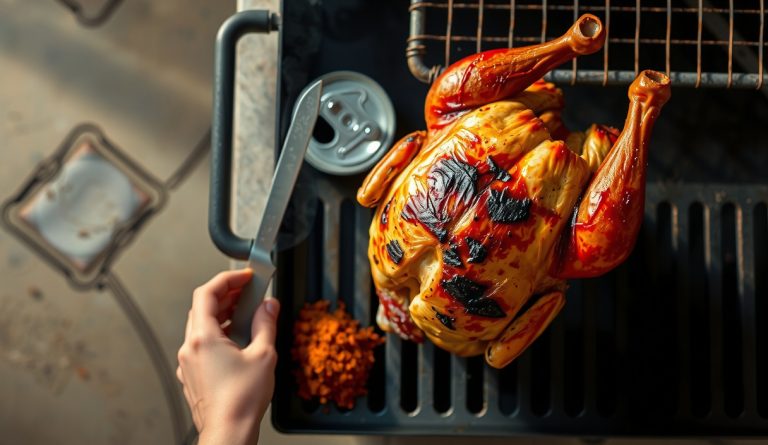
- Carefully transfer the whole assembly — chicken balanced on can — to the center of the grill grate over the drip pan, away from direct heat or flame. The bird should stand completely vertical. If using a gas grill, position the bird between the lit flanking burners.
- Close the grill lid. Maintain 350°F throughout the cook by adjusting vent position (charcoal) or burner level (gas). Cook undisturbed for 45 minutes before your first temperature check.
- At 45 minutes, insert an instant-read thermometer into the thickest part of the breast, parallel to the backbone and well away from bone. If reading below 145°F, close the lid and check every 15 minutes. Pull the bird when the breast reads 160°F. Total grill time is typically 70–90 minutes for a 4-pound bird at consistent 350°F.
Rest and Carve
- Remove the bird carefully. Using heavy tongs and a second pair of hands or a dedicated vertical roaster gripper, tip the entire assembly onto a rimmed sheet pan. Let it rest upright on the can for 10 full minutes, tented loosely with foil. Carryover conduction will bring the breast to 165°F during the rest. The thighs will be 175–185°F — well into the collagen hydrolysis zone for maximum juiciness in dark meat.
- To remove the can: hold the bird steady with tongs and carefully slide the can out from the cavity. The can will be extremely hot and may still contain hot liquid — handle with oven mitts or thick gloves. Discard the can and its contents. Carve the chicken on the sheet pan, separating legs, thighs, wings, and breast halves. Serve immediately.
Notes
Nutrition
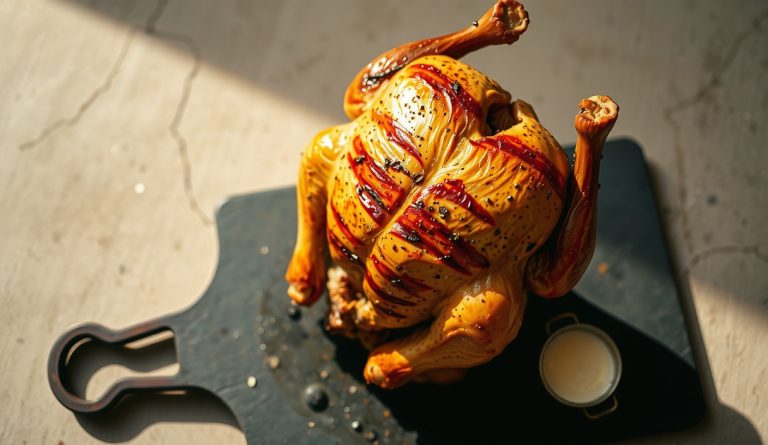
There is a moment — call it the reveal — when you lift the lid of your grill and see a whole bird standing at attention, skin pulled tight and lacquered to deep mahogany, not a flap of loose poultry flesh in sight. Beer-can chicken earns its cult following not because a beer can is magic, but because the setup solves three structural problems at once: it positions the bird vertically so hot convective air wraps the entire surface evenly, it holds the cavity open so a column of humid vapor rises through the bird’s core, and it keeps the thighs angled toward the hotter lower part of the kettle while the breast faces the cooler indirect zone. That is not a trick. That is thermal engineering dressed in aluminum.
Beer-can chicken can be cooked flat on a rack, spatchcocked, or rotisseried — but the upright can method remains the most reliable path to simultaneously hitting 165°F in the breast without torching the thigh skin, a problem that haunts every horizontal roast. The 24-hour dry brine is non-negotiable. It is the one step that separates a genuinely great bird from a merely fine one, and the science behind it is worth two minutes of your time before you fire the grill.
Why does beer-can chicken work? The science
The dry brine works through osmosis and protein chemistry running in two sequential phases, and both phases are doing critical structural work. In the first one to two hours, salt draws surface moisture out of the skin by osmotic pressure, producing visible droplets on the bird. This looks wrong. It is correct. In phase two — hours three through twenty-four — that salty liquid is reabsorbed back into the muscle via diffusion, carrying dissolved sodium chloride deep into the myofibrillar proteins. At the molecular level, sodium and chloride ions disrupt the electrostatic interactions that hold actin and myosin in their native coiled state, partially denaturing and swelling the filament network. This swollen network holds dramatically more water during cooking and dissolves some structural proteins into a gel that migrates back toward the surface, where it dries into a sticky, tacky pellicle — the physical foundation of the Maillard crust built on the grill. Water activity at the skin surface drops significantly after 12 hours, and by 24 hours the exterior is dry and almost papery, primed to brown rather than steam.
On the grill, the vertical orientation puts the bird’s geometry to work as a heat-transfer instrument. Thigh meat — predominantly type I slow-twitch fiber loaded with collagen-rich connective tissue — needs to clear 165°F and hold there for several minutes for full collagen hydrolysis into gelatin. Collagen contraction begins around 140°F and hydrolysis to soluble gelatin accelerates meaningfully above 160–170°F. The vertical stance lets the thighs sit lower in the kettle, closer to the ambient convective heat, without exposing the breast to the same intensity. Meanwhile, the beer in the can reaches boiling around 212°F and generates a modest but real column of vapor inside the cavity. The honest truth about beer flavor: at grill temperatures the volatile aromatic compounds in beer — hop-derived terpenes and fermentation esters — largely volatilize before reaching the meat. What the vapor delivers is humidity. That cavity steam slows the rate of moisture loss from the inner breast wall, buying a few critical minutes of thermal tolerance as the bird approaches target temperature. The finished chicken does not taste like beer. It tastes like very juicy chicken, and that is the point.
The Maillard reaction — the amino-carbonyl cascade that produces hundreds of volatile organic compounds responsible for roasted chicken aroma — requires a surface temperature well above 280°F and a water activity below roughly 0.70. The dry brine achieves the low water activity at the skin. Indirect heat at 350°F ambient means the skin surface runs 20–40°F hotter than the ambient air due to radiant heat from the grill dome and lid. That combination — dry surface, moderate radiant load, sustained convection — produces even browning without the scorching that direct flame would cause. Pull the bird at 160°F breast internal temperature. Carryover conduction during a 10-minute tented rest will bring the breast to a safe 165°F. The thighs, which have been sitting hotter and longer throughout the cook, will be well above 175°F, placing the dark meat firmly in the gelatin-rich zone where it is most succulent.
What equipment and ingredients do you need?
The beer can: Use a standard 12-ounce can. Drink or pour out half — roughly 6 ounces — before using. A full can will boil over and create flare-ups; a near-empty can will run dry before the cook is done. The 50% fill mark is calibrated to provide sustained vapor through a 75–90-minute cook at 350°F. The specific beer is genuinely secondary to the vapor function. Lagers and pilsners work well because their lighter volatile organic compound profile means less off-putting vapor. Avoid anything with heavy hop oils or citrus additions — they can produce slightly acrid vapor at sustained temperatures. If you want to skip beer entirely, a half-filled can of low-sodium chicken broth performs identically and arguably better on flavor.
The bird: 3.5 to 4.5 pounds is the ideal window for beer-can chicken. Below 3.5 pounds the breast cooks through before the thighs finish. Above 5 pounds the bird becomes unstable on the can and the cook time extends beyond reliable grill management. Pat the bird completely dry before applying the dry brine — surface moisture defeats the osmotic draw in phase one.
The spice rub: Kosher salt is the structural ingredient; everything else is flavor. The ratio of 0.5 teaspoon kosher salt per pound of chicken is calibrated to season the full muscle depth by 24 hours without over-salting. The baking powder in the rub — 1 teaspoon per 4-pound bird — is a modernist maneuver borrowed from ultra-crispy wing science. Baking powder raises the skin pH slightly, which accelerates Maillard browning and promotes micro-blistering at the surface by generating small CO₂ bubbles as it heats. The result is a more texturally complex, crackly skin rather than a smooth lacquer.
Your grill setup: A 22-inch kettle grill with charcoal banked to two sides and an empty drip pan in the center is ideal. A gas grill with center burners off and two flanking burners at medium-low works equally well. You need 350°F ambient lid temperature sustained throughout the cook. A reliable lid thermometer is worth owning. The bird must stand completely clear of any direct flame or coals.
Beer-Can Chicken on the Grill
Equipment
- 1 Charcoal or gas grill (22-inch kettle preferred) Set up for two-zone indirect heat at 350°F. Bank coals to both sides of a drip pan, or light flanking gas burners only.
- 1 Disposable aluminum drip pan Placed in the center of the grill under the bird to catch drippings and prevent flare-ups.
- 1 Instant-read thermometer Essential for pulling the bird at the correct 160°F breast internal temperature. A Thermapen or similar probe thermometer is ideal.
- 1 Standard 12-oz beer can (or vertical poultry roaster) Half-filled before cooking. A stainless vertical poultry roaster is a cleaner, purpose-built alternative.
- 1 Wire rack set inside a rimmed sheet pan For the 24-hour uncovered dry brine in the refrigerator. Airflow under the bird is critical for pellicle formation.
Ingredients
The Chicken
- 1 whole chicken, 3.5 to 4.5 pounds Pat completely dry inside and out with paper towels before applying the dry brine.
Dry Brine Rub
- 2 tsp Diamond Crystal kosher salt Use 0.5 tsp per pound of chicken. For Morton kosher salt, reduce to 1.25 tsp total — Morton’s flakes are denser.
- 1 tsp baking powder Aluminum-free preferred. Raises skin pH to accelerate Maillard browning and create micro-blistered crust texture.
- 1 tsp smoked paprika
- 1 tsp garlic powder
- 1 tsp onion powder
- 0.5 tsp freshly ground black pepper
- 0.5 tsp dried thyme
- 0.25 tsp cayenne pepper Optional. Omit for a milder profile.
The Can
- 1 12-oz can lager or pilsner beer Drink or pour out half the beer before cooking. Low-sodium chicken broth is a fully effective non-alcoholic substitute.
Optional Aromatics for the Can
- 2 cloves garlic, smashed
- 1 sprig fresh thyme or rosemary
Instructions
24 Hours Before: Dry Brine
- Remove the chicken from its packaging and pat it completely dry with paper towels — exterior skin, interior cavity, every surface. Moisture on the skin at this stage defeats the osmotic draw of the dry brine and delays pellicle formation.
- In a small bowl, combine the kosher salt, baking powder, smoked paprika, garlic powder, onion powder, black pepper, dried thyme, and cayenne (if using). Stir thoroughly to distribute the baking powder evenly — clumping will create uneven browning.1 tsp baking powder, 1 tsp smoked paprika, 1 tsp garlic powder, 1 tsp onion powder, 0.5 tsp freshly ground black pepper, 0.5 tsp dried thyme, 0.25 tsp cayenne pepper
- Rub the spice mixture all over the bird: under the breast skin (gently loosen it with your fingers), over the thighs, drumsticks, wings, and inside the cavity. Apply about 60% of the rub to the skin surfaces you want to brown most aggressively — the breast top and thighs. Set the chicken breast-side up on a wire rack set over a rimmed sheet pan.1 tsp baking powder, 1 tsp smoked paprika, 1 tsp garlic powder, 1 tsp onion powder, 0.5 tsp freshly ground black pepper, 0.5 tsp dried thyme, 0.25 tsp cayenne pepper
- Refrigerate uncovered for 24 hours (minimum 8 hours, maximum 48 hours). The initial surface moisture will be drawn out by osmosis in the first 2 hours, then reabsorbed. By hour 12 to 24, the skin will be visibly dry and slightly tacky — that is the pellicle. This surface is what browns and crisps on the grill.
Set Up the Grill
- Remove the chicken from the refrigerator 30 minutes before grilling. While it tempers, prepare your grill. Charcoal kettle: Light a full chimney of charcoal (about 90 briquettes or 80 hardwood charcoal pieces). When ashed over, bank the coals evenly to both sides of the kettle and place a disposable drip pan in the center. Replace the grill grate. Gas grill: Preheat with all burners on high for 10 minutes, then turn off center burners and reduce outer burners to medium-low. Place a drip pan over the unlit center burners. Target 350°F at lid level.
Mount the Bird and Grill
- Open the beer can. Drink or pour out approximately half (6 ounces). If using aromatics, drop the smashed garlic cloves and herb sprig into the can now. If substituting chicken broth, fill a clean can or vertical roaster reservoir halfway.1 12-oz can lager or pilsner beer, 2 cloves garlic, smashed, 1 sprig fresh thyme or rosemary
- Hold the chicken upright — cavity facing down — and lower it onto the beer can so the can enters the cavity and the chicken sits with its legs forming a tripod with the can base. The drumsticks should angle slightly forward, touching the grill grate, to provide a stable three-point stance. Tuck the wing tips behind the bird’s back.1 12-oz can lager or pilsner beer
- Carefully transfer the whole assembly — chicken balanced on can — to the center of the grill grate over the drip pan, away from direct heat or flame. The bird should stand completely vertical. If using a gas grill, position the bird between the lit flanking burners.
- Close the grill lid. Maintain 350°F throughout the cook by adjusting vent position (charcoal) or burner level (gas). Cook undisturbed for 45 minutes before your first temperature check.
- At 45 minutes, insert an instant-read thermometer into the thickest part of the breast, parallel to the backbone and well away from bone. If reading below 145°F, close the lid and check every 15 minutes. Pull the bird when the breast reads 160°F. Total grill time is typically 70–90 minutes for a 4-pound bird at consistent 350°F.
Rest and Carve
- Remove the bird carefully. Using heavy tongs and a second pair of hands or a dedicated vertical roaster gripper, tip the entire assembly onto a rimmed sheet pan. Let it rest upright on the can for 10 full minutes, tented loosely with foil. Carryover conduction will bring the breast to 165°F during the rest. The thighs will be 175–185°F — well into the collagen hydrolysis zone for maximum juiciness in dark meat.
- To remove the can: hold the bird steady with tongs and carefully slide the can out from the cavity. The can will be extremely hot and may still contain hot liquid — handle with oven mitts or thick gloves. Discard the can and its contents. Carve the chicken on the sheet pan, separating legs, thighs, wings, and breast halves. Serve immediately.
Notes
Nutrition
How do you nail beer-can chicken every time?
- Do not skip the dry brine window. Eight hours is the minimum where meaningful protein restructuring occurs; 24 hours is where the pellicle forms and browning potential maximizes. If you are short on time, even a 4-hour brine is better than none — but plan ahead.
- Stabilize the bird before closing the lid. The upright position is precarious until the bird settles its weight onto the can. Make sure the drumsticks angle forward and the wings are tucked tight against the body before walking away. A toppled bird at 350°F makes a mess and cooks unevenly.
- Resist the urge to open the lid constantly. Every lid-lift drops grill temperature by 50–75°F and adds 5–10 minutes to the cook. Check temperature at the 45-minute mark with an instant-read thermometer inserted into the thickest part of the breast, parallel to the backbone, avoiding bone.
- Know how to handle a temperature plateau. Beer-can chicken does not exhibit the stall the way large cuts do, but if the breast internal temperature sits at 145–148°F for 10–15 minutes, surface evaporation is cooling the meat faster than the grill delivers heat. Crack the lid vents fully to boost grill temperature 15–20°F and push through.
- Rest the bird upright. Removing the can while the bird is still on the grill requires tongs and a second person or a dedicated beer-can chicken remover tool. Tip the assembly onto a sheet pan rather than trying to stand it on a cutting board — the base is unstable on any surface other than the grill grate.
- Pull at 160°F, not 165°F. USDA safety is achieved at 165°F, but with a proper 10-minute tented rest, carryover conduction will bring the breast to that target. Pulling at 165°F internal risks an overdone breast by the time it hits the table.
What variations can you make on beer-can chicken?
No-beer variation: A half-filled can of low-sodium chicken broth or apple cider provides the same cavity humidity function as beer and adds a subtle aromatic sweetness to the interior vapor. Add three or four smashed garlic cloves and a sprig of fresh thyme directly to the liquid in the can. This is arguably the better-tasting option for those who want to skip alcohol entirely or want a more intentional flavor contribution from the can liquid.
Spice rub variations: The base rub here is broadly savory and works as a platform. For a Texas-style bird, replace the paprika with equal parts coarse black pepper and add a half-teaspoon of cayenne. For a herb-forward Provençal profile, add two teaspoons of herbes de Provence and the zest of one lemon to the rub, reducing the smoked paprika to one teaspoon. Both variations maintain the kosher salt and baking powder ratios — do not adjust those.
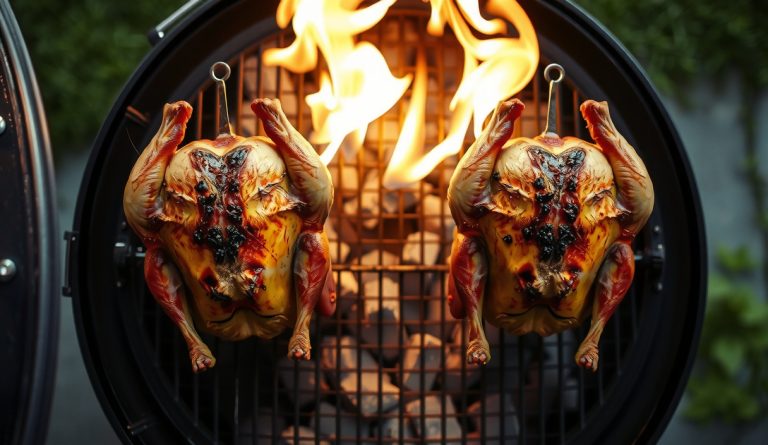
Scaling up: Two birds can be cooked simultaneously on a 22-inch kettle by placing them back-to-back over the drip pan with coals on all four sides. Stagger the cans slightly so they do not touch. Add 10–15 minutes to the cook time and rotate the birds 180 degrees at the 45-minute mark to equalize heat exposure from each side.
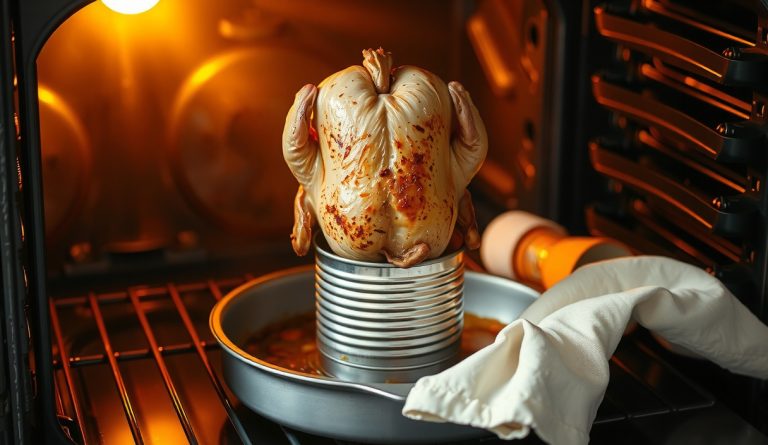
Oven variation: If you do not have a grill, beer-can chicken translates directly to a 375°F oven. Stand the can-mounted bird on a sheet pan fitted with a wire rack in the lower third of the oven. The lack of wood smoke means you lose the smoke ring and the campfire character, but the dry-brine skin and cavity humidity mechanics function identically. Roast uncovered for 65–80 minutes depending on bird size. The crust will not reach the same depth as a grill version, but the result remains a genuinely excellent roast chicken.
Frequently asked questions about beer-can chicken
Does the beer actually flavor the meat? Minimally. Most of the aromatic volatile compounds in beer — hop-derived terpenes and fermentation esters — are highly volatile at grill temperatures and cook off before meaningfully infusing the meat. What the beer provides is sustained cavity humidity, which slows moisture loss from the inner breast wall. Think of the can as a steam-injection system whose primary input happens to taste like a lager. The exterior flavor comes from the dry brine rub and the Maillard reaction on the skin.
Is it safe to cook with a beer can? The FDA does not approve aluminum cans for cooking at sustained high temperatures, and there is ongoing discussion about the ink and lining on the exterior of commercial beer cans volatilizing at grill temperatures. If this concerns you, use a purpose-built vertical poultry roaster — a stainless steel stand with a liquid reservoir — which solves the stability problem and eliminates the can-lining question entirely. Vertical poultry roasters cost $15–25 and work better than a can anyway.
Can I dry brine longer than 24 hours? Yes, up to 48 hours. Beyond 48 hours the salt concentration in the muscle tissue begins to denature proteins aggressively enough to affect texture — the meat can become slightly mealy, similar to over-brined turkey. The 24-hour window is the sweet spot where maximum pellicle formation and flavor penetration occur without structural degradation. If you forget and reach 30 or 36 hours, do not worry — the bird will still be excellent.