Smoked Beef Ribs — Dino Bones
Equipment
- 1 Offset smoker, ceramic kamado, or kettle grill with indirect setup Capable of holding a steady 250°F for 10+ hours. A water pan in the cook chamber helps stabilize temperature and add humidity.
- 8–12 pieces Post-oak split logs or chunks Split logs for offset firebox; fist-sized chunks for kamado or kettle. Avoid green wood — season at least 6 months.
- 1 Leave-in probe thermometer Set probe into the thickest meat section between bones, not touching bone or fat pocket.
- 1 Instant-read thermometer For final probe-tenderness check across multiple sites on the slab.
- 1 Wire cooling rack set inside rimmed sheet pan For resting the ribs with airflow underneath.
- 1 Dry insulated cooler (empty, no ice) For the mandatory 45–60 minute post-cook rest. Pre-warm the cooler interior by pouring in hot water, dumping it, and drying before use.
- 1 Long slicing knife (12-inch or longer) For slicing between bones cleanly. A boning knife for any membrane trimming.
Ingredients
The Ribs
- 1 rack beef plate ribs (123A cut, 3 bones) 9–12 lbs raw weight. USDA Choice minimum; Prime or American Wagyu preferred. Fat cap trimmed to ¼–½ inch maximum. Membrane removed from bone side.
Salt-and-Pepper Rub
- 3 tablespoons coarse kosher salt Diamond Crystal brand by weight if scaling. Do not use table salt — the fine grind will over-salt the surface.
- 3 tablespoons coarse black pepper, 16-mesh grind The 16-mesh grind is specific — coarser than standard ground pepper, finer than cracked peppercorns. Tellicherry black pepper preferred for aromatic complexity.
Optional Binder
- 1 tablespoon yellow mustard or Worcestershire sauce Applied as a thin, even slick to help rub adhesion only. Contributes no perceptible flavor after 8 hours of smoke.

Instructions
Day-Of Prep (60–75 min before lighting fire)
- Remove the beef plate rib slab from refrigerator packaging. Pat completely dry with paper towels — surface moisture suppresses early bark formation. Lay meat-side up on a clean surface.
- Flip the slab bone-side up. Locate the thin, papery membrane (the periosteum) running across the bones. Work a butter knife or the handle of a spoon under one edge to lift it, grip with a paper towel, and peel it off in one sheet. Leaving it on creates a chewy barrier that blocks smoke penetration from the bone side.
- Trim the fat cap to a uniform ¼ to ½ inch thickness across the top. Any cap thicker than ½ inch insulates the meat too aggressively and can prevent full collagen hydrolysis in a reasonable cook window. Score the remaining fat cap in a crosshatch pattern (cuts every inch, ¼ inch deep) to help it render evenly.
- In a small bowl, combine the kosher salt and 16-mesh black pepper. Mix thoroughly — the 50/50 ratio by volume is the target. If you want to verify by weight, use equal grams of each.3 tablespoons coarse black pepper, 16-mesh grind
- If using a binder, brush or rub a thin, uniform slick of yellow mustard or Worcestershire sauce over all surfaces of the slab — meat, fat cap, sides, and bone side. The layer should be barely visible, not thick. Apply the salt-and-pepper rub immediately: season all surfaces generously and evenly, pressing lightly to adhere. Do not rub it in aggressively — let it sit on the surface where it will form bark. Allow the seasoned slab to rest uncovered at room temperature for 60 minutes before the cook begins.3 tablespoons coarse black pepper, 16-mesh grind, 1 tablespoon yellow mustard or Worcestershire sauce
Fire and Smoke Setup
- Light your smoker and establish a stable 250°F cooking temperature before the meat goes on. For an offset, build a base coal bed using a chimney of hardwood lump charcoal, then feed post-oak splits every 45–60 minutes to maintain temperature and smoke production. For a kamado or kettle, use lump charcoal with 4–6 large post-oak chunks buried in the coal bed. A water pan in the cook chamber is highly recommended — it raises humidity, which increases smoke adhesion to the surface and buffers temperature swings. Stable temperature is more important than maximum temperature: 245°F to 255°F is the acceptable band.
The Cook (8–10 hours)
- Place the slab fat-cap-side up on the grate in the indirect zone. Insert the leave-in probe into the thickest section of meat between the first and second rib bone, angled to avoid touching bone or fat. Close the lid. Do not open the lid for at least 3 hours.
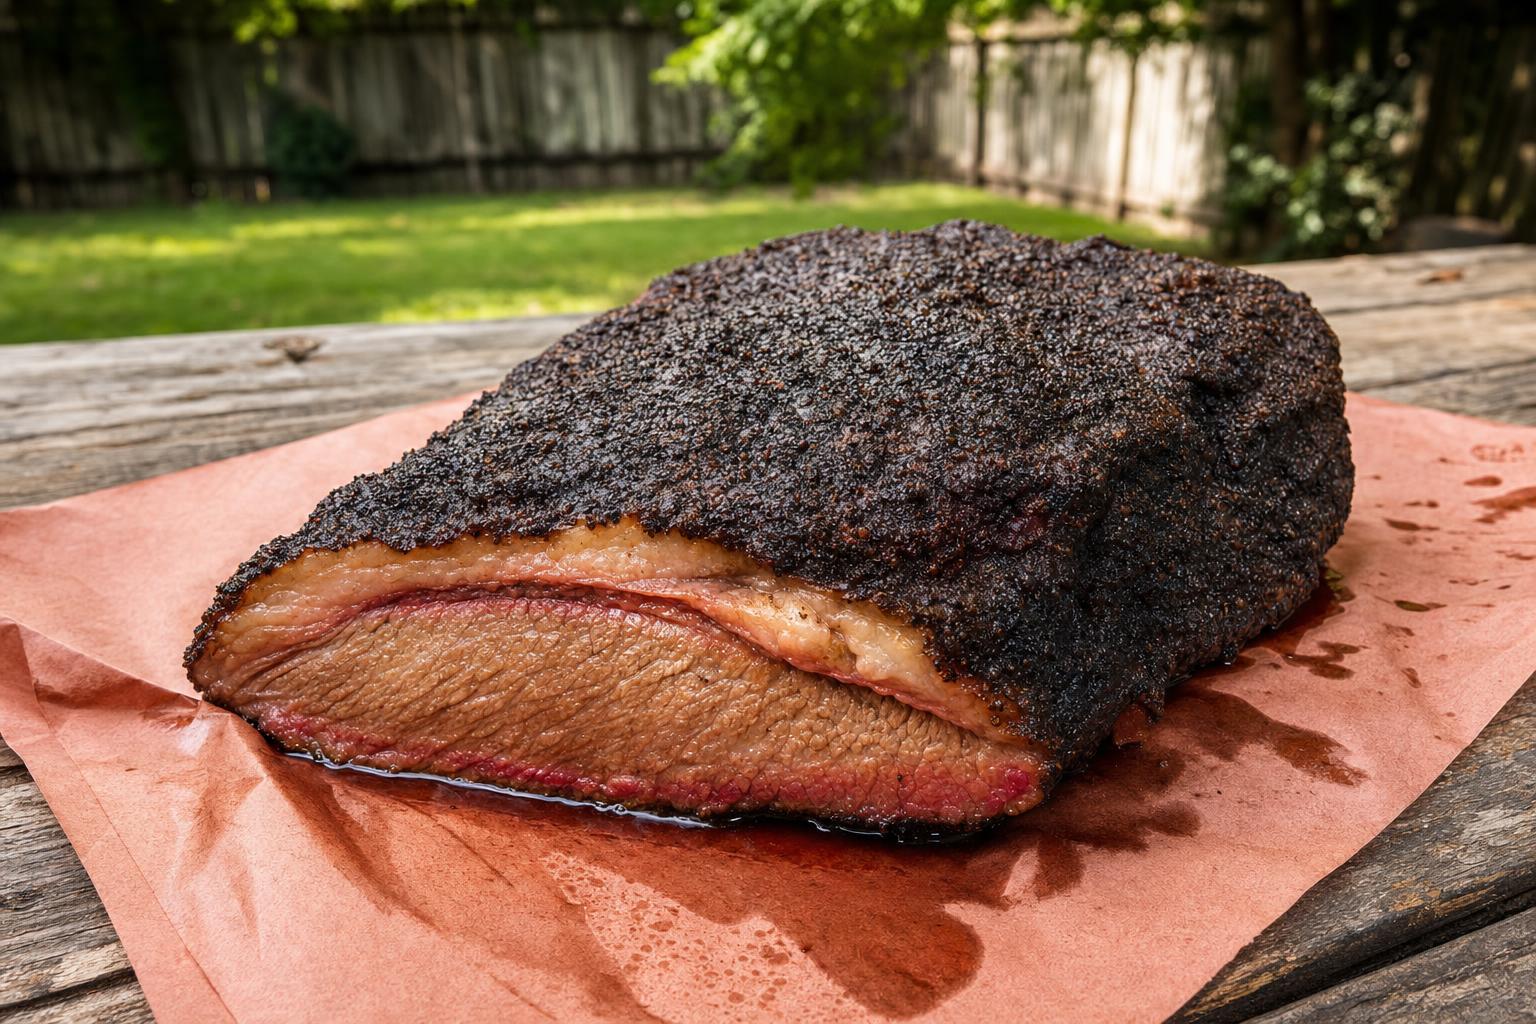
- Hours 1–3 (Smoke Absorption and Bark Formation): Maintain 250°F. The meat surface will transition from raw pink to a deep mahogany as Maillard browning and smoke deposition build the bark layer. Smoke ring formation (carboxymyoglobin) is occurring in the outer ½ inch of meat. Internal temperature will climb steadily toward 150°F–160°F during this phase.
- Hours 3–6 (The Stall — 160°F to 170°F internal): Expect the internal temperature to plateau — this is the stall. Surface evaporation is absorbing energy as fast as the pit delivers it. The probe may read within a 5-degree range for 1–3 hours. This is normal and not a sign of a problem. Maintain 250°F. Do not wrap. The bark is hardening and the fat cap is beginning to render. Continue adding fuel as needed to hold temperature.
- Hours 6–10 (Collagen Hydrolysis and Final Climb — 170°F to 203°F+ internal): Once the stall breaks, internal temperature will resume climbing at roughly 1°F–2°F per 10 minutes. Collagen is actively hydrolyzing into gelatin throughout this phase. The bark will develop a lacquered, slightly tacky exterior. Begin checking probe tenderness at 195°F internal: insert your instant-read probe into the thickest meat section perpendicular to the grain. There should be noticeable but diminishing resistance. At 200°F–205°F, the probe should slide through with essentially zero resistance — like inserting it into room-temperature butter. That is your pull signal.
Rest and Serve
- Remove the slab from the cooker and place it on a wire rack set over a sheet pan. Allow it to air-rest for 10 minutes to stop surface steaming, then transfer to a pre-warmed dry cooler. Close the cooler and rest for a minimum of 45 minutes, maximum 90 minutes. Do not cut earlier — the gelatin matrix needs time to reabsorb into the muscle fibers. Internal temperature will hold above 160°F for the full rest window, well within food safety parameters.
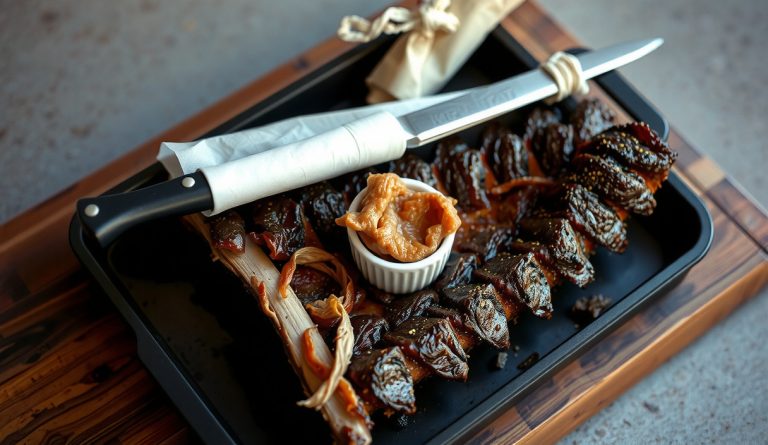
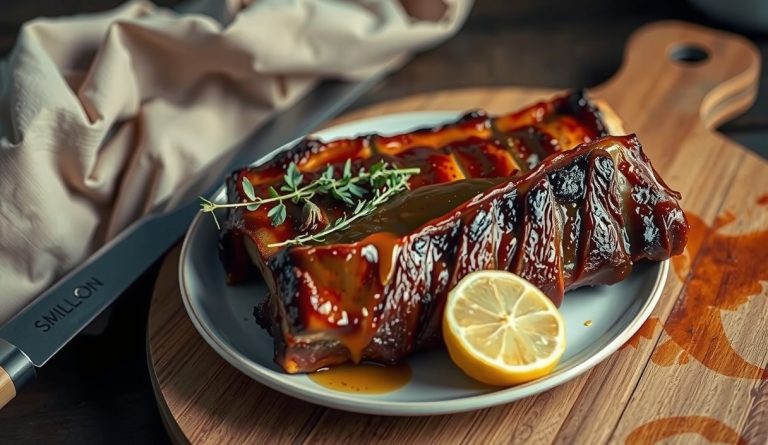
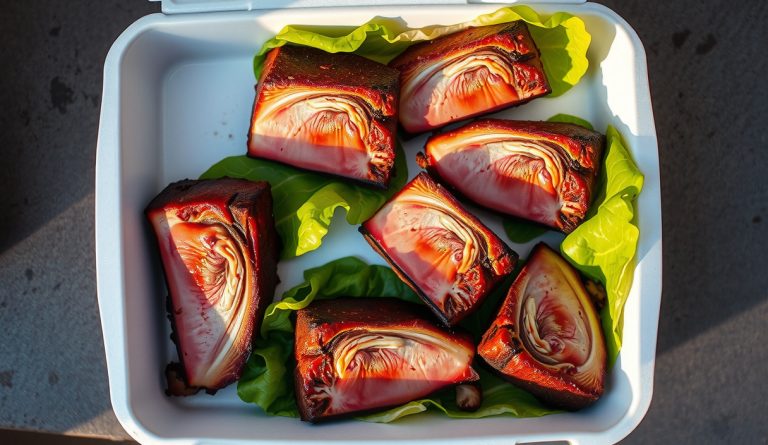
- Transfer the rested slab to a cutting board. Using a long slicing knife, cut straight down between each bone to separate individual rib portions. Do not saw through bone — the cuts should fall naturally between rib bones. Each portion is one bone with its attached meat slab. Serve immediately, bone-in, with the bark side facing up.
Notes
Nutrition
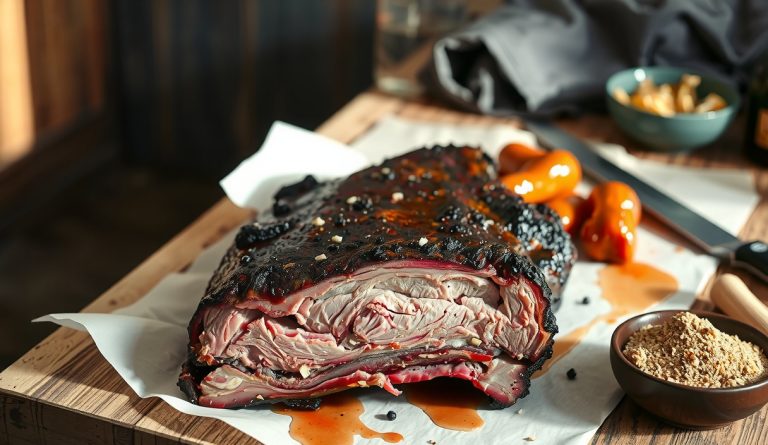
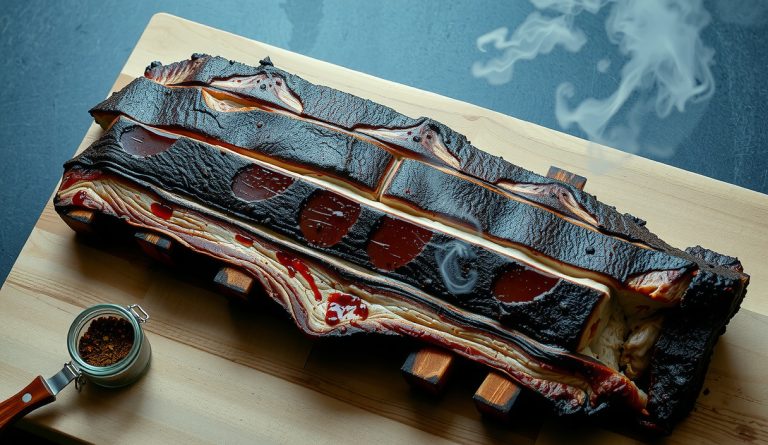
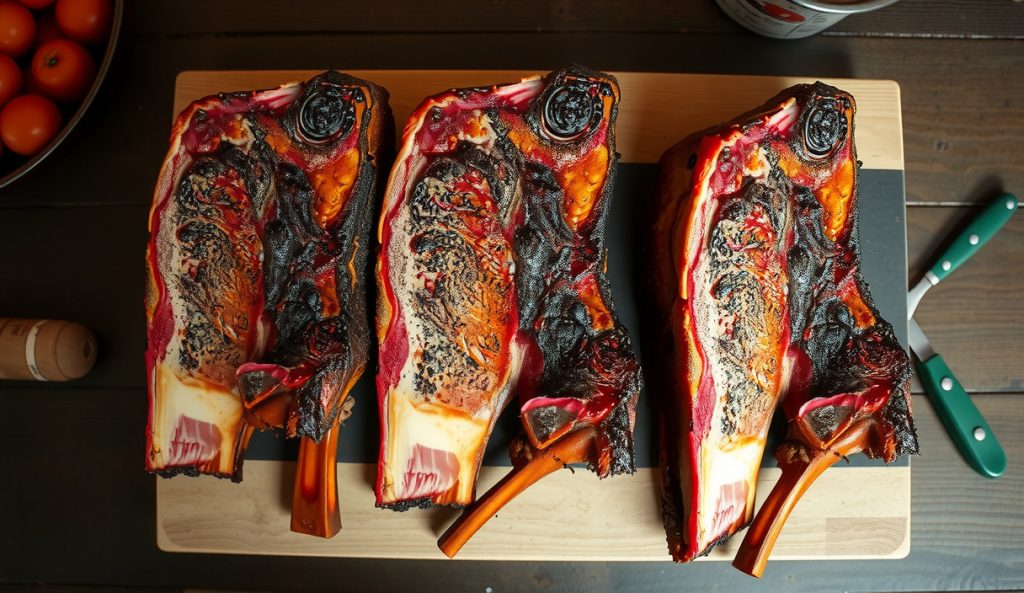
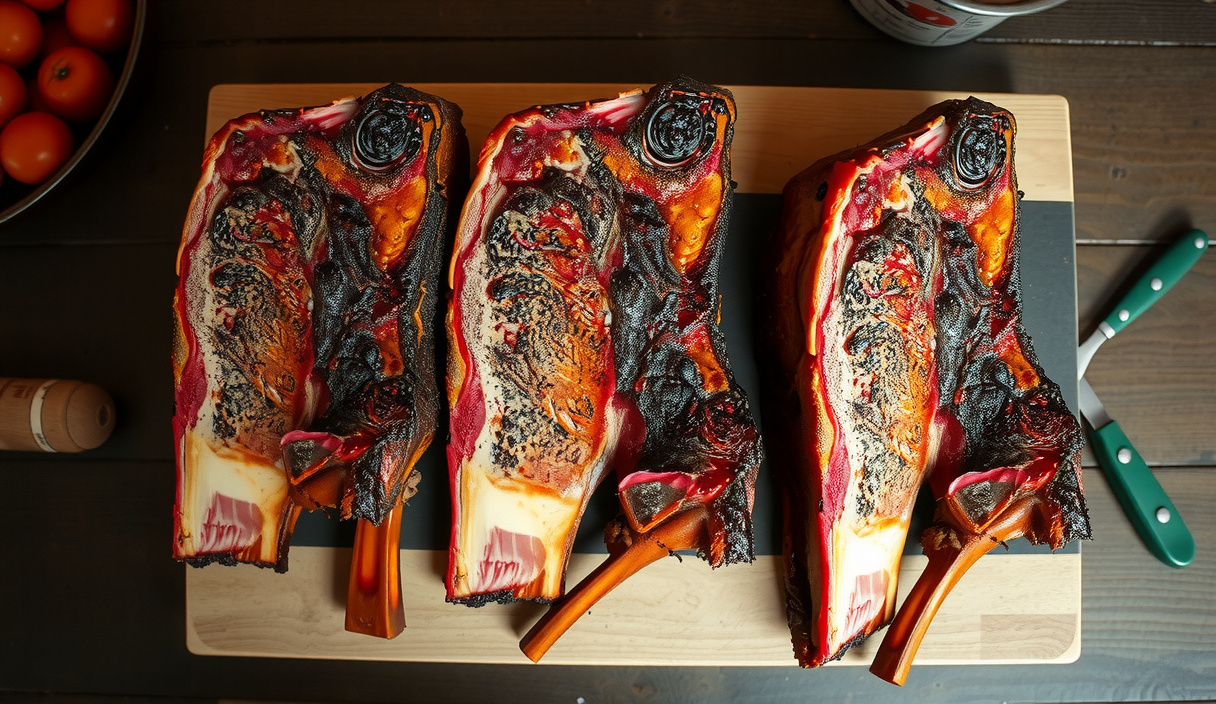
The first time you lift a plate rib off the grate — three bones still together, black bark crackling under your thumb, the whole slab bending under its own weight — you understand why pitmasters call them dino bones. These are the biggest, most theatrical cut in the beef canon, and they reward patience in a way that no other BBQ cook quite matches. Eight to ten hours over post-oak smoke, a simple salt-and-pepper crust, and the physics of the cooker doing exactly what it is designed to do.
Smoked beef plate ribs — USDA Choice or Prime, butcher code 123A, cut from ribs 6 through 8 — carry at least 1.5 inches of meat above the bone and a thick fat cap still intact. This is not a shortcut cook. It is a study in patience, heat transfer, and the molecular transformation of tough connective tissue into something that melts against your molars. Get it right once and you will never order beef ribs at a restaurant again.
Why do smoked beef plate ribs work? The science
Plate ribs work because sustained low heat converts their dense collagen into liquid gelatin, producing meat that is simultaneously rich, moist, and structurally intact — no braising liquid required. The serratus ventralis muscles that make up plate ribs bear constant mechanical load, which means dense collagen cross-linking throughout the connective tissue matrix. That collagen is both your enemy and your ally during a long smoke.
At 160°F–170°F internal temperature, myosin and sarcoplasmic proteins have already denatured and muscle fibers have contracted, expelling free moisture. The meat feels tight and dry at this stage. This is the stall — surface evaporation absorbs energy as fast as the 250°F pit delivers it, anchoring the surface near 160°F and holding the internal reading flat for one to three hours. Do not open the lid. Do not wrap early. Trust the physics and wait it out.
Above 175°F, collagen hydrolysis accelerates exponentially via first-order kinetics. The triple-helix collagen strands — predominantly Type I in bovine intercostal tissue — unwind under sustained thermal energy and water, converting to soluble gelatin at the rate dictated by the Arrhenius equation. This is not an instant switch; it is a kinetic race against time and temperature. At 250°F ambient with the fat cap up, the subcutaneous fat layer acts as a thermal buffer, slowing conduction to the meat and extending the cook window — but it also continuously bastes the surface with liquid beefy fat as it renders, keeping the bark moist and glossy. By the time the probe slides through with zero resistance — typically between 200°F and 205°F — essentially all intramuscular collagen has hydrolyzed. The plate rib is now suspended in a self-generated gelatin matrix, which is precisely why a properly cooked plate rib feels unctuous and wet even though no moisture has been added externally.
Maillard browning on the bark begins above 280°F at the immediate surface, but at 250°F ambient the bark forms slowly and reliably over the long cook via the amino-carbonyl reaction between coarse black pepper’s surface amino acids, the beef proteins, and residual muscle sugars. Post-oak smoke delivers phenolic compounds — primarily guaiacol and syringol — that deposit on the cooling condensation layer at the meat’s surface, forming the smoke ring (myoglobin stabilized as carboxymyoglobin by carbon monoxide) and contributing that specific oak-smoke aromatic profile. The fat cap, once fully rendered between 130°F and 150°F lipid temperature, transitions from solid β-prime crystals into a flowing liquid that continuously redistributes across the surface. The result is a bark that is simultaneously lacquered, brittle, peppery, and deeply savory — one of the great textural experiences in BBQ.
What equipment and ingredients do I need?
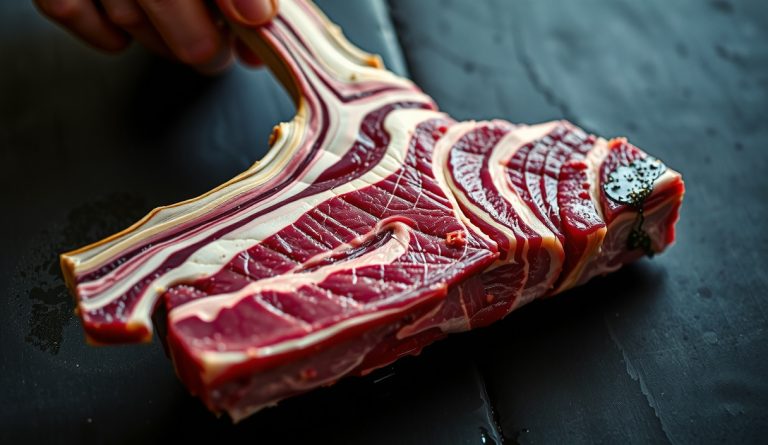
The ribs: Source beef plate ribs — 123A cut, three bones per rack — from a butcher who handles full primals. Pre-packaged grocery store beef ribs are almost always back ribs (109A) with minimal meat. Plate ribs should have 1.5 to 2.5 inches of meat above the bone and a fat cap no thicker than half an inch after trimming. USDA Prime marbling is ideal; Choice with a good fat cap cooks nearly as well. Total raw weight per three-bone slab typically runs 9 to 12 pounds.
Post-oak: Central Texas BBQ tradition leans on post-oak (Quercus stellata) for good biochemical reason — it burns clean at a consistent temperature, produces a moderate phenolic smoke load that does not overwhelm beef, and is dense enough to hold coals through a long cook. Use split logs for an offset smoker, or fist-sized chunks for a kettle or ceramic cooker. Avoid mesquite for a cook this long; the high-terpenoid smoke turns acrid past the three-hour mark.
Salt and pepper ratio: 50/50 by volume — coarse kosher salt and 16-mesh black pepper. That 16-mesh grind is not decorative; it is the correct particle size to form a porous bark that allows smoke infiltration while providing enough surface area for Maillard reactions without burning.
Thermometer: A leave-in probe thermometer monitors internal temperature throughout the cook; an instant-read confirms final doneness. Probe placement matters — insert into the thickest part of the meat between bones, not touching bone or fat.
Rest period: A proper rest in a dry cooler — no ice, just an insulated box — for 45 to 60 minutes is not optional. Resting allows the gelatin-saturated matrix to reabsorb surface moisture and equilibrates the temperature gradient between the hotter exterior and the cooler center. Skipping the rest and cutting immediately purges most of the rendered gelatin onto the cutting board.
Smoked Beef Ribs — Dino Bones
Equipment
- 1 Offset smoker, ceramic kamado, or kettle grill with indirect setup Capable of holding a steady 250°F for 10+ hours. A water pan in the cook chamber helps stabilize temperature and add humidity.
- 8–12 pieces Post-oak split logs or chunks Split logs for offset firebox; fist-sized chunks for kamado or kettle. Avoid green wood — season at least 6 months.
- 1 Leave-in probe thermometer Set probe into the thickest meat section between bones, not touching bone or fat pocket.
- 1 Instant-read thermometer For final probe-tenderness check across multiple sites on the slab.
- 1 Wire cooling rack set inside rimmed sheet pan For resting the ribs with airflow underneath.
- 1 Dry insulated cooler (empty, no ice) For the mandatory 45–60 minute post-cook rest. Pre-warm the cooler interior by pouring in hot water, dumping it, and drying before use.
- 1 Long slicing knife (12-inch or longer) For slicing between bones cleanly. A boning knife for any membrane trimming.
Ingredients
The Ribs
- 1 rack beef plate ribs (123A cut, 3 bones) 9–12 lbs raw weight. USDA Choice minimum; Prime or American Wagyu preferred. Fat cap trimmed to ¼–½ inch maximum. Membrane removed from bone side.
Salt-and-Pepper Rub
- 3 tablespoons coarse kosher salt Diamond Crystal brand by weight if scaling. Do not use table salt — the fine grind will over-salt the surface.
- 3 tablespoons coarse black pepper, 16-mesh grind The 16-mesh grind is specific — coarser than standard ground pepper, finer than cracked peppercorns. Tellicherry black pepper preferred for aromatic complexity.
Optional Binder
- 1 tablespoon yellow mustard or Worcestershire sauce Applied as a thin, even slick to help rub adhesion only. Contributes no perceptible flavor after 8 hours of smoke.
Instructions
Day-Of Prep (60–75 min before lighting fire)
- Remove the beef plate rib slab from refrigerator packaging. Pat completely dry with paper towels — surface moisture suppresses early bark formation. Lay meat-side up on a clean surface.
- Flip the slab bone-side up. Locate the thin, papery membrane (the periosteum) running across the bones. Work a butter knife or the handle of a spoon under one edge to lift it, grip with a paper towel, and peel it off in one sheet. Leaving it on creates a chewy barrier that blocks smoke penetration from the bone side.
- Trim the fat cap to a uniform ¼ to ½ inch thickness across the top. Any cap thicker than ½ inch insulates the meat too aggressively and can prevent full collagen hydrolysis in a reasonable cook window. Score the remaining fat cap in a crosshatch pattern (cuts every inch, ¼ inch deep) to help it render evenly.
- In a small bowl, combine the kosher salt and 16-mesh black pepper. Mix thoroughly — the 50/50 ratio by volume is the target. If you want to verify by weight, use equal grams of each.3 tablespoons coarse black pepper, 16-mesh grind
- If using a binder, brush or rub a thin, uniform slick of yellow mustard or Worcestershire sauce over all surfaces of the slab — meat, fat cap, sides, and bone side. The layer should be barely visible, not thick. Apply the salt-and-pepper rub immediately: season all surfaces generously and evenly, pressing lightly to adhere. Do not rub it in aggressively — let it sit on the surface where it will form bark. Allow the seasoned slab to rest uncovered at room temperature for 60 minutes before the cook begins.3 tablespoons coarse black pepper, 16-mesh grind, 1 tablespoon yellow mustard or Worcestershire sauce
Fire and Smoke Setup
- Light your smoker and establish a stable 250°F cooking temperature before the meat goes on. For an offset, build a base coal bed using a chimney of hardwood lump charcoal, then feed post-oak splits every 45–60 minutes to maintain temperature and smoke production. For a kamado or kettle, use lump charcoal with 4–6 large post-oak chunks buried in the coal bed. A water pan in the cook chamber is highly recommended — it raises humidity, which increases smoke adhesion to the surface and buffers temperature swings. Stable temperature is more important than maximum temperature: 245°F to 255°F is the acceptable band.
The Cook (8–10 hours)
- Place the slab fat-cap-side up on the grate in the indirect zone. Insert the leave-in probe into the thickest section of meat between the first and second rib bone, angled to avoid touching bone or fat. Close the lid. Do not open the lid for at least 3 hours.
- Hours 1–3 (Smoke Absorption and Bark Formation): Maintain 250°F. The meat surface will transition from raw pink to a deep mahogany as Maillard browning and smoke deposition build the bark layer. Smoke ring formation (carboxymyoglobin) is occurring in the outer ½ inch of meat. Internal temperature will climb steadily toward 150°F–160°F during this phase.
- Hours 3–6 (The Stall — 160°F to 170°F internal): Expect the internal temperature to plateau — this is the stall. Surface evaporation is absorbing energy as fast as the pit delivers it. The probe may read within a 5-degree range for 1–3 hours. This is normal and not a sign of a problem. Maintain 250°F. Do not wrap. The bark is hardening and the fat cap is beginning to render. Continue adding fuel as needed to hold temperature.
- Hours 6–10 (Collagen Hydrolysis and Final Climb — 170°F to 203°F+ internal): Once the stall breaks, internal temperature will resume climbing at roughly 1°F–2°F per 10 minutes. Collagen is actively hydrolyzing into gelatin throughout this phase. The bark will develop a lacquered, slightly tacky exterior. Begin checking probe tenderness at 195°F internal: insert your instant-read probe into the thickest meat section perpendicular to the grain. There should be noticeable but diminishing resistance. At 200°F–205°F, the probe should slide through with essentially zero resistance — like inserting it into room-temperature butter. That is your pull signal.
Rest and Serve
- Remove the slab from the cooker and place it on a wire rack set over a sheet pan. Allow it to air-rest for 10 minutes to stop surface steaming, then transfer to a pre-warmed dry cooler. Close the cooler and rest for a minimum of 45 minutes, maximum 90 minutes. Do not cut earlier — the gelatin matrix needs time to reabsorb into the muscle fibers. Internal temperature will hold above 160°F for the full rest window, well within food safety parameters.
- Transfer the rested slab to a cutting board. Using a long slicing knife, cut straight down between each bone to separate individual rib portions. Do not saw through bone — the cuts should fall naturally between rib bones. Each portion is one bone with its attached meat slab. Serve immediately, bone-in, with the bark side facing up.
Notes
Nutrition
How do I nail smoked beef plate ribs every time?
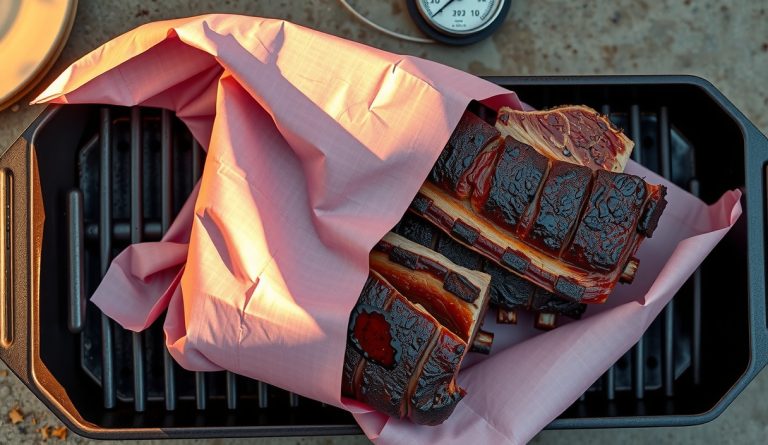
- Do not wrap — ever, for this cut. Butcher paper or foil wrapping accelerates collagen breakdown but steams the bark soft. Plate ribs have enough intramuscular fat to self-baste through a naked cook. The bark you lose is irreplaceable; the 30 minutes you save is not worth it.
- Temp is a guide; feel is the finish. 203°F is a benchmark, not a guarantee. Some slabs probe out at 198°F; others need 207°F. When the probe slides through the thickest meat section with no more resistance than soft butter, the plate rib is done regardless of the number on the thermometer.
- Fat cap up, always. The rendering fat bastes the meat continuously and acts as a thermal buffer, reducing the risk of overcooking the top surface. Cooking fat-cap-down chars the fat before the interior is done and creates a conductive hot spot directly against the meat.
- Manage the stall by managing your expectations. The stall at 160°F–170°F can last three hours on a 12-pound slab. The temptation to crank the pit is real. Raising pit temperature to 275°F for 30 minutes to push through is acceptable; raising to 300°F collapses the cook window and risks driving past probe-tender into dry territory before you realize it.
- Season 60 minutes before the cook, not overnight. Extended dry-brining draws surface moisture out via osmosis, then reabsorbs it as brine. On a cut this thick and fatty, that reabsorption window matters, but overnight seasoning pulls too much surface moisture and creates a wet surface that suppresses early bark formation. One hour at room temperature is optimal.
- Slice between bones, never through bone. Each plate rib is one bone plus its meat. Cut straight down between the bones with a long slicing knife. Serve portions bone-in for maximum presentation impact so the diner can use the exposed bone as a handle.
What variations can I try with smoked beef plate ribs?
Coffee-ancho rub: Replace 25% of the black pepper with equal parts fine-ground espresso and ancho chile powder. The coffee contributes additional Maillard precursors — specifically reducing sugars and amino acids that accelerate bark formation — while the ancho adds mild fat-soluble capsaicinoids that bloom into the rendering fat and permeate the outer half-inch of meat. Reduce the pit temperature to 240°F for the first three hours to prevent the coffee from burning bitter.
Hot-and-fast plate ribs (emergency protocol): If your cook window is compressed, run the pit at 300°F–325°F and wrap in unlined butcher paper at the stall. Target 200°F internal temperature. The bark will be softer and the collagen conversion less complete, but the result is still dramatically superior to any braise. Do not exceed 325°F — above that threshold, actin denaturation outpaces collagen hydrolysis and the outer muscle layers dry out before the center comes up to temperature.
Wagyu plate ribs: American Wagyu (BMS 6–8) plate ribs behave identically to Choice or Prime during the cook, but the outcome is borderline excessive — the intramuscular fat content is so high that rendered fat drips constantly throughout the cook and the finished slice glistens with deposited lipid. Reduce seasoning by 20% to avoid sodium competing with the intense beefy fat. The gelatin yield is also dramatically higher, meaning even a slightly undercooked Wagyu plate rib will still probe tender and taste rich.
Scaling for competition: Competition pitmasters often cook four to six slabs simultaneously, staggering them on different cooker levels. The key variable is airflow — lower rack positions run hotter in most offset smokers. Rotate slabs between racks every two hours and monitor per-slab probe temperatures independently. Do not average temperatures across slabs; the slab with the lowest reading governs your pull decision.
Frequently asked questions about smoked beef plate ribs
Why do plate ribs stall for three hours but brisket only stalls for one? Surface area and fat-to-protein ratio explain the difference. A plate rib slab presents a very high ratio of exposed surface area to total mass compared to a flat-muscle brisket, which means evaporative cooling is proportionally more aggressive. The thick fat cap also insulates the meat differently — it cools via evaporation at the top while radiating heat upward from the cooking grate. The net effect is a longer, more persistent stall. This is not a problem; it is the thermodynamics working correctly.
Can plate ribs be cooked in the oven without a smoker? Structurally, yes — collagen hydrolysis and fat rendering kinetics are identical in a 250°F oven. Season the plate ribs identically, place on a rack over a sheet pan, and cook fat-cap-up until probe-tender at 203°F internal. The result is an extraordinarily rich braised-style rib without smoke character. To add Maillard complexity, finish under the broiler for 4–5 minutes immediately after the rest. The oven version is not the same as post-oak smoke, but it is an honest cook.
How do I store and reheat leftover plate ribs without drying them out? Slice only what you intend to serve immediately. Store uncut ribs vacuum-sealed or tightly wrapped in plastic at 40°F for up to four days, or freeze for up to three months. To reheat, drop the sealed bag in a 150°F water bath for 45–60 minutes (a precise sous-vide hold), or place unwrapped ribs on a rack in a 275°F oven, tent loosely with foil, and warm to an internal temperature of 160°F — approximately 25–30 minutes. The gelatin matrix re-liquefies on reheating and the ribs return to close to their original texture.